Monthly Archives: November 2012

Bloody Mary Chicken

Standard

This recipe could not be easier. BUT it requires a secret ingredient that you can only buy at the Spice and Tea Exchange. It is a Bloody Mary Spice Blend. One of the many blends I make at work. It contains just about every thing you need to make a good Bloody Mary except the tomato juice and vodka. Here is a list of the ingredients (all of which you can also buy separately at our store): black pepper, sea salt, celery seed, garlic, horseradish powder, Worcestershire powder & tomato powder. By utilizing this unique blend of spices, herbs and concentrated powders you can make a fast and easy dinner, in fact I gave my husband the directions and he did the marinade while I was at work. When I got home, I just tossed a salad, grilled the chicken, mashed some sweet potatoes, drizzled them with maple syrup and added some of my Cognac Cranberry Compote.

Ingredients: 

2 Tablespoons STE Bloody Mary Blend

Juice and Zest of one lemon (I used Meyers from my tree)

1/4 cup Olive Oil (I used smoked olive oil that I make myself)

2 boneless skinless chicken breast halves

Method: 

Mix together the first three ingredients, put the chicken in a zip lock plastic bag, pour the marinade in. Allow to marinate for 6-8 hours in the refrigerator. Preheat your grill and then grill the chicken till the interior reaches 165 degrees. Remove, cover with foil and allow to rest for 5 minutes. Serve and smile!

Advertisement

Individual Cheese Soufflés

Standard

I like to serve soufflés  in individual dishes. This recipe makes two generous soufflés. I used ramekins that are 5″ across. For dinner parties I like to double this recipe and use smaller ramekins. I served the soufflés with a sauteed chicken breast and brandied cranberry sauce. They would be equally good with a large herb salad. Fresh eggs are important in this recipe. Contrary to rumors, soufflés are actually very easy to make as long as you follow the instructions and do not open the oven while cooking. I also use a ceramic oven liner that retains heat and makes for even baking. Have fun with this!

 Individual Cheese Soufflés

  • 1 teaspoon of Piment d’Espelette (optional; you may find this favorite seasoning of mine difficult to find)
  • 3/4 cup finely grated aged Parmigiano-Reggiano cheese, plus 1/4 cup for topping (used the food processor with blade for grating the cheese)
  • 1 tablespoon unsalted butter, at room temperature and more for coating the ramekins
  •  2 tablespoons all-purpose/plain flour
  •  1/2 of a nutmeg, freshly grated
  •  3/4 teaspoons sea salt
  • 3/4 cup whole milk
  • 1 garlic clove, minced
  •  1 cup finely grated semi-hard cheese such as Comté Manchego, Gruyère. I used Comté and did the food processor method for both the Comté and the Parm (but do make sure that there are no large lumps)
  •  3 large very fresh eggs, separated + one extra white.
  • 1 tsp freshly squeezed lemon juice (I used Meyer lemons, they are my favorite and my tree is loaded)


Preheat the oven to 375˚F with a rack in the middle of the oven. Butter ramekins sprinkle with Parmigiano-Reggiano to coat completely all the way to the top. Shake any excess cheese out into a bowl. Place the molds in the freezer to chill.

Melt the 1 tablespoon butter in a medium saucepan over low heat. Whisk in the Piment d’Espelette , flour, nutmeg, and salt; whisking constantly, cook the flour without browning, about 5 minutes. Whisk in the milk and garlic and continue to cook, whisking, at a low simmer until the mixture is smooth and thick like pudding, about 5 minutes.

Stir in the Comté and any Parmigiano-Reggiano left over from coating the molds and cook, stirring, until the cheese melts. Remove from the heat and stir in the egg yolks, one at a time. Continue stirring vigorously with a rubber spatula to cool.

Whisk the egg whites and lemon juice in a clean bowl. I use my Kitchen Aid Stand Mixer with the  beater on medium-high until they just hold a soft peak. * DO NOT not over-whip the whites, which would give your soufflé a cloudy instead of creamy consistency.

Fold one-fourth of the egg whites into the cheese mixture with a rubber spatula, carefully turning the bowl and mixing gently until the whites are streaked throughout. Add the remaining whites and fold in but don’t overmix, which can deflate the whites.

Transfer the batter to the chilled mold and scatter the remaining  Parmigiano-Reggiano over the top. Place the dish on a baking sheet/tray and set in the oven, decrease the oven temperature to 325˚F/ 165°C/, and bake until the soufflé is golden, puffed, and set but just a touch wobbly inside, 30 to 40 minutes. Serve immediately. After a few minutes a slight deflation is normal, this is why they must be served immediately for the most impact. Enjoy!

Williamsburg Turkey Soup Redux

Standard

As a young mother, thirty years or so ago I first made a recipe of Williamsburg Turkey Soup, most probably after Thanksgiving. Back then I always did my turkeys on a Weber Grill with soaked pecan shells poured over the coals, essentially creating a lightly smoked turkey. It was a delicious soup then, but when I pulled up the recipe the other day, I was surprised at how pedestrian the recipe looks to me now. Obviously, it was time for me to kick it up a notch. The original recipe is supposed to have come from the colonies and would probably have been done with a wild turkey. And seeing that they probably did hot have half and half back then, was likely made with cream. The rice probably was not white long grain, but an earthier wild or brown rice. Regardless, I made a big pot of wonderful soup and was able to render some extra turkey stock too.

Here is my Redux Version

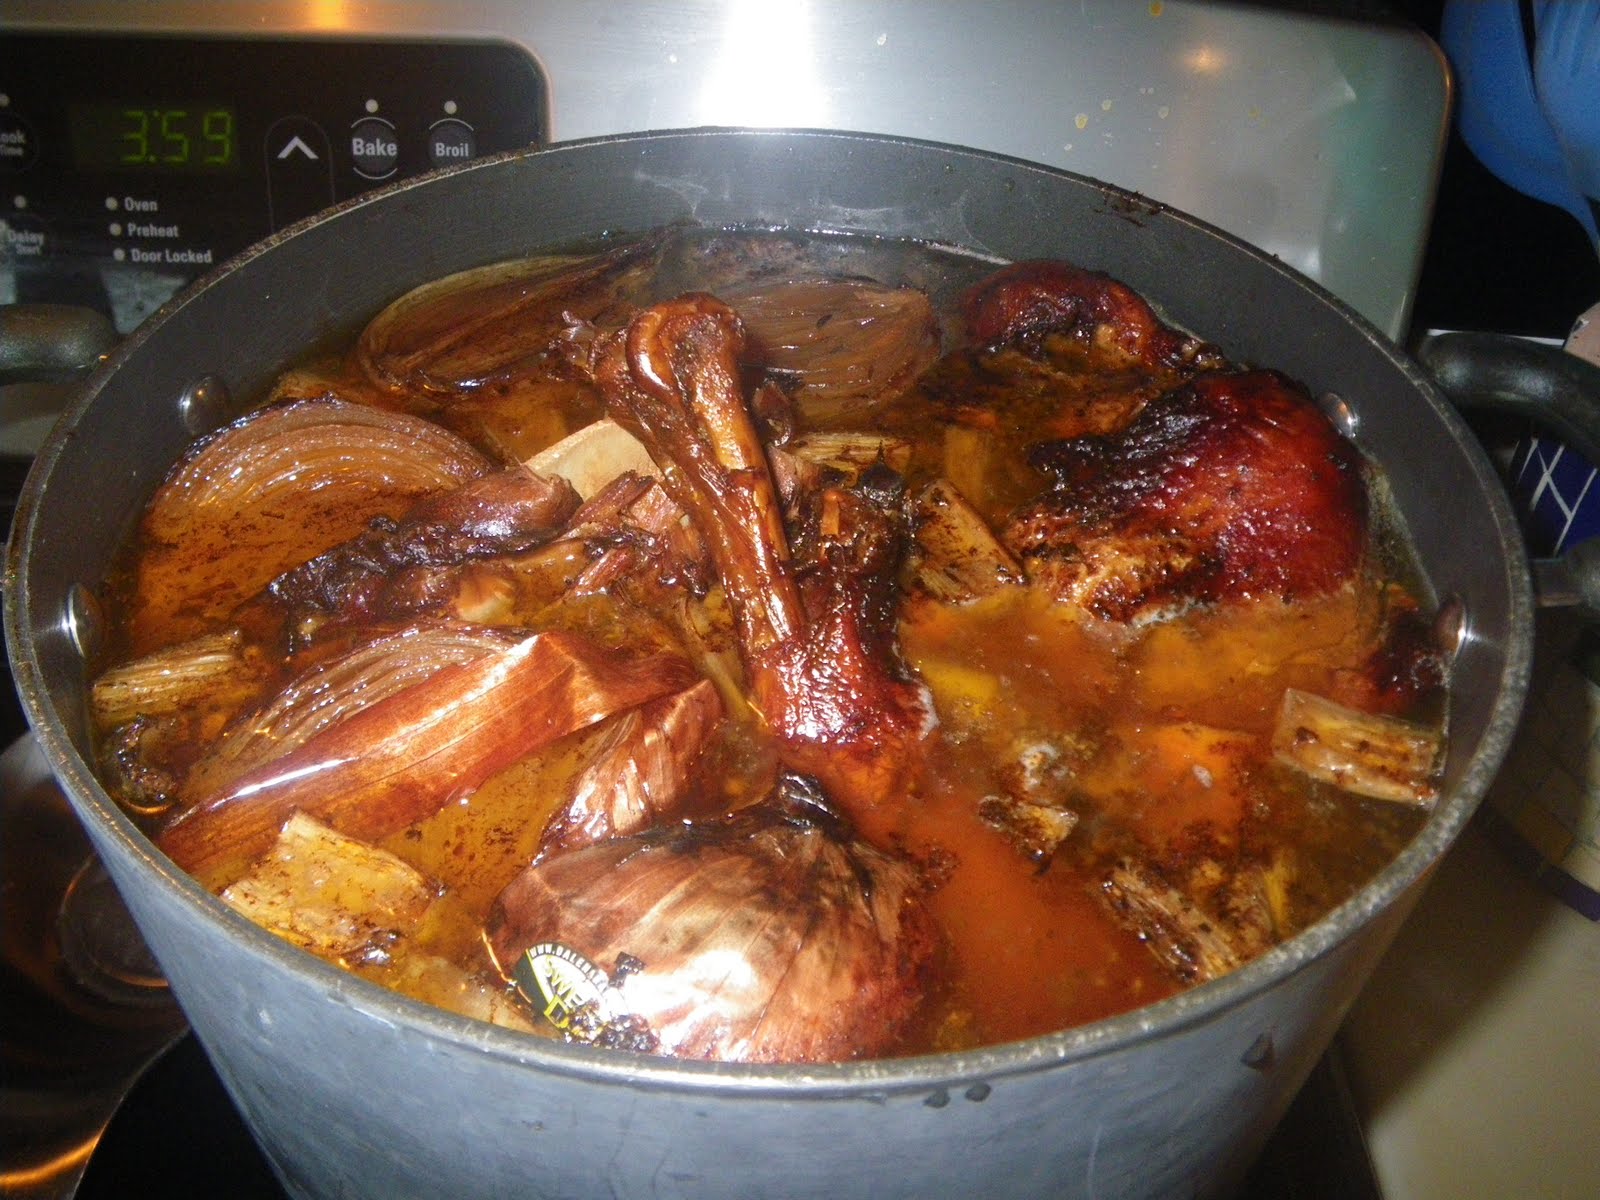
Part one: Make turkey stock. I roasted a turkey last week and used only the white meat. I then placed the carcass with the dark meat in the smoker and smoked over maple wood for 12 hours. You do not have to smoke your turkey, but it sure makes for great soup and stock. You could also use a store bought smoked turkey for this. After the turkey was sufficiently smoked for flavor, I made the stock.

In a very large pot place chunks of carrot, celery & onions (about 2 cups each) into a pot. You do not need to peel them as they are only adding goodness to the stock. Add 20 (yes 20!) garlic cloves. Toss in a few stalks of  rosemary and thyme and one bay leaf. Place the carcass into the pot. If your pot is not large enough, you can break it apart a bit to fit. Cover with water and place on a LOW simmer for 12 hours. The stock should never be allowed to boil, just simmer.

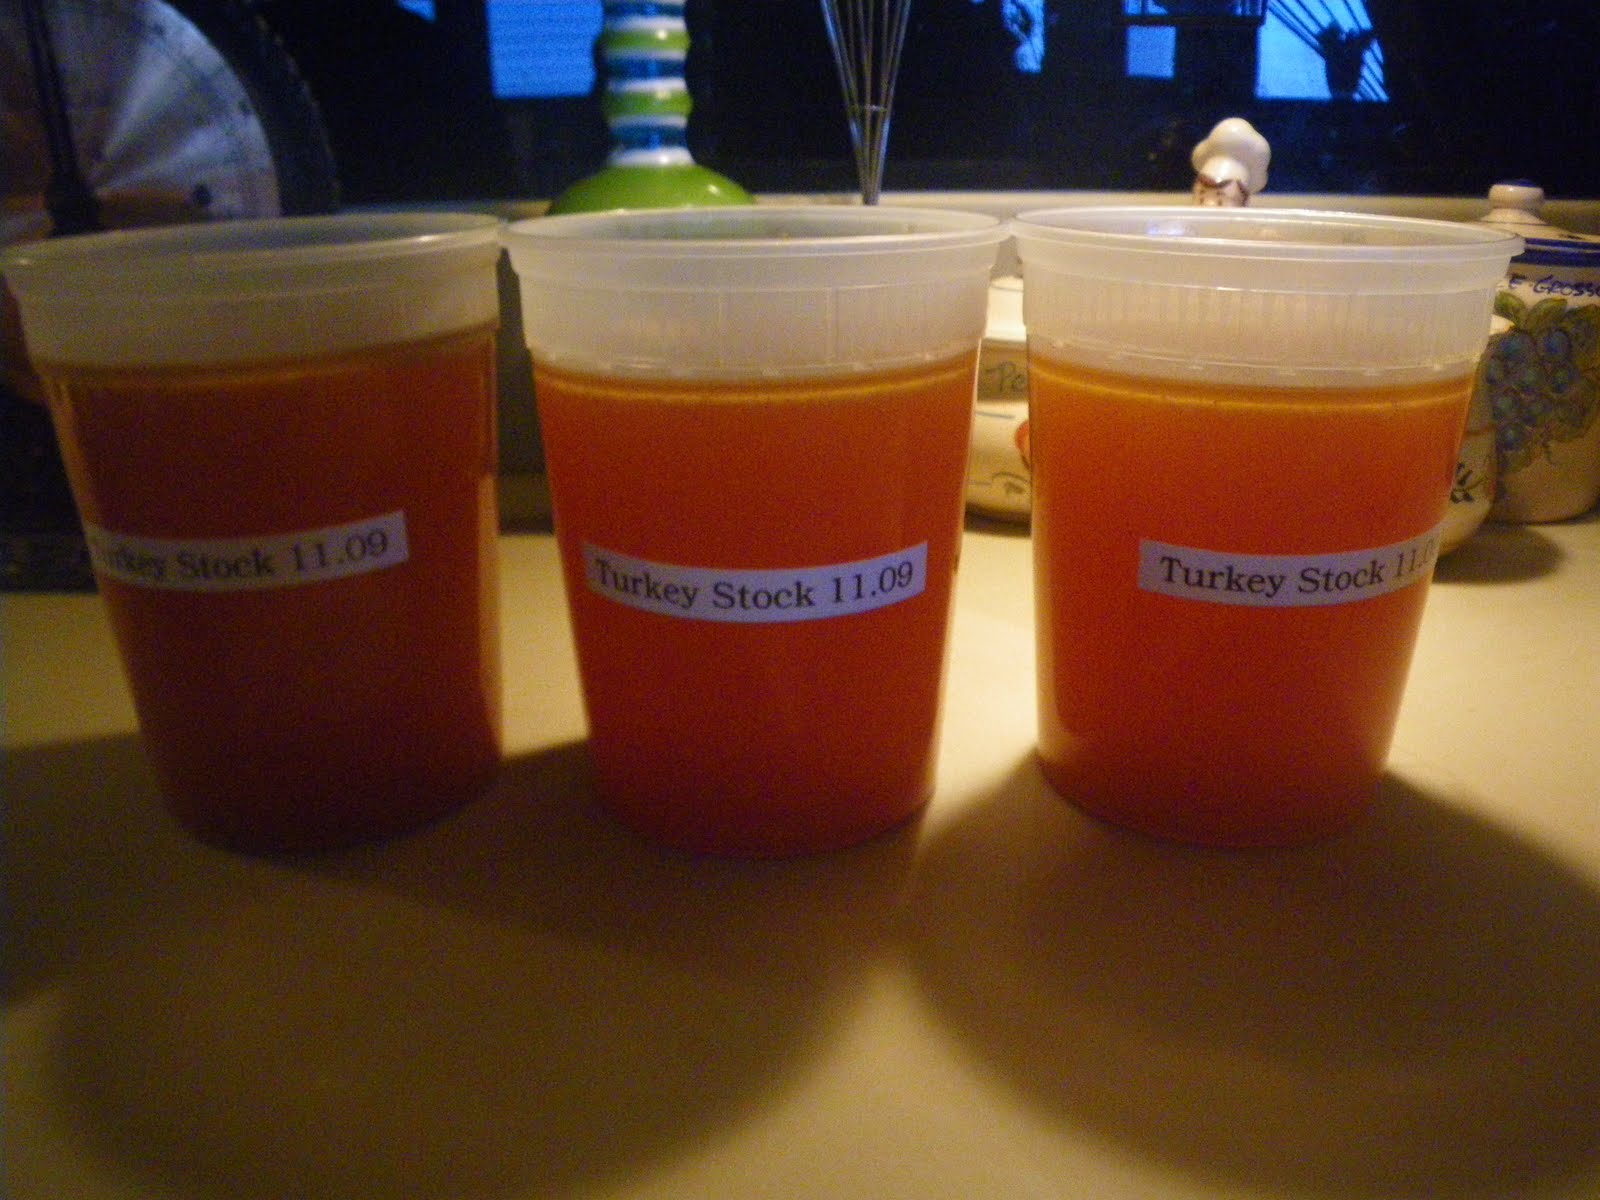
Remove pot from the heat and allow to cool so that you can handle the turkey to remove meat. You may want to place it on a platter to cool. Remove and reserve the meat. Then filter everything over a large pot using a fine sieve. Pour the stock into containers to cool completely so that the fat will rise to the top. Your leftover veggies can be placed in compost or fed to the dogs in chunks. Discard all of the bones. I ended up with 8 cups of rich dark stock. Some of which was used in the soup. I grabbed all of the garlic cloves and saved them for the soup.

Part Two: The Soup

1 Cup of Butter (yes, you can use olive oil if you want to)
1 Cup of all purpose flour
4 small red onions or 8 shallots finely chopped
4 large carrots, peeled and finely chopped
3 ribs of cellery finely chopped
(note all of this chopping can be done in a food processor)
Reserved garlic from the stock, which can now be smashed and added to the soup
2 cups of fresh corn kernels (if not in season, use frozen)
1 small jar of pimentos (or roast a red pepper and chop)
1 1/2 cups of wild rice/brown rice blend (I use Lindeman’s Brand)
2 teaspoons of salt (I used smoked salt that I smoke while doing the turkey.)
1 tablespoon of fresh cracked pepper
3 quarts of turkey stock
3 sprigs of thyme (leaves pulled from stem)
2 cups of reserved turkey chopped
4 cups of cream or half and half if you are giving your arteries a break


  • Melt butter in the bottom of a large sop pot or dutch oven
  • Add flour and stir gently for about 5 minutes to form a light golden roux
  • Add onion, carrot, celery and garlic to roux and sir. Cooking over medium flame for 10-15 minutes, stirring often. The onions should be just starting to brown.
  • Add rice, corn, stock, salt, pepper, thyme, pimentos along with reserved turkey and stir all together. Simmer for about 30 minutes. Taste the rice and be sure that it is cooked through. Add the cream and stir. Cook on low flame till completely heated.  Taste and add more seasoning if you think it needs it.
This makes a huge pot of soup, but it freezes well if you are not feeding a crowd. I like to serve it with a few slices of Hawaiian Chiles on it along with fresh chopped parsley or thyme leaves. However, many people cannot take the heat of the chiles, so you might just want to serve chiles or siracha sauce on the side. It is delicious just as it is. It also might be good with some browned crispy thin slices of jamon or prosciutto on top.

Nathalie Dupree’s Food Processor Biscuits

Standard

I have loved and learned from Nathalie Dupree for over 30 years.  She is the Grande Dame of Southern Cooking and quite literally a Grand Dame in the organization Les Dames de Escoffier. . Fortunately she holds court in my new home town, Charleston, South Carolina and I am lucky to be in her presence more often now. I lived in Beaufort and Atlanta in the ’80’s and that is when she first came on my culinary radar. She continues to prolifically produce  work on truly great southern cooking, but it is not the southern cooking your mind conjures up when you hear the term. She is classically trained and most of her early work was more in the “gourmet” realm, though using mostly southern ingredients. She has inspired cooks young and old to do what they do better. She has given us a vast work, including her most recently released tome of great proportion, Mastering the Art of Southern Cookingcollaborating with Cynthia Graubart.  Their book Southern Biscuits is full of perfect recipes and techniques for making biscuits. Believe it or not, there are several different kinds of biscuits! When my step son was visiting last week he saw the book on my cookbook stand and asked, “There is a whole book just on making biscuits?” Yes, Kevin there is. One of my favorite recipes from the book is extremely simple and successful for almost any cook. The one thing you must remember when making biscuits is, “BE GENTLE.” Overworking this tender dough makes tough biscuits. Keeping that in mind, when you use a food processor, just just the minimum amount of maneuvering  the pulse button is your friend. You barely want to mix this recipe, using the buttermilk as the glue that holds the flour together. It is simply the easiest recipe for making biscuits as long as you are gentle, they will be light and fluffy and melt in your mouth.

The three simple ingredients are Buttermilk, Self Rising Southern Flour and Butter (or shortening/lard) It is that uncomplicated.

*Note: If you do not live in the South, or in Wegman’s territory up North, you may have a difficult time sourcing southern flour (made from Winter Wheat), though you can find White Lily on Amazon. Other brands of Southern Flour are :  Red Band, Martha White or Southern Biscuit Flour. Nathalie suggests using a mix of cake flour and all purpose flour to make a flour that is more like Southern Flour. Keep in mind it is the protein in the flour that makes a crispy chewy crust, not what you want with a biscuit. Start with 1/2 all purpose flour to 1/2 cake flour.

Ingredients: 

  • 2 1/2 cups self-rising flour (I keep mine in the freezer so it is nice and cold), divided
  • 1/4 cup (half a stick) of butter (or any combination of butter, shortening or lard) cut into 1/4″ dice
  • 1/4  cup (half a stick) of butter (or any combination of butter, shortening or lard) cut into 1/2″ dice
  • 1 cup of buttermilk divided

    Method:

Preheat the oven to 450 degrees. I bake in a convection oven on the convection bake selection.

Select your pan; for softer biscuits place in a greased 8-9″ cake pan or skillet. For crispy exterior, place on a greased baking sheet about 2″ apart.

  • In the bowl of a food processor, pulse 2 1/4 cups of flour with the knife blade 4-5 times. Set aside the remaining 1/4 cup of flour.
  • Scatter the chilled butter pieces around the bowl of the processor.

  • Pulse 2-3 times quickly, no piece should be larger than a pea
  • Add 3/4 cup of buttermilk, reserving the remaining 1/4 cup
  • Pulse briefly to incorporate the liquid, resulting in a shaggy dough, then remove the lid and feel the dough, it needs to be wet but not sticky. If needed add more flour or buttermilk to achieve this result, but do not over process.

  • Pour the dough out onto a chilled floured surface and allow to rest for a minute
  • Gently flour the dough and roll into a ball with floured hands, then, roll over again into a disc. GENTLY

  • Using a rolling pin flatten the disc to about 1/2 to 3/4 inches thick
  • Using a floured cutter or glass, cut into biscuits
  • You can roll out the scraps for a final biscuit, but I usually toss because this one will be tougher
  • Place in your baking pan
  • Bake for 6 minutes on the middle shelf, then turn the pan so that it is evenly browning. If the bottom looks like it is browning too fast, you can add a baking sheet under it
  • Bake for another 4-6 minutes, until the tops of the biscuits are a light golden color
  • Remove from the oven and brush a little softened butter on them.

 Enjoy with honey, butter, jam or gravy!

Orange/Mac Nut Cinnamon Rolls with Buttered Rum Icing

Standard

This is the recipe my Great Grandma Wolf made and served me when I would spend the night at her house in Glendora, California. I have taken liberties by adding the mac nuts and the rum. When I was a little girl my Great Grandma Wolf would give me buttered rum Lifesavers to keep me quiet in church, so the flavor is homage to her.  These freeze well and can be re-heated. You can also make and proof the dough the night before and then refrigerate the dough. If you do this, it will take about 2 hours for the rolls to rise in their second fermentation.


Cook Time: 20 minutesPrep Time: 2-3 hours (depending on rising time)

Ingredients:

·         1-1/2 packages (about 3-1/4 teaspoons) dry yeast

·         1/4 cup warm water

·         1/2 cup shortening, lard or butter (I usually use home rendered lard)

·         1/3 cup raw sugar

·         1-1/2 teaspoon salt

·         1 cup milk scalded

·         2 Tablespoons fresh lemon or orange zest

·         1 egg

·         4 to 5 cups sifted flour

·         1/3 cup chopped macadamia nuts

·         Softened butter (about 1/3 a cup, maybe a little more)

·         brown sugar (or I used a combination of male sugar and vanilla sugar)

·         1/4 cup Vietnamese Cinnamon

  Frosting

·         1 cups powdered sugar

·         ½ cup mascarpone cheese

·         1 teaspoon Tahitian Vanilla 

·         5 Tablespoons good quality rum

Method:

Add the warm water to the yeast and soak 10 minutes.

Scald milk; pour over the shortening. Add sugar, zest and salt and cool to tepid. Add the dissolved yeast and beaten egg. Add 4 cups flour adding one at a time beating after each addition.

Dough should be soft yet firm enough to handle. Knead on floured board until elastic and smooth. Avoid too much flour. Turn dough into well oiled bowl. Let rise for 1-1/2 hours.

Softly press dough down and shape into a rectangle. Roll dough out into a rectangle about 18 inches wide and 8 inches tall. Cover with the soft butter. Layer with a generous layer of sugar (brown or a combo of vanilla sugar and maple sugar.) Sprinkle on cinnamon and evenly distribute the nuts. Roll up jellyroll fashion.

Using a piece of thread or dental floss cut off slices about 1-1/2 inches thick. Place slices in a full side sheet pan lined with a silpat pad (or you can spray the pan with PAM.) Cover with plastic wrap and let rise until rolls fill the pan generously. This should take about an hour.

Bake in a 350 degree F oven about 20 – 30 minutes. Do not over bake rolls. Make sure the center rolls are cooked all the way through by testing with an instant read thermometer. It should read about 200 degrees. Allow to cool at least 15 minutes before frosting.

For the Frosting:
Using a mixer with whisk attachment whip the mascarpone, then add the powdered sugar and rum. Whip till fluffy. Spread over warm rolls as soon as they are placed on a plate to let the frosting melt and run into the rolls.

Roasted Cinnamon Gelato

Standard

Image

Roasted Vietnamese Cinnamon Gelato

Ingredients

2 cups heavy cream
1 cup half-and-half
3/4 cup sugar
2 sticks of TSTE Korintje Cinnamon,Chunks pan roasted and ground in a grinder
1 TSTE nutmeg grated with a microplane
1/8 teaspoon TSTE Fleur de Sel
2 large eggs + 1 yolk
1 teaspoon TSTE Tahitian Vanilla 

Method

  • Mix cream, half-and-half, sugar, roasted cinnamon, nutmeg and salt in medium saucepan. Simmer on medium heat.
  • Beat eggs in medium bowl. Gradually add 1 cup of the hot cream mixture, whisking until well blended. Gradually whisk this mixture back into the remaining cream mixture in the saucepan.
  • Cook and stir on medium-low heat 2 to 3 minutes or until mixture thickens and coats the back of a spoon. Strain custard into medium metal bowl. Stir in vanilla.
  • Place bowl over ice water bath. Lightly whisk custard occasionally until cooled.
  • Refrigerate at least 3 hours or until well chilled. Pour into an ice cream maker. Freeze according to manufacturer’s directions.

Beer Braised Horseradish Meatballs

Standard


Inspired by a post on my friend’s blog:He Cooks She Cooks about their meatballs, I developed this tweak using some twists of my own and some ingredients from the Spice and Tea Exchange of Charleston, where I work. I have provided links for these ingredients but you can make substitutions for them if you need to. These meatballs are made with the traditional meatloaf mix of beef, veal and pork, but you can use just beef and pork if you cannot find veal, or you can substitute ground turkey for the veal. They are mixed with lots of aromatics and interesting flavors and then braised in beer and chicken stock which also has lemon and hot peppers floating about. The sauce is a rich sour cream based horseradish sauce. It is easy to put together and I had a large container of meatballs left for another use. I made mine about 1 1/2 inches in size so that I can use the leftovers for appetizers.

Beer Braised Horseradish Meatballs

Ingredients

Meatballs

  • 2 pounds of meatball mix using beef, pork and veal or just beef and pork
  • 1/3 cup extra strong horseradish
  • 2 eggs
  • 1/2 cup extra fine panko or bread crumbs
  • 1 cup finely diced onion (I used a purple onion)
  • 1/2 cup finely chopped parsley
  • 1/4 cup dried shallots reconstituted and strained
  • 2 tablespoons chopped dill weed
  • 4 Tablespoons Spice and Tea Exchange Sweet Onion Sugar
  • 1/4 cup Feta Cheese Powder
  • 1/4 cup Vic’s Garlic Fix (you can substitute minced garlic)
  • salt and pepper to taste
  • Optional: 1/3 cup toasted pine nuts
  • 1/4 cup of butter and 1/8 cup of olive oil for browning

Braising Liquid

  • 1 bottle of beer (I used a light amber)
  • 1 1/2 cups of good chicken stock
  • juice and peel of one lemon
  • 4 hot peppers (serrano)
  • one bay leaf

Sauce

  • 1 cup sour cream
  • 1/4 cup braising liquid
  • 1/4 cup horseradish
  • 1/4 cup finely chopped parsley
  • lemon  pepper to taste
  • salt to taste

Method: 

  • In a large bowl, mix all of the meatball ingredients together till they are finely blended
  • Make into golf ball sized meatballs
  • Place on a tray on parchment paper and chill for one hour
  • Preheat oven to 350 degrees
  • Make braising liquid and simmer in a Dutch oven
  • In a large skillet, melt butter and olive oil and brown the meatballs in batches. When they are all browned place in the hot braising liquid, cover and braise in the oven for 30 minutes

When the meatballs are finished, remove them from the oven and allow to cool slightly. Make the sauce, in a frying pan and add the warmed meatballs. Serve over noodles or rice or put toothpicks on them and serve the sauce on the side.