Tag Archives: Food

An Ode to The Northwoods Inn and their Fabulous Sides

Standard

Growing up in Southern California in the 1960’s and ‘70’s I  got to enjoy a lot of fun theme restaurants. They were somehow an extension of Hollywood and the era that ushered in Disneyland and many other area theme parks of that day. A few remain, but many have been shuttered over the years to make way for malls, freeways and most importantly housing developments as human encroachment took over the land of my birth. We had sunshine and great weather till the people came, then we had traffic, smog, inflated real estate prices and lots of other problems.

One of the few remaining theme restaurants is Clearman’s Northwood’s Inn in Covina. They also have sites in La Mirada and San Gabriel, but mine was in Covina. Opening in the height of LA fun and fancy in 1958 they still manage to draw crowds.

When you drive up on a hot southern California day, your eyes deceive you, it looks like a snow covered Alaskan log lodge. As you step into a North Woods Inn, you’ll slowly pull open a heavy wooden door and peer into a dimly lit and richly decorated room of rustic log walls, massive taxidermied bears, jewel-toned stained glass, sawdust-strewn floors and eccentric hunting-lodge kitsch. The signs tell you to “Please throw peanut shells on floor.” 

You must arrive hungry. Entrees include all you can eat of two salads, recipes below, their famous garlic cheese bread, rice pilaf, a one pound baked potato with cheese, butter, sour cream and mushroom gravy. And then there are the huge steaks!

So over the years I had to recreate the recipes since I moved thousands of miles away from these favorite salads and cheeese bread! Here are my takes on them. Some people mix the buttermilk blue cheese on iceberg with the red cabbage salad, but I like to use the red cabbage as a palate cleanser. The cheese bread is my favorite and I think it is also like the bread at a long gone nearby establishment The Trails.

The Red Cabbage Salad

The Northwoods Inn Red Cabbage Salad 

1/2 cup . red wine vinegar 
4 T. sugar 
3 tsp. kosher salt 
2 tsp. seasoned salt 
1/4 tsp. pepper 
1/4 TBS. grated onion
1/2 cup olive oil 

1 head red cabbage, coarsely shredded 

Whisk together vinegar, sugar, salt, pepper, and onion until sugar and salt are completely dissolved. Whisk in oil. Dressing can be made ahead and stored in fridge. Bring to room temp before using. Pour over cabbage, toss well and let sit 10-15 minutes. Toss again and serve.

The Best Cheese Bread Ever

Clearman’S Northwoods Inn – Cheese Spread 

In a food proccessor add:

1/2 ts dry mustard 
1/2 ts celery salt 
2 ts garlic salt & 6 garlic cloves
3 tb plus 2 teaspoons fresh lemon juice 
2 ts tabasco 
1 ts paprika 
1 lb butter 
1 lb cheddar cheese – grated finely 
3 oz romano cheese, grated
Mix until well blended. Refrigerate

Put onto sourdough bread, place under broiler until lightly toasted.

Keeps 6 weeks in fridge, can be frozen

The Clearman’s Blue Cheese Dressing

They serve this on Iceberg, but I prefer it on butter lettuce

· 1 cup buttermilk 
· 1 cup sour cream
· 3 cloves garlic 
· 1/8 tsp sugar 
· 1 tablespoon Hungarian sweet paprika 
· 1 teaspoon salt 
· 6 tablespoons blue cheese
PREPARATION:
In a food processor combine buttermilk, sour cream, garlic, sugar, paprika, and salt. Blend until smooth. Add blue cheese, and pulse quickly once or twice. Do not blend. You want small chunks of blue cheese. 

Refrigerate 4 hours or more before serving to let flavors blend. 

Yield: About 1-1/3 cups 

Another one of Mr Clearman’s fantastic establisments farther West in Cucamonga, now Rancho Cucamonga still stands, The Magic Lamp Inn.


Advertisement

Bruce and Mark’s Sichuan Chicken Wings

Standard

Wings saucaed

This recipe is adapted from my friends Bruce Weinstein and Mark Scarbourough’s podcast, Cooking With Bruce and Mark. They are a fabulously talented couple, married for many years. They are endowed with both humor and cooking talent among many other things. Bruce is the chef and Mark is the writer. Together they are a team that has produced many best selling cookbooks and a great podcast. I suggest you subscribe to it. Bruce and Mark adapted the recipe from the book All Under Heaven by Carolyn Phillips.

These wings are perfect for your Superbowl party, or just for a fun diner with a kick. You can adjust the heat by adding more chiles or leaving the seeds in some of the chiles. A wok or large skillet will work for this.

Ingredients: 

  • 24 chicken wings, divided by cutting the drumette from the winglets and discarding the “flipper”
  • 1/2 cup of cornstarch
  • 4 cups of peanut oil
  • 8 cloves of garlic, peeled and thinly sliced
  • 3 scallions finely sliced (green and  white parts)
  • 2″ of ginger, peeled and finely chopped.
  • 20 (or more) Japones dried chiles, stemmed and seeded
  • 3/4 cup plain rice vinegar
  • 7 TBS sugar (I used Indian Jaggery, grated)
  • 3 TBS “regular” soy sauce. If you are buying it in an Asian grocery this is called “light” soy as opposed to the darker, thicker soy.
  • 2 tsp crushed Szechuan peppercorns, lightly toasted and crushed in a mortar and pestle

Method:

Wings drying

  • In a zip lock bag, toss the chicken wings in the corn starch and place on a rack to go into the refrigerator over night or for 12 hours. This sufficiently dries out the chicken and makes it crisp up perfectly.
  • When ready to assemble, heat the oil in a wok to 375  and fry the wings in small batches so that you are not over crowding. You can use a fat thermometer to assure even heat.
    wings frying
  • Remove the wings to a rack to drain.
    Wings fried
  • Pour and strain the oil into another container.
  • In the wok, add aromatics: ginger, garlic and chiles. Stir fry briefly.
    Wings sauce
  • Add the soy, rice vinegar and sugar, stirring while cooking
  • When fully incorporated add the wings and stir to coat
    Wings saucaed

I think he liked them!

Wings finished


Pozole Rojo in an Instant Pot

Standard

Pozole 2

When I was in cooking school in Mexico, we went to Taxco, the “silver city” often. I had also been there many times when I was growing up. The hillside town has silver mines and many silversmiths catering to shoppers. With every visit we would go to the Pozolerias for lunch or dinner. If we were lucky,  we would be there on a Thursday we could get the Pozole Verde (green). On other days there was Pozole Rojo (red) and Blanco (white). Traditionally Pozole was made with pork. I know this is gross, but back when the Aztecs were sacrificing humans, they even used human flesh and later, pork tasted more like human flesh. Over the centuries it has developed into a regional stew with pork, chicken or even vegetarian ingredients.

Pozole is the Mexican name for treated corn, also known in the US as hominy. Since maize was a sacred plant for the Aztecs and other inhabitants of Mesoamerica, pozole was made to be consumed on special occasions. The conjunction of maize (usually whole hominy kernels) and meat in a single dish is of particular interest to scholars, because the ancient Americans believed the gods made humans out of masa (cornmeal dough).

This recipe is for the rojo pozole with chicken and it includes home made stock as well as an abundance of dried chiles. In this case I used ancho and guajillo which make a rich and delicious stew.

When pozole is served, it is accompanied by a wide variety of condiments, potentially including chopped onion, shredded lettuce or cabbage, sliced radishes, avocado, lime, cilantro, tostadas (freshly cooked tortilla chips), Mexican Crema and/or chicharrones (fresh fried pork skin).

While this recipe is developed for the Instant Pot, it can also be made in a dutch oven or pasta pot. The cooking time will be much longer.

A note about the hominy/pozole: This can be made with canned hominy, but I suggest you take the time to soak and make your own. It will have much better texture and flavor. You can buy prepared hominy by Rancho Gordo, however, it is smaller than the kind purchased in Hispanic Markets or the kind you will make yourself.  Both will need to be soaked over night and cooked in the stock for about 30-50 minutes in the IP.  If you are cooking in a regular pot it will take 2-4 hours depending on the kind you are using. The Rancho Gordo Hominy takes less cooking time because of the size of the kernels. If you really want the original flavor you can buy large heirloom corn from Anson Mills (my favorite heirloom provider) and make your own. It is an extra step, but well worth the effort. Directions can be found here: How to make Hominy from Corn.

Pozole1

Ingredients: 

  • Chicken stock made from a whole chicken
  • Breast  and thigh meat from the chicken, reserved
  • 2 cups of dry hominy soaked for 8-10 hours
  • 6 ounces each of dried Ancho and Guajillo chiles
  • 1 onion cut in large chunks
  • 8 cloves of peeled and smashed garlic
  • 1 tablespoon of Mexican Oregano (or marjoram)

Method: 

Chiles1

  • Drain the hominy and rinse.
  • Put the hominy in the Instant pot and cover it with stock, about 3″ above the hominy.
  • Cook on the bean function for about 30 minutes if using Rancho Gordo Hominy, 60 minutes if you are using the Mexican Pozole. Check for doneness. It should be somewhat al dente, but not tough or difficult to bite into. Avoid over cooking it to retain integrity of the kernels.
  • While the hominy is cooking,  use a large skillet to toast the chiles in even batches. When toasted, break open and remove seeds and stems. Put them in a blender with the garlic and onion.
  • When the hominy is cooked, take off about 1 cup of the stock and pour it into the blender and puree the chiles till smooth.
  • Pour the blender contents into the Instant Pot, stir in oregano and seal. Cook on Bean setting for 15 minutes.
  • To serve, put some of the chicken into bowls and ladle the pozole over it.
  • Serve with garnishes mentioned above.

Pozole3

Join me on Facebook!

Caramelized Onion, Cheese and Phyllo Tart

Standard

Tart on plate

This tart is so easy to make and it is scrumptious. Since I made it for two of us, I halved the recipe that I usually make for parties etc. When serving many people I cut it into one inch squares and place in cupcake papers. This full recipe is made in a half sheet pan. I use a quarter sheet pan for the half recipe.Line either size with parchment paper.

Ingredients:

  • Half a package of phyllo, thawed.
  • 6 onions
  • 4 tablespoons Sweet Onion Sugar (optional)
  • 1/3 cup olive oil
  • 1 box (5.2 oz) Boursin Cheese
  • 2 cups arugula
  • juice & zest of one lemon (Meyer if you can get it)
  • Salt and Pepper
  • Splash of olive oil

Method:

Heat oven to 400 degrees

  • Make caramelized onions by sauteeing the sliced onions in a little olive oil. Add the sweet onion sugar. cook down on low for an hour, stirring frequently. Allow to cool slightly,
  • Lay out the Phyllo dough, cover with plastic wrap and top with a wet kitchen towel.
  • Lay out two sheets of phyllo on to the baking sheet, then brush with olive oil and continue the process until all of the sheets have been laid out. Keep replacing the plastic and towel in between layers. Some of the phyllo should hang over the edge. Brush a layer of oil on the top sheet.
  • Spread the onions out evenly on the phyllo
  • Crumble the cheese over the onions
  • Add salt and pepper to taste
  • Bake for 20 minutes
  • Toss the arugula with the lemon juice and olive oil, then top the tart with it.
  • Lay the tart out on a cutting board (just pull the paper out onto the board) and cut with a pizza cutter.

This can be served warm or room temperature. It keeps for a week in an air tight container.

Ricotta Gnudi with Mortadella Polpetti and Nona’s Fresh Tomato Sugo

Standard

mortadella

Artisan Meat Share Mortadella

Ever since I saw Craig Deihl’s post on Facebook, showing his house made mortadella at Artisian Meat Share, I have been looking forward to trying it. I am inspired by Chef Ken Vedrinski’s (Tratoria Lucca) Ricotta Gnudi with Mortadella Polpetti (little meatballs). Tratoria Lucca is one of my favorite Charleston restaurants and the reason is Ken Vedrinkski. He is a hands on chef owner who absorbs himself in his cuisine in a way that most chefs simply do not hold a candle to. He sources many Italian delicacies on his frequent trips across the Atlantic, finding the most special olive oils, wines and cheeses to bring  back to Charleston. He also has special relationships with fishermen, ranchers and farmers who bring their goods to the back door of his restaurant.

Ken-Vedrinski

Gnudi are gnocchi-like dumplings made with ricotta cheese instead of potato, with very little or no flour. The result is often a lighter, “pillowy” dish, unlike the often denser, more chewy gnocchi.

There are three elements to this meal, they come together in a perfect symphony of flavor and texture.

Tomato Sugo Ingredients:

  • 1/2 cup olive oil
  • 1 generous pinch crushed red pepper
  • 8 plum tomatoes, peeled, seeded and crushed
  • 10-12 cloves of garlic, finely minced
  • 1/2 cup of butter
  • Salt to taste

Method: 

  • Place olive oil in a pot over medium heat.
  • Add garlic and chili flakes
  • Saute 2-3 minutes
  • Add tomatoes and butter, blend well and add salt to taste
  • Reduce heat, cover and simmer about 30 minutes. Remove from heat.

Butter in the sauce

Mortadella Polpetti Ingredients: 

  • 4 slices of day-old ciabatta, crust removed
  • 2 cups milk
  • 5 ounces ground pork
  • 5 ounces ground mortadella (if you cannot find it, then use good quality bologna and finely chopped pistachios along with some black pepper)
  • 1/4 cup porcini powder
  • 1 large egg
  • 1 cup ground Parmesan
  • 3 tablespoons chopped flat leaf parsley

Method:

  • Soak cubes in milk for 5 minutes,then squeeze dry.
  • In a large bowl add remaining ingredients until well combined. Cover bowl, then refrigerate 1 hour.
  • Form Polpeti into 1 inch balls.
  • 45 minutes before serving time, add the polpetti to the sauce and put on a simmer burner at very low temp.

Meatballs cooking

Gnudi Ingredients: 

  • 16 ounces good quality fresh ricotta
  • 5 ounces microplaned Locatelli Pecorino Cheese
  • 1 egg
  • 1 egg yolk
  • 2/3 cup 00 flour (available at Italian specialty stores or online), plus more for dusting.

Gnudi Method: 

Gnudi before boiling

  • Mix all ingredients in a large bowl till a dough forms. Be gentle when mixing. cover bowl and chill for 1 hour
  • Dust the bottom of a sheet pan with flour.
  • Place dough on a floured work surface and roll into a 1 1/4 inch diameter log. cut on the bias into one inch pieces.Place on the floured surface
  • Bring a large pot of salted water to boil
  • Shake extra flour from gnudi. gently place in the pot cooked till cooked through. Put in a bowl and toss with the sauce.
  • Serve with freshly grated parm.

gnudi in sauce

My Best Shrimp and Grits Recipe

Standard

grits close up

Living in the Low Country where the best shrimp in the world is harvested, one is soon drawn to a variety of shrimp recipes and there is one dish that is so classically Charleston which always comes to the forefront. This was and still is a great breakfast recipe, but I love it for dinner. There are as many Shrimp and Grits recipes here as there are Charleston kitchens. I play around with the elements, sometimes adding cheese to the grits and sometimes adding chiles or okra to the shrimp element. I always use tomatoes, small shrimp and really good grits.

Grits

Let’s talk about grits for a moment. This dish would be seriously compromised by anything other than the very best stone ground grits you can find. I prefer mixed grits, a combination of yellow and white grits. If you live in Europe, you can use coarse polenta. Polenta is always made with yellow corn. Whereas southern grits are available in yellow and while as well as mixed (my favorite). Speckled grits mean that they leave the hull of the corn on (also my favorite).  I do like polenta for some things, it is not the same as good southern stone ground grits. At the bottom of this post I am adding a few links to what I consider the best online sources for the best grits. I am lucky that I can buy mine from Celeste Albers at the Charleston Farmer’s Market. But you can buy really great grits online now.

shrimp boat

Now, let’s talk shrimp. Buy wild caught when you can. For this recipe I really like small shrimp. Not the tiny ones for salads, but about an inch or two long. Buy them with the shells on and peel just before cooking. If you freeze shrimp, put them in a zip lock bag and fill with water, making an ice block.  There will be no freezer burn. I am lucky to be able to go to the docks and get shrimp caught that day here. You may not be so lucky. Our shrimp season is from June-December give a week or two. This is to promote sustainable fisheries. Our shrimp are born early in the year and grow in our incredible estuaries (a series of creeks, marshes and rivers) and then swim to the sea in late May.

On to the recipe! This is one of my favorites, but I play around with it all of the time.

Shrimp and Grits Sassy Spoon Style

My grits recipe is done in a rice cooker, but if you do not have one, follow instructions on the bag. Here is a link to my recipe: https://sassy-spoon.com/2012/07/19/grits-in-a-rice-cooker-perfection/

Mise en place

Ingredients:

  • One recipe of grits for four, cooked
  • 3/4 pound small shell on shrimp, shelled
  • 1/2 cup of butter &/or olive oil
  • 5 garlic cloves finely chopp
  • 1 onion, finely chopped
  • 1/2 cup of sliced okra (optional)
  • 1/4 cup chives
  • 2 cups tomatoes chopped
  • Pork in one way or another. In this recipe I used a Chinese sausage. You can also add cooked bacon or andouille sausage.
  • Your favorite hot sauce
  • Sea salt and lots of fresh ground black pepper

Method:

  • If using sausage or bacon, brown slightly in a skillet, remove and reserve
  • Put the butter/oil in the skillet
  • Add onion and saute till the onion just starts to turn golden.
  • Add garlic and saute another minute
  • Add tomatoes, herbs, hot sauce and seasonings, cook for 10 minutes on simmer
  • Add shrimp and stir. It will be ready when the shrimp starts to turn pink.
  • Scoop out the grits and top with the shrimp mixture
  • Garnish with chives or parsley

Here are some sources for great stone ground grits.

Re-Creating Husk’s Kentuckyakai Chicken Wings, Something different for Superbowl

Standard

image

Many people have heard of Husk. It is a terrific restaurant here in Charleston. Chef Sean Brock is at the helm. Last year they also opened a Husk Nashville location. Sean has a passion for all things southern and everything at Husk is made from southern ingredients. At a lunch there I tasted their signature Kentuckyaki Chicken Wings. They utilize a sauce made by Bourbon Barrell Foods called Kentuckyaki Sauce.  The sauce is basically a kicked up teriyaki sauce made with southern ingredients (except for maybe the ginger). Since I did not have the sauce on hand and I wanted to try these wings for Superbowl… I checked the ingredients for the sauce on the Bourbon Barrell website and deduced that I have access to all of the ingredients to the sauce … so I did a dump and taste version of the sauce and here are the ending results:

Sauce Ingredients:
2 Cups Soy Sauce
1/2 cup Sorghum
1/2 cup local honey
1/2 cup Apple Cider Vinegar
8 cloves Fresh Garlic very finely grated
a 2″ piece of Fresh Ginger very finely grated
1 cup of Kentucky Bourbon divided in 1/2 cup portions

Add all ingredients except the final 1/2 cup of bourbon and simmer on medium low heat for 30 minutes. Add the second 1/2 cup of  bourbon and simmer for five minutes. Allow to cool completely. This the basic sauce, which is quite thin and can be used if you want to make more of a glaze, you can add a cornstarch slurry of 1 tablespoon of cornstarch mixed with 3 tablespoons of water. Add to the sauce and simmer further till thickened.

Prepping the wings:

Brine:

Make a gallon of sweet tea using mint just as you would for drinking (1 cup of sugar to 4 qts. water and 2 ounces of loose leaf tea). I add several sprigs of mint in mine too. I also added some juniper berries and about 1/3 cup of sea salt. Put the wings in a heavy duty ziplock bag or plastic container and refrigerate overnight, or up to 24 hours.

Smoke:image


Remove the wings from the brine and dry off with paper towels. Put them in a smoker for 3 hours on very low heat. You only want a small amount of smoke and you want the wings to retain moisture.

Fry:

Fry the wings in peanut oil (350 degrees) and drain. It is best to do this in small batches so that the oil maintains temperature. It should not go below 225 degrees. Drain the wings on a rack and then keep warm in the oven as you are frying.

Presentation:

image

Toss the wings in the sauce and place on a platter. Scatter sesame seeds and chopped chives on the wings. Enjoy!

These also go great with my North Carolina style coleslaw!

A Chef With the Heart of a Servant at Swig & Swine

Standard

Anthony
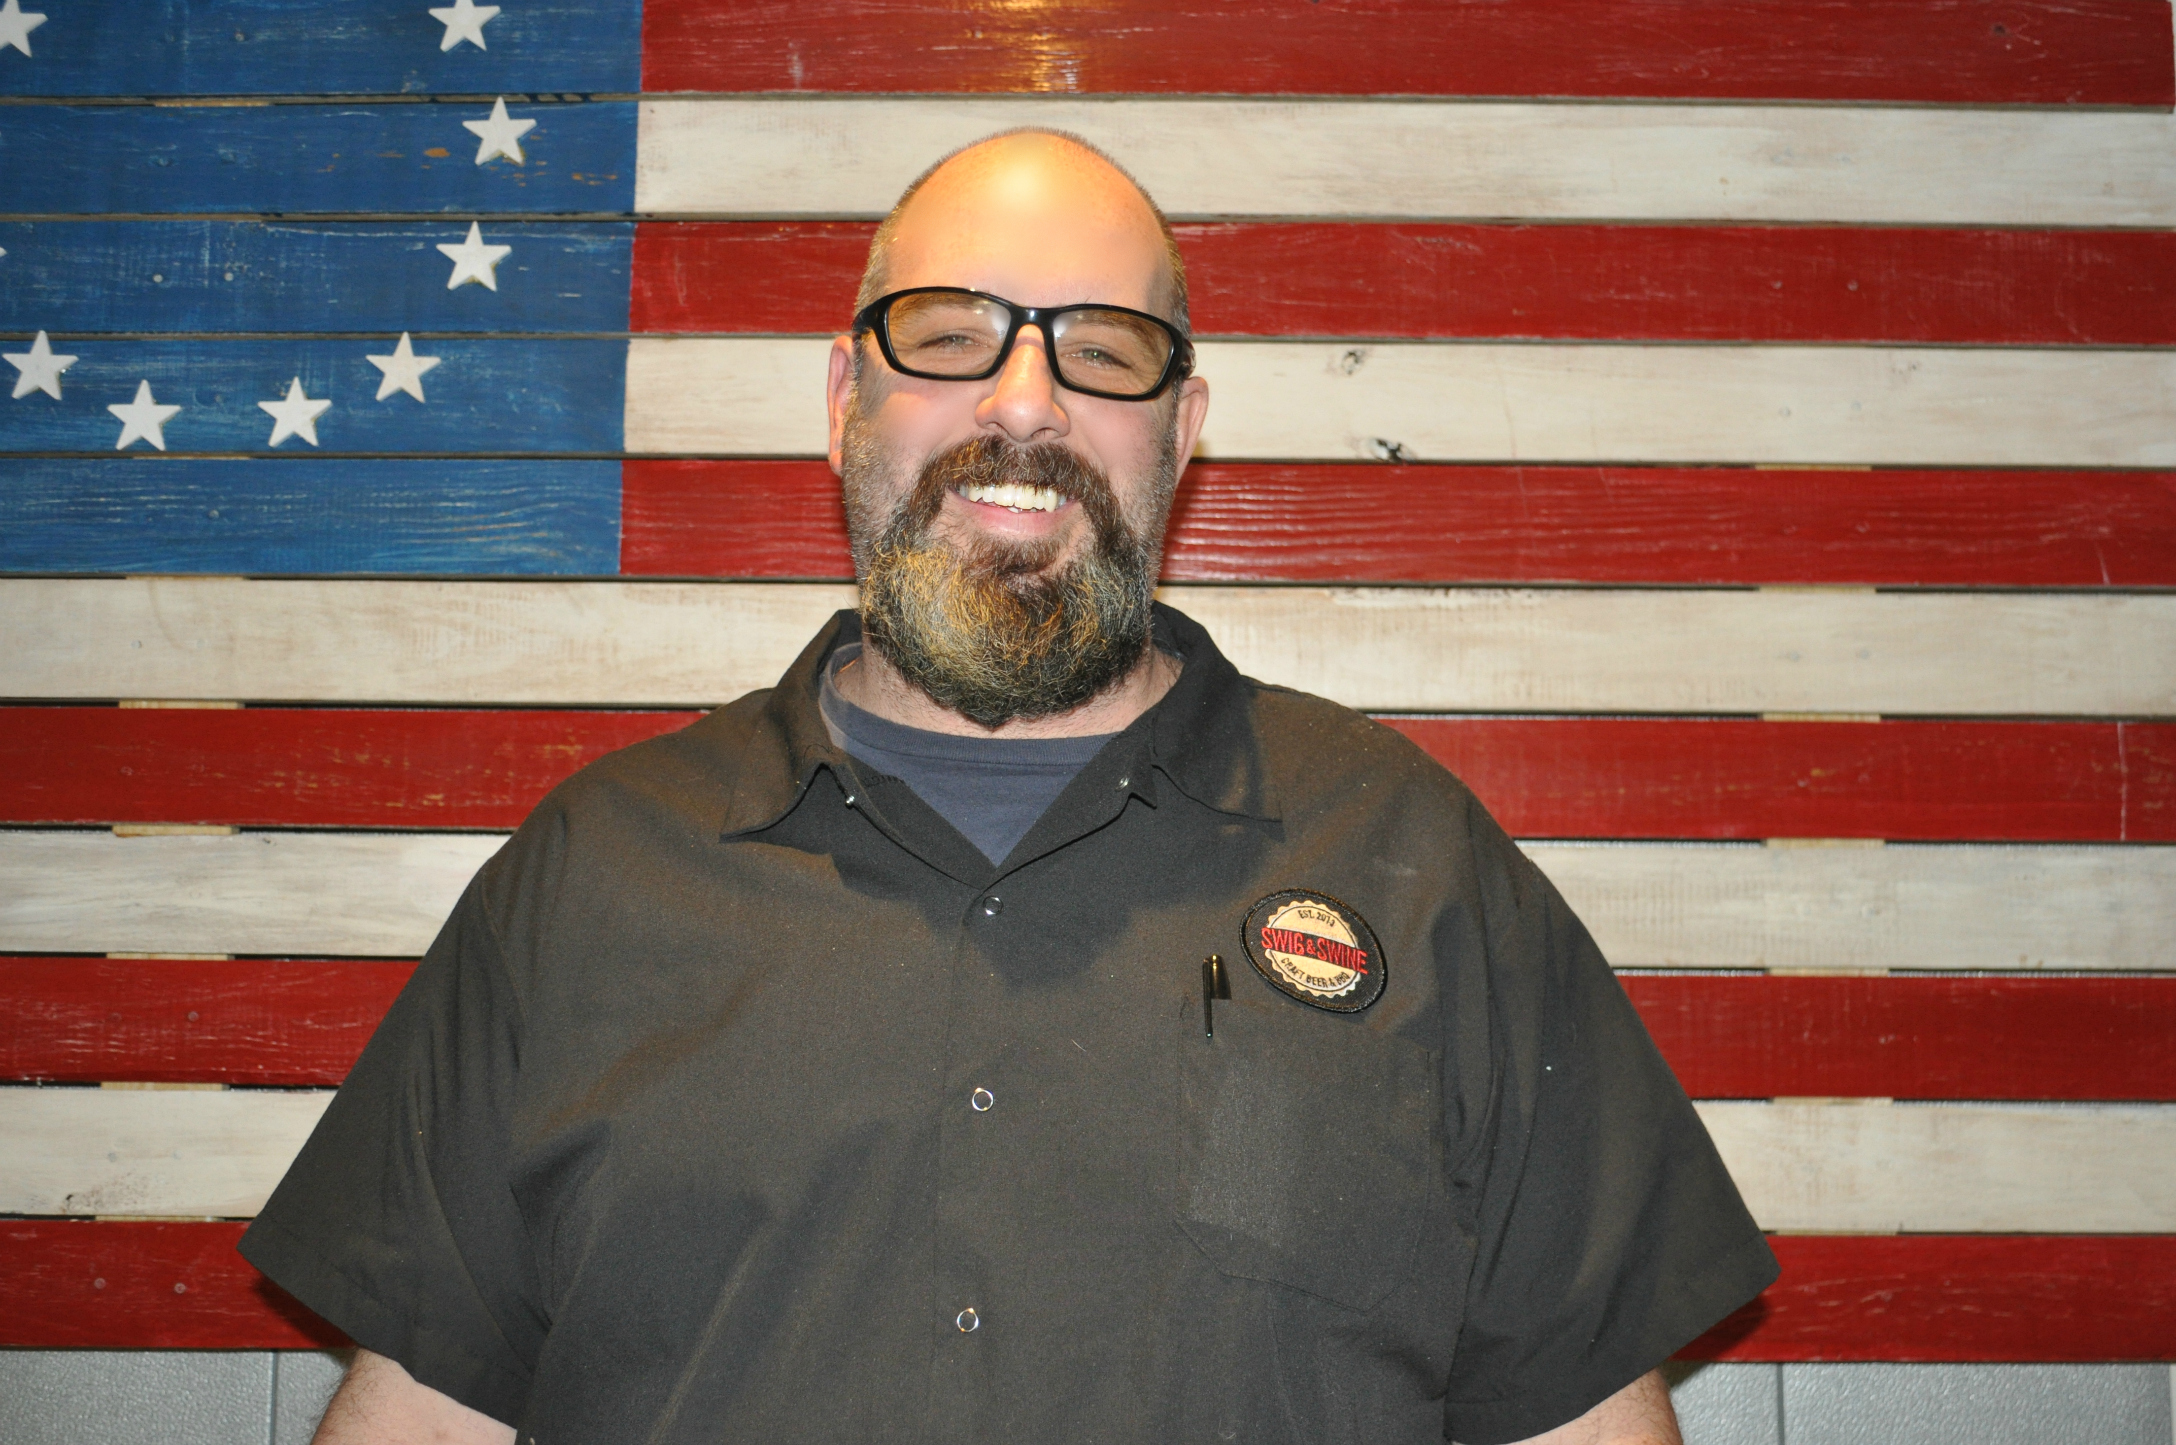
Last week I had the pleasure of spending a few hours with a remarkable man, Chef Anthony DiBernardo of the relatively new smoked meat (A.K.A. BBQ)  restaurant … Swig and Swine. His restaurant is new to the Low Country, but he is not. He has been cooking all over the Charleston area for many years. I was so impressed when I heard his story that I just had to meet him and do a profile to share it with y’all. If you are a frequent follower of this blog, you know I do not do restaurant reviews any more, that was relegated to my Chicago days. But I have been writing about food, where it comes from and who is cooking it for the last 14 years, sometimes in publications, sometimes on my blogs and Facebook. Here is the story of a Chef who has the heart of a servant. 

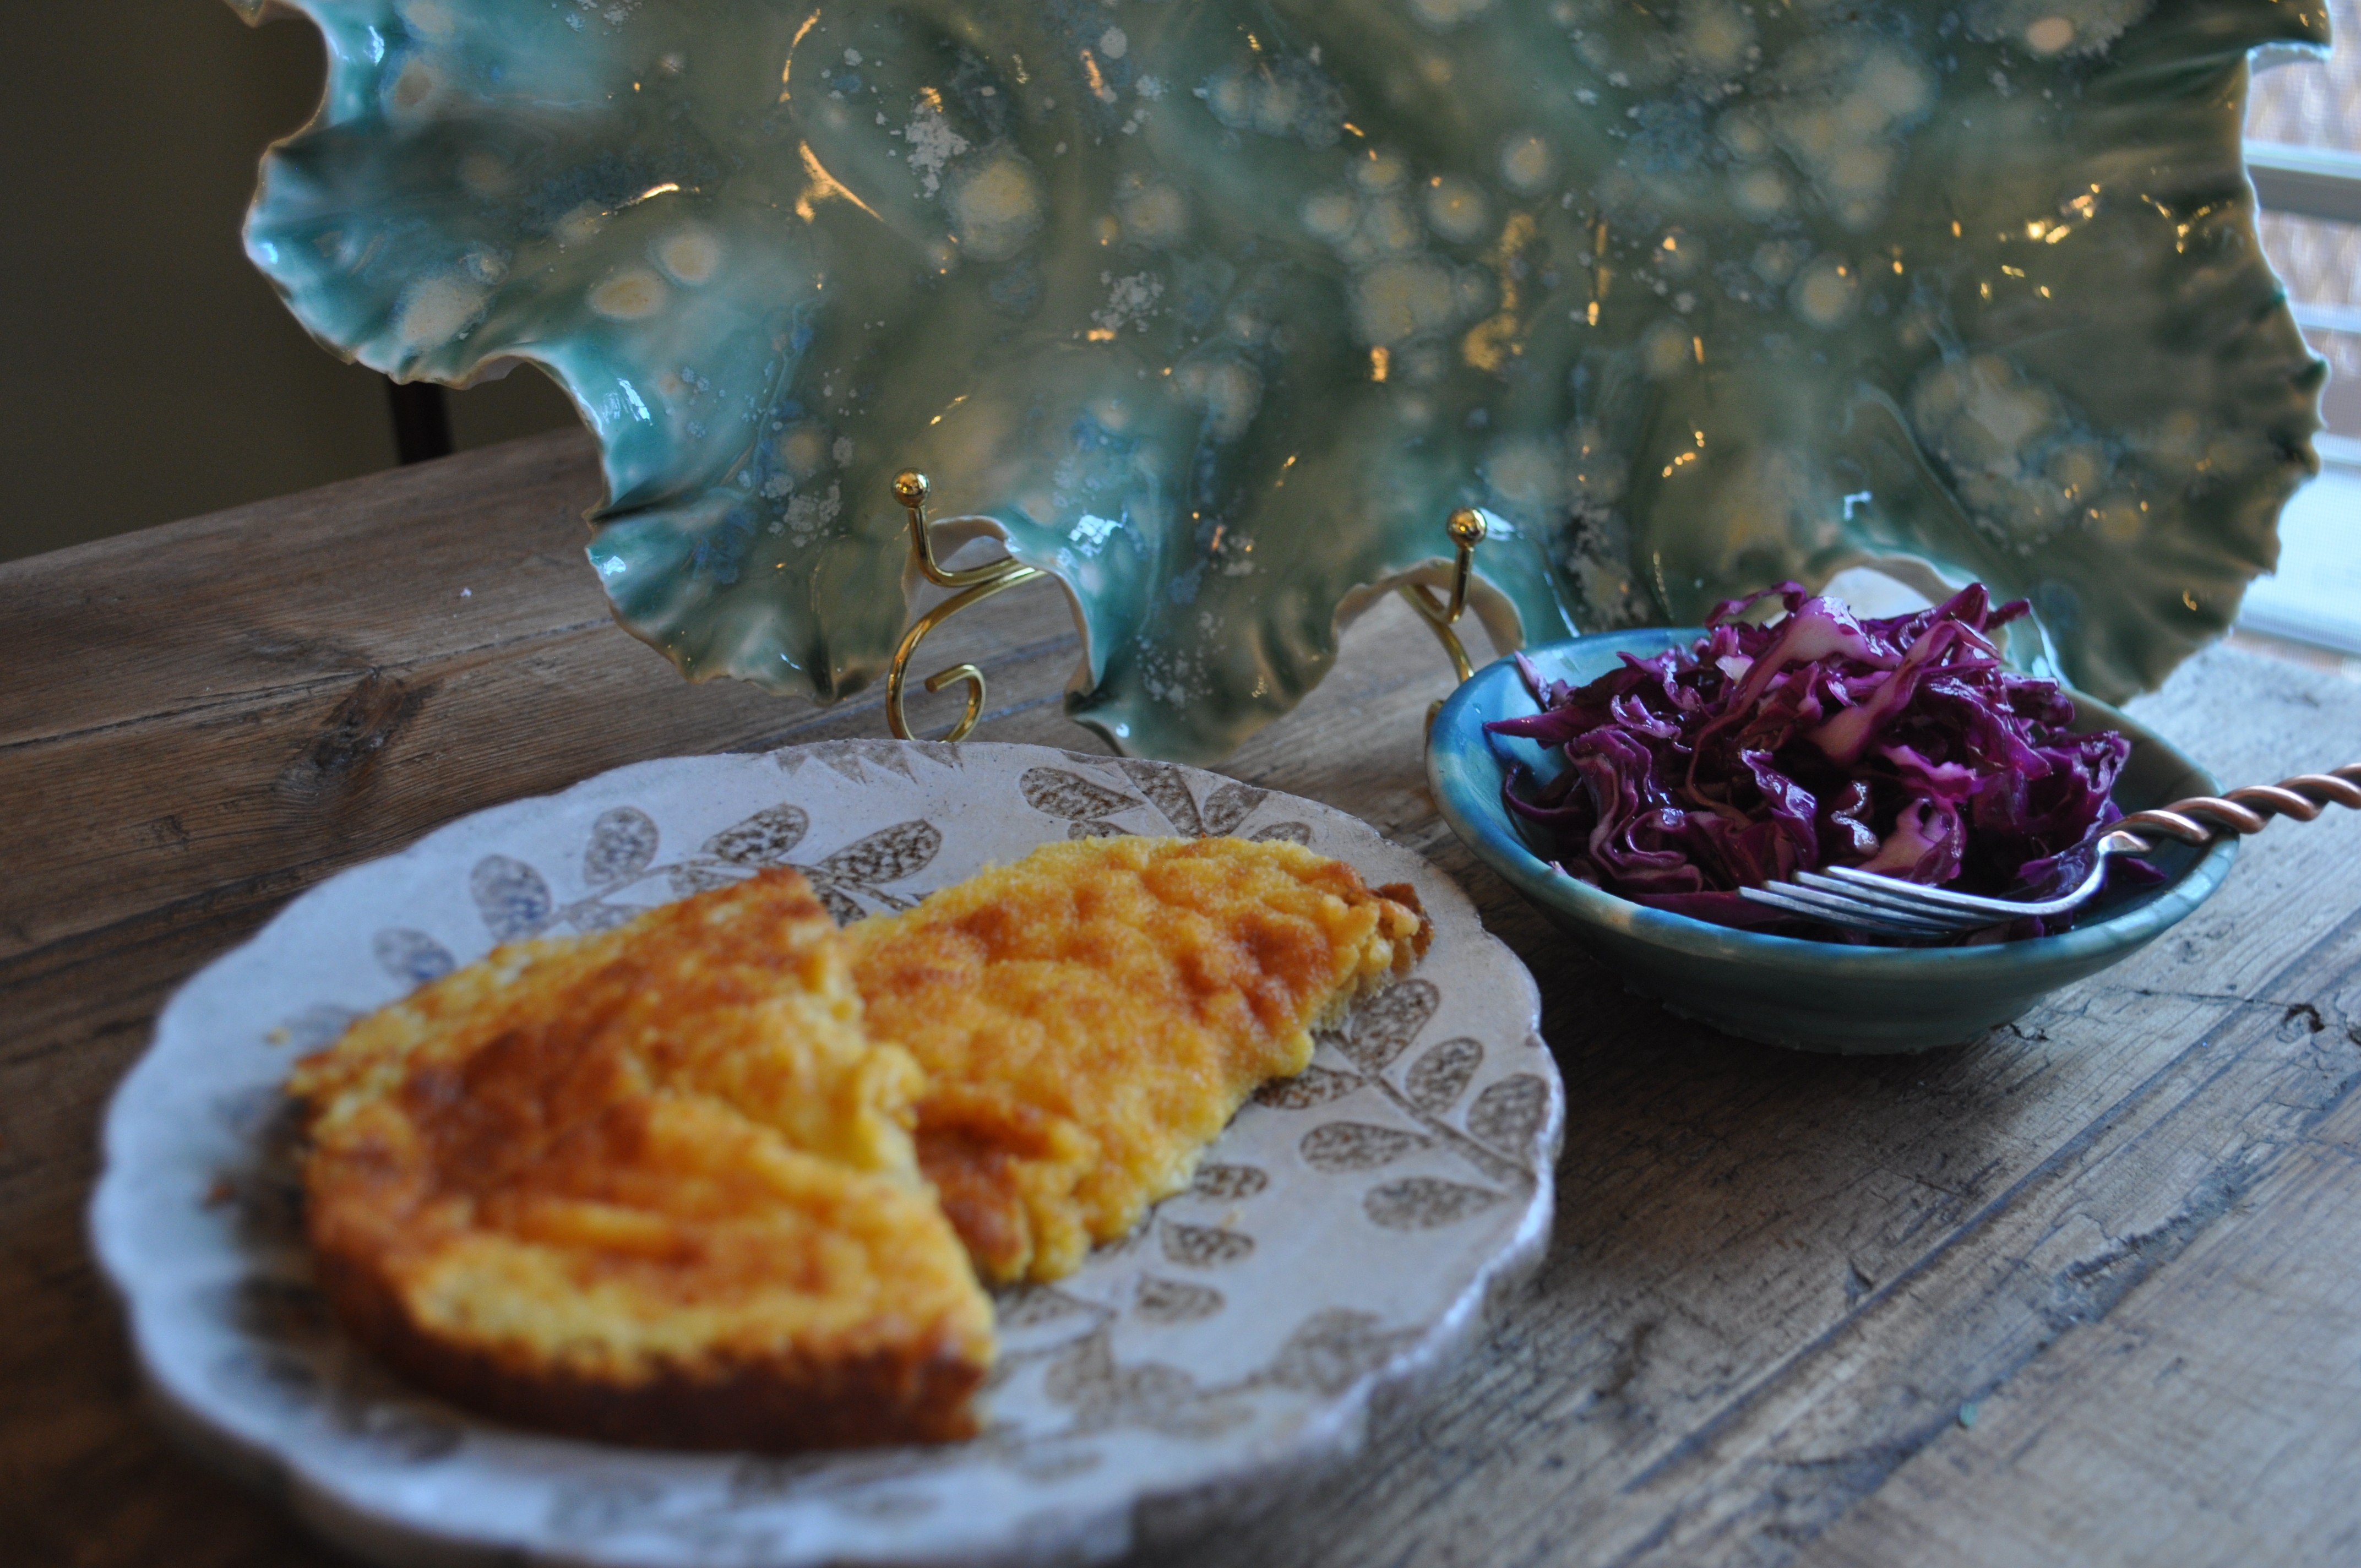
Click on any of these pics for a close up…

In the Beginning:

Anthony comes from rural southern New Jersey, technically in the suburbs of Philadelphia. Born to a Scotch Irish mother and Italian father he was the youngest of four children, the other three sisters, who were 16, 14 and 7 when he came into this world. His maternal grandmother died when she was young, so Anthony’s Italian grandmother taught his mother to cook. All she knew was Italian food. There were many big family gatherings full of wonderful food.

At the age of 14, Tony started a dish washing job at a local country club owned by Ron Jaworski. He took to the back of the house like a fish to water, quickly climbing to the hot line. By the time he was a Junior in high school he was working on the line at the Tellford Inn. That is the time he decided to enter the US Navy because his parents were about to retire and he did not want them to have to put him through college. He signed on with a delayed enlistment the summer of his Junior year. As soon as he graduated from High School in 1990 he was off to San Diego for 60 days of cooking school. He went to Submarine School in Connecticut and his first deployment was to Charleston where he stood stunned to find he was to submarine Batfish “687,” the same number as his parents’ address and his grandfather’s winning lottery number. It was no accident. He teared up telling me the story.

Cooking Underwater:
Imagine being one of three chefs cooking day in and out for 130 people on a nuclear submarine, never knowing exactly where you will be going or how long you will be there. They would put fresh provisions inside the torpedo tubes and switch the refrigerators to freezers for long hauls. They did all baking in the galley because that much bread would take up valuable storage space. He kept busy taking video courses, including one on Poetry by Maya Angelou.

A Charleston Chef is Born:
In May of 1994, Anthony climbed out of the submarine and started cooking all over Charleston. Starting at Blossom, then venturing on to the old resort at Kiawah where he was executive chef for four years. He assisted in opening the new hotel and all of their kitchens. It was a tough time, working long hotel hours, weekends, holidays and special events. In 2001, his son was born and he knew that he had to make a lifestyle change. He took some time off and at a church retreat he met Sal Parco, the owner of the Dine with Sal Restaurant Group. Anthony took the helm of the culinary team and opened The Long Point Grill, Uno Mas and Mustard Seed. After seven years, he moved on to Kickn’ Chicken Restaurant Group’s Rita’s on Folly Island. It was sold to Hall’s Hospitality Group in July of 2013 and that is when Anthony started to think about what he was going to do.

Dreaming:
He took 30 days to develop a game plan and drove around West Ashley scoping out locations. He fell in love with the old OK Tire Store and its retro look. It was next door to The Glass Onion, a popular spot for dining. He got the keys and walked the old store using graph paper to design his kitchen, dining room, smoker areas and bar. Suddenly there was a call from Steve Kish, chef and co-owner of 82 Queen, along with Johnathan and Patrick Kish, they wanted to talk to Anthony about opening a restaurant on the peninsula. He sold them another idea. A deal was struck and they became 50/50 partners in the new concept, Swig and Swine. It took every penny Anthony had and some of his family members’ funds to come up with his half of the opening investment.

DSC_0047

The Dream Comes to Life:
Permits were applied for in October 2013. The process was a long one and they did not all come through until March 2014. So what does a hard working chef do for five months while waiting for those permits? He builds the tables, the bars, the benches and the work spaces of the restaurant. He designed the smokers with the guys at Gorilla Fabrication. After the fancier one in front of the store, they tweaked the second one, adding more insulation to the smoke box. Each one is running several nights a week, fired by oak and hickory and finished off with pecan. At midnight at least three nights a week, Anthony starts the fires in both smokers. He has an assistant tending the smokers when he is not there. He spends all night minding the smokers, adjusting the flues and taking short cat naps on the wooden benches in the dining room. He works around the restaurant and leaves about 4 pm when he can spend some time with his wife, 12 year old son and 8 year old daughter, sometimes returning back to the smokers again at midnight.

Brisket

The Food:
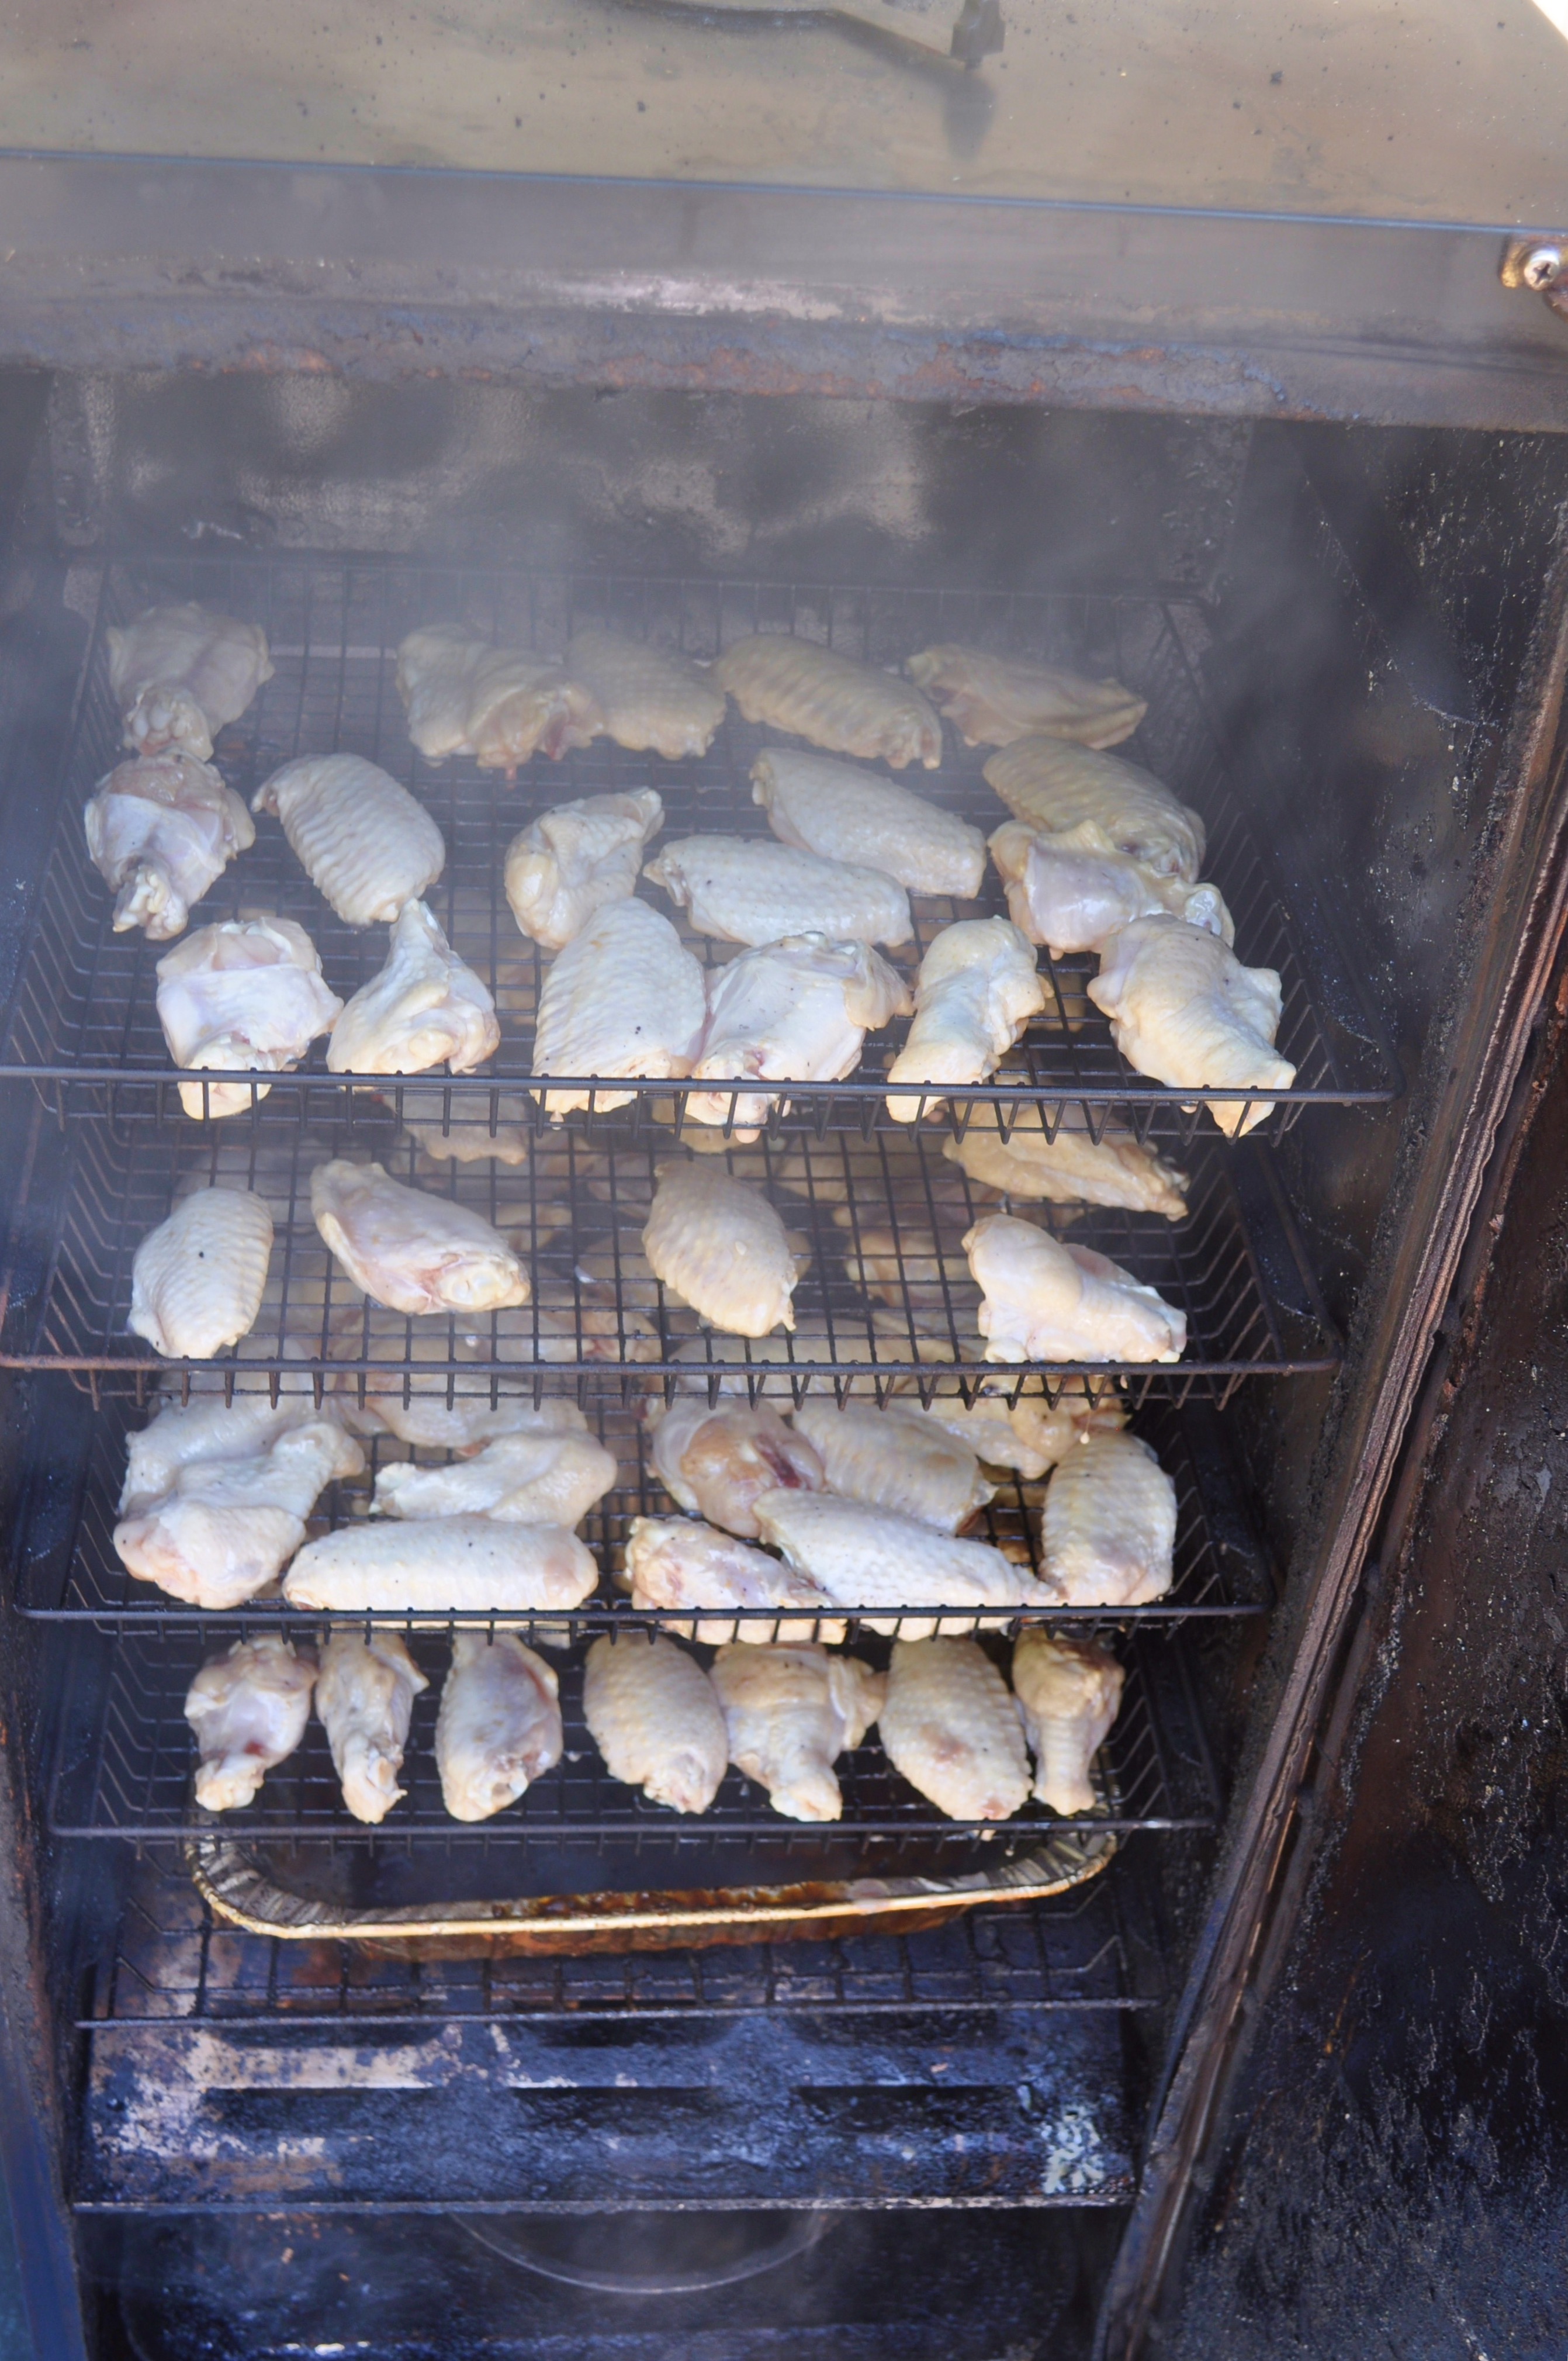
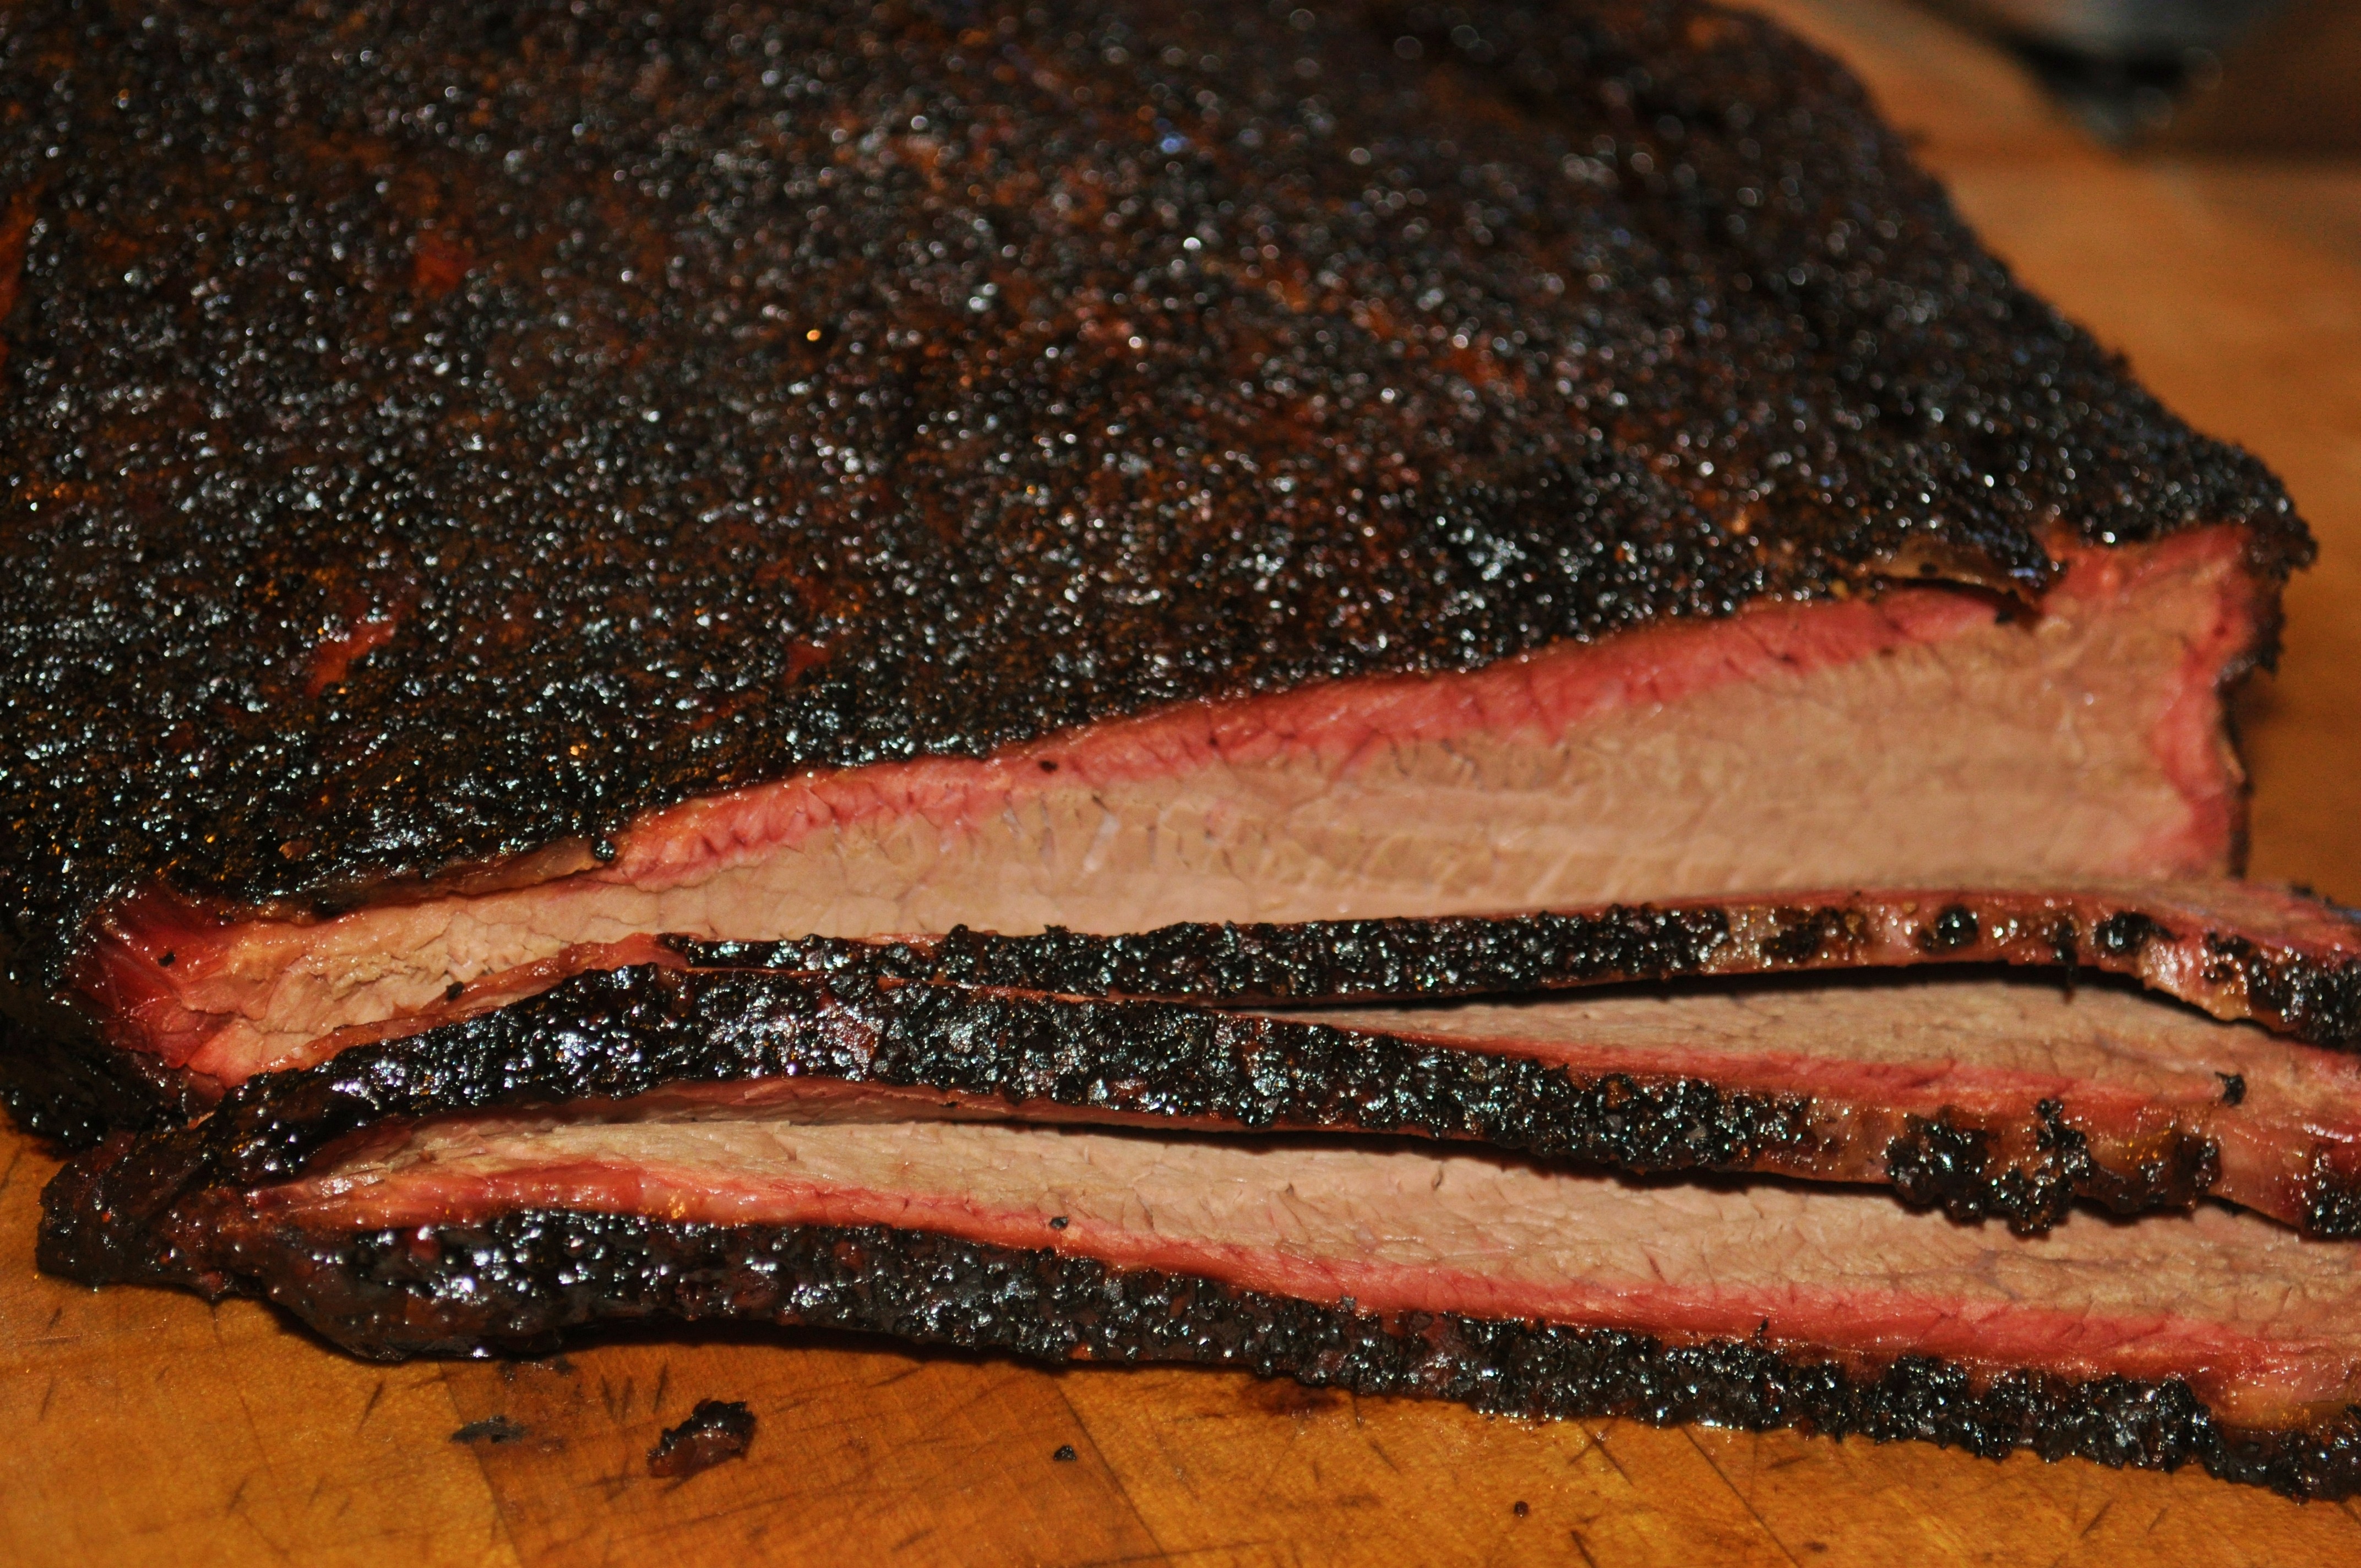
DiBernadino emphasizes that his place is a smoked meat restaurant, not just another BBQ joint. He broke from tradition by approaching the restaurant from a Chef’s perspective. Nothing is pre-processed. Everything depends on the food in those smokers every night. One bad move and they lose business for an entire day. 40 pound batches of meat are smoked and cooked 3 to 4 times in a 24 hour shift. When he is not spending the night next to the wood boxes, he keeps an eye on the smokers using remote cameras.

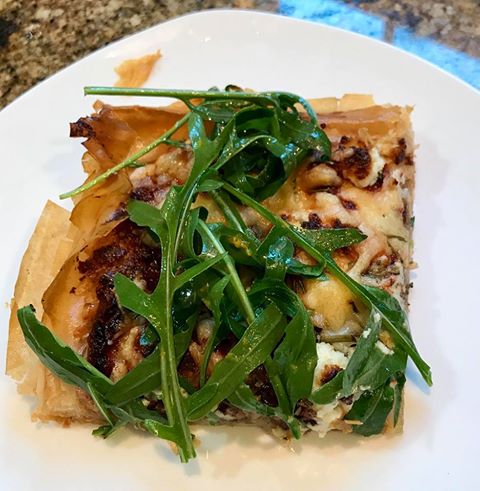
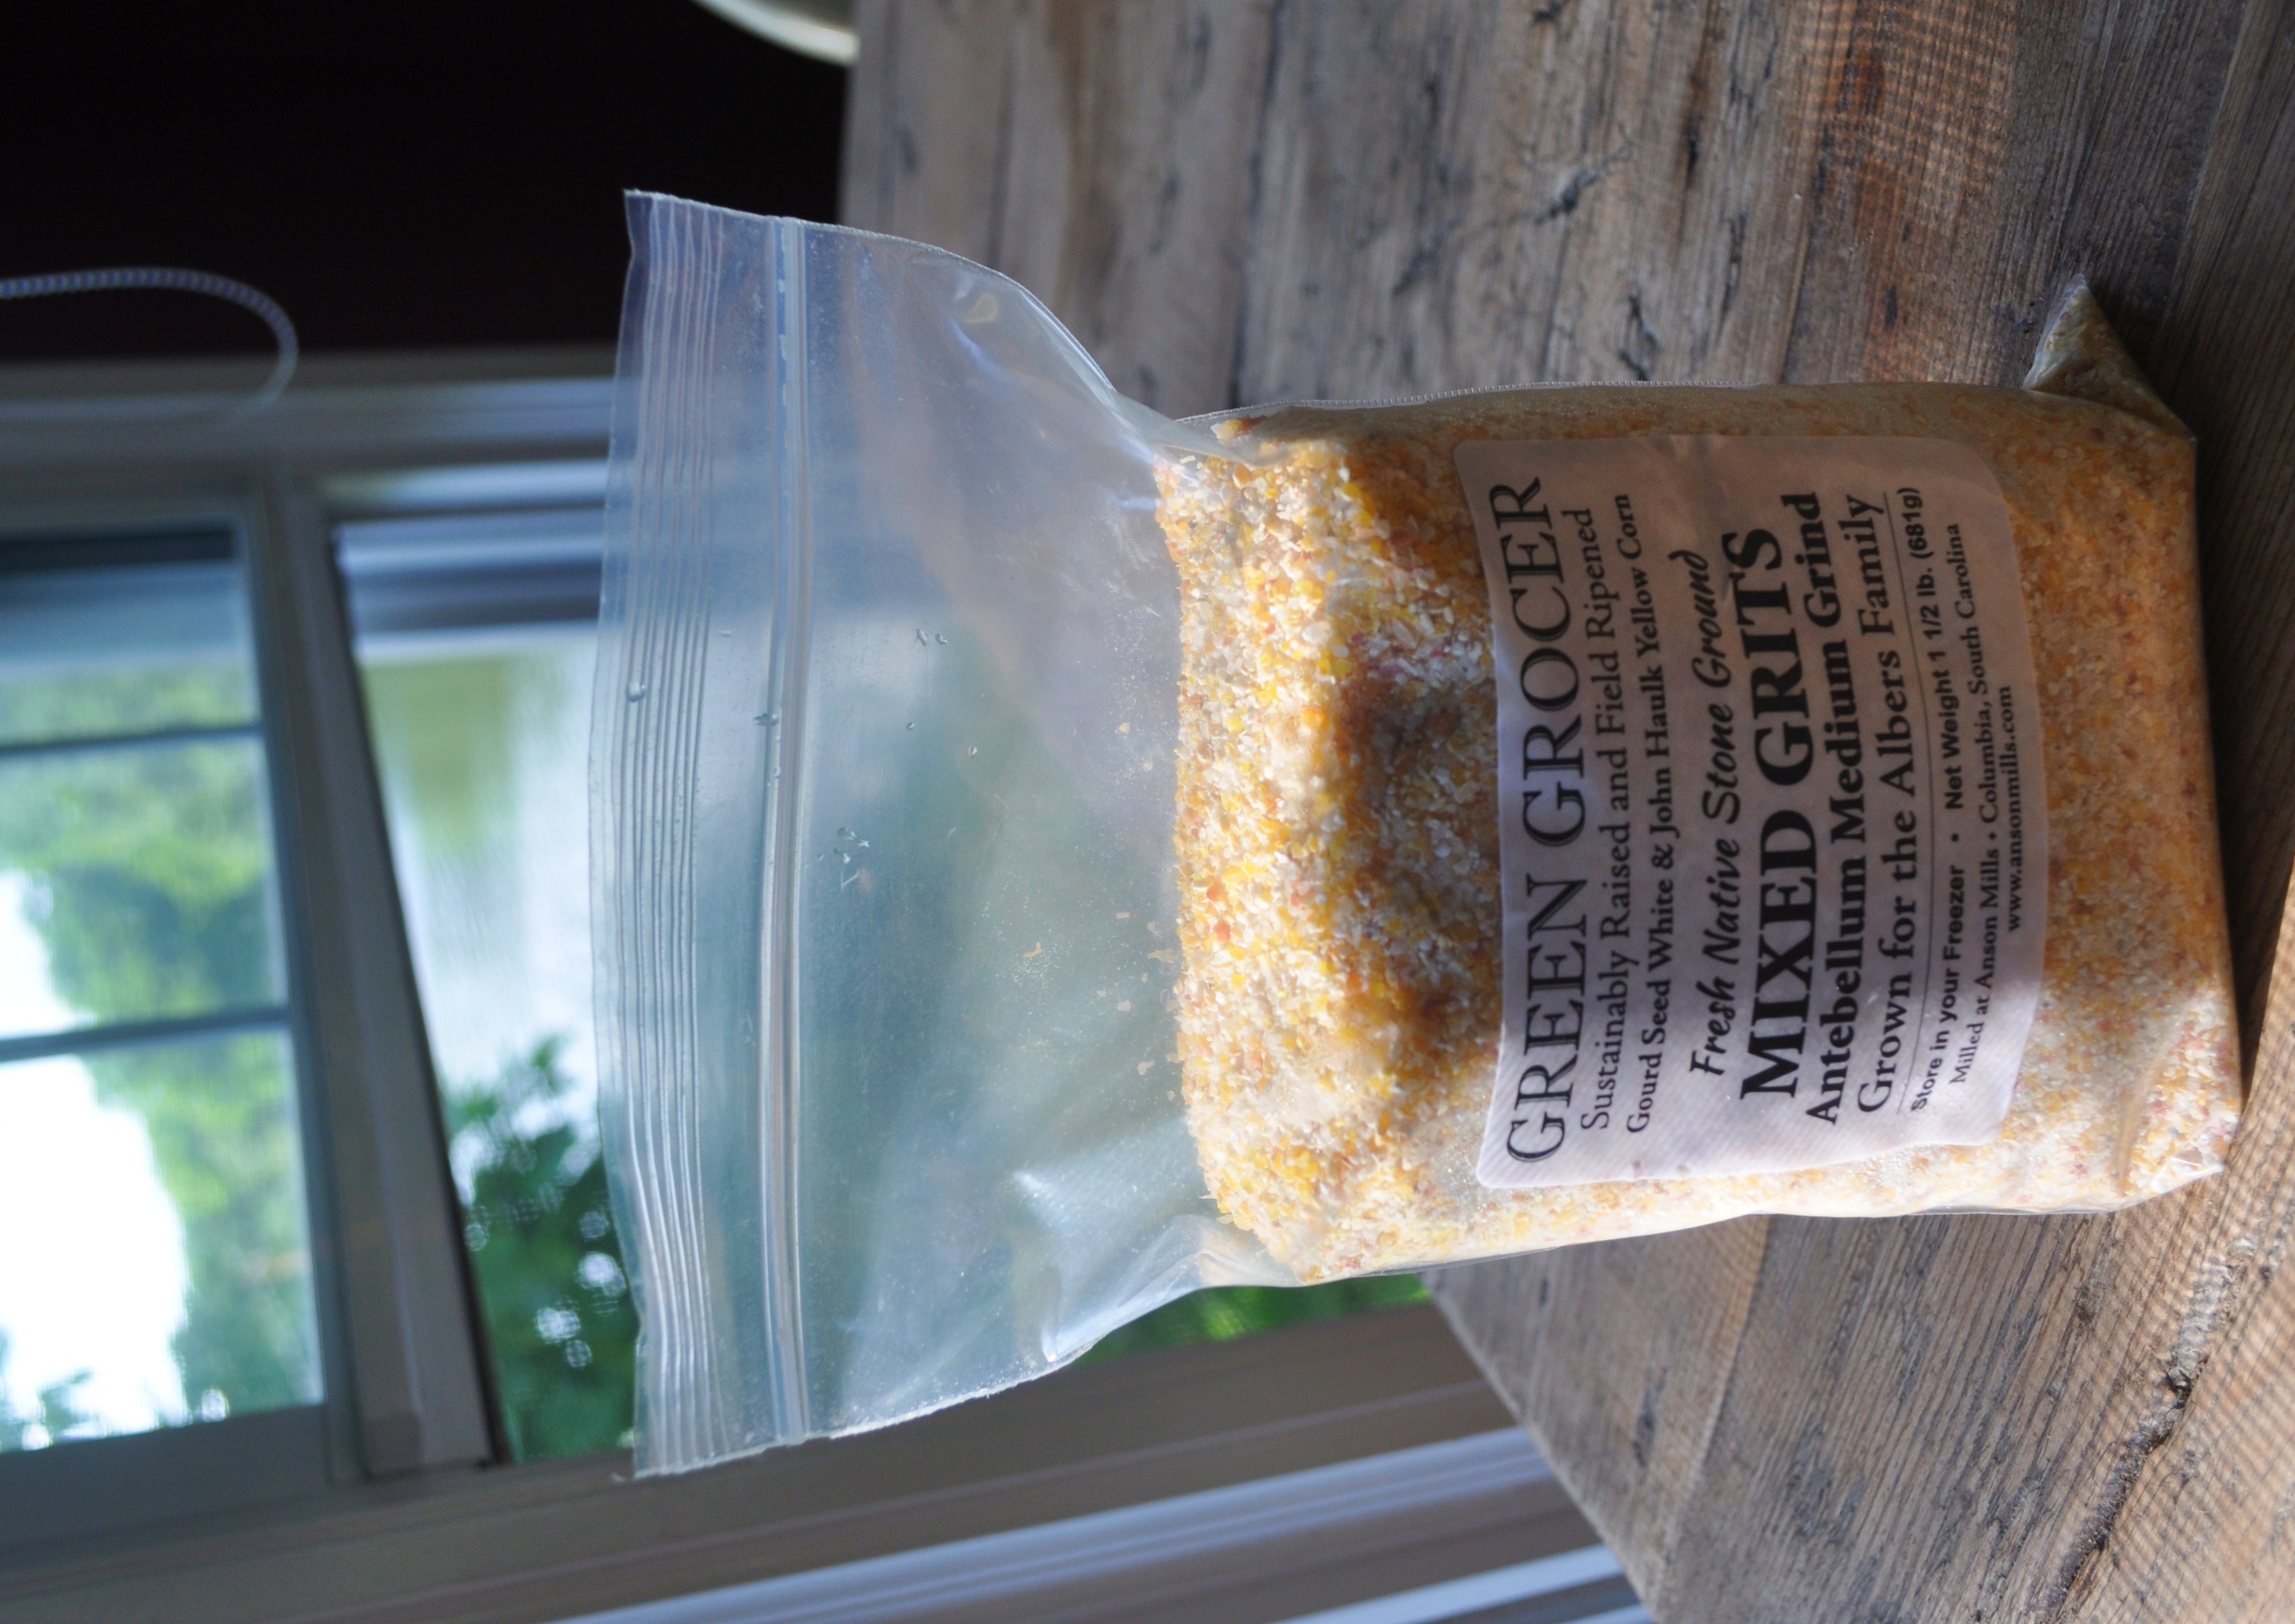
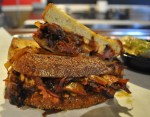
Brisket, chicken, turkey, pork belly, wings, ribs, house-made sausage and pork butt all have their place on the smokers. Freshly prepared smoked meats are placed in the case in the dining room just before lunch service and more continue smoking through the day so that the dinner service has fresh smoked meat. The wings and ribs have a dry rub with spices, everything else just gets old fashioned salt and pepper. Leftovers are usually made into a special sandwich. I had one with leftover ribs from the day before… incredible. It was on jalapeno corn bread loaf with BBQ onions and house made pimento cheese.

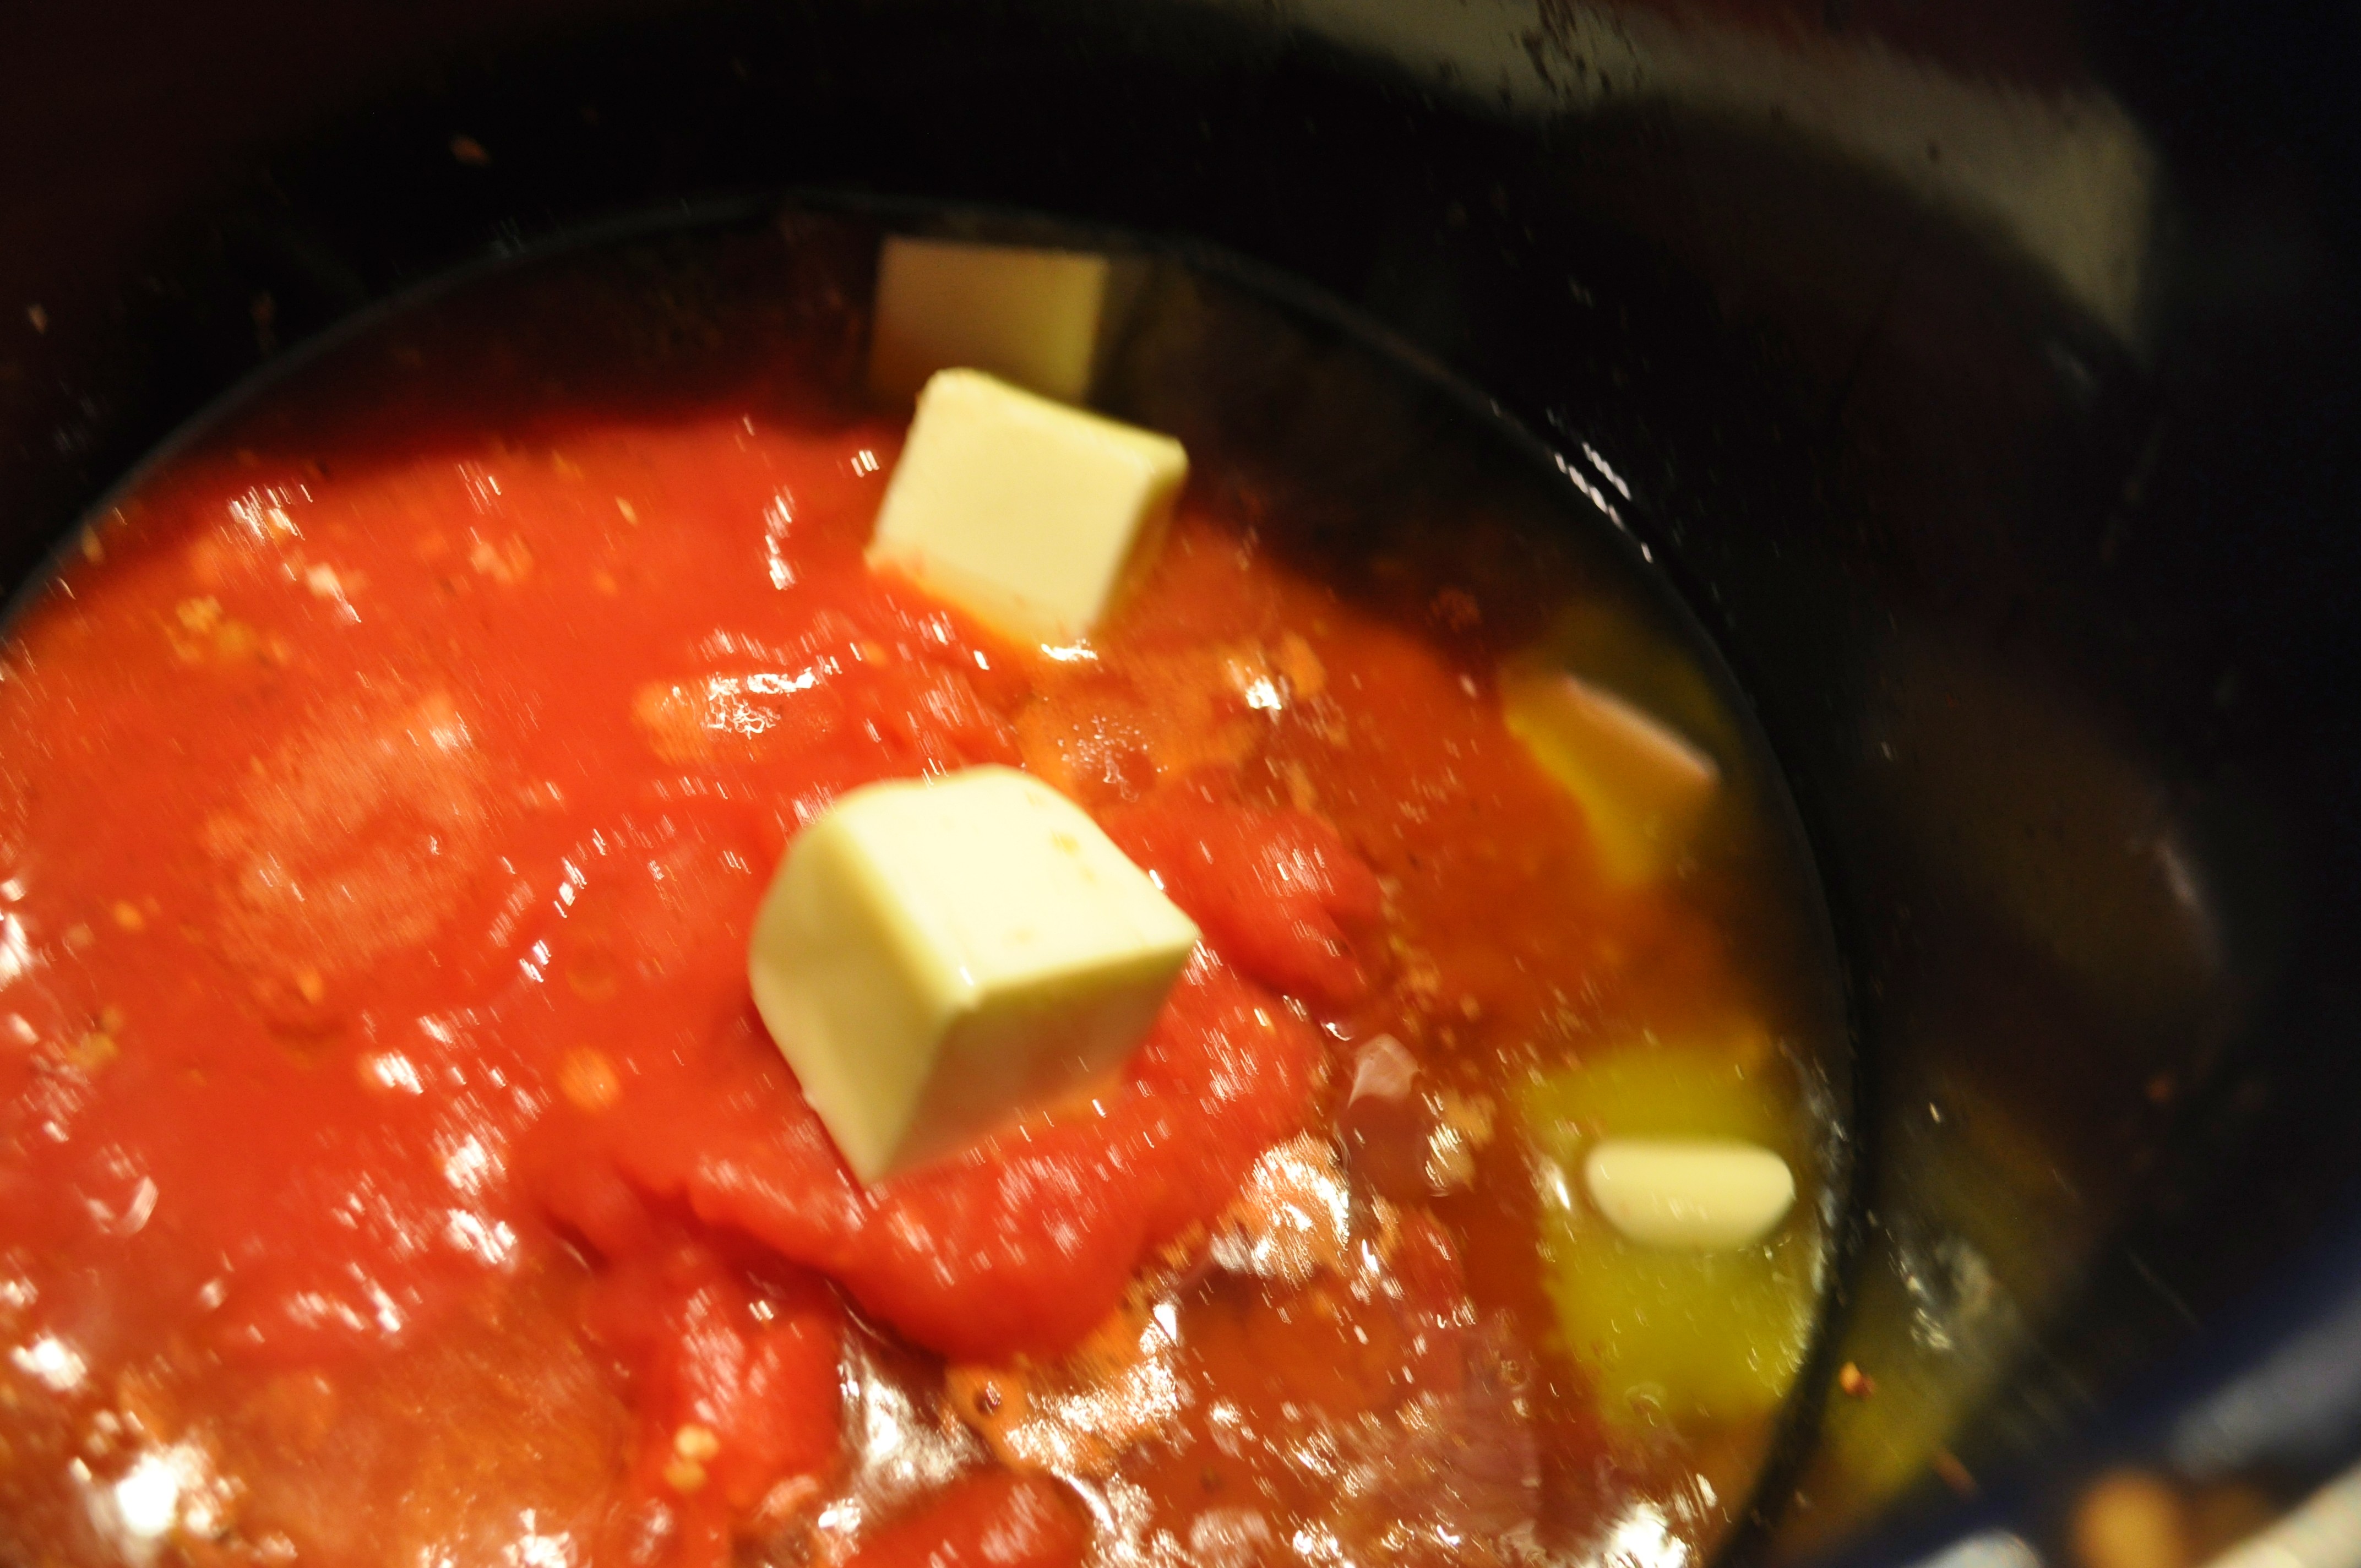
The sauces are all made in house, as are the sides which vary from day to day. The day I was there there was a fantastic dish with brussels sprouts, smoked mushrooms and béchamel sauce. The usual suspects are mac & cheese, collard greens (very well done), hash and rice, beans with brisket, baked potato salad, coleslaw, Brunswick stew and pickled vegetables. There are also house-made cucumber pickles on every plate with a slice of white bread and slices of onion.

Taps

Drink Up! The bar :
There are 52 Bourbons including 2 bottles of Pappy Van Winkle that reside under lock and key at night. He has recently started smoking bourbon, to make some of the best Manhattans on the planet. A terrific list of craft beers on tap and plenty more in bottles. Wines are also available. And of course there is plenty of sweet tea.


Anthony and Pappy

A Servant’s Heart:
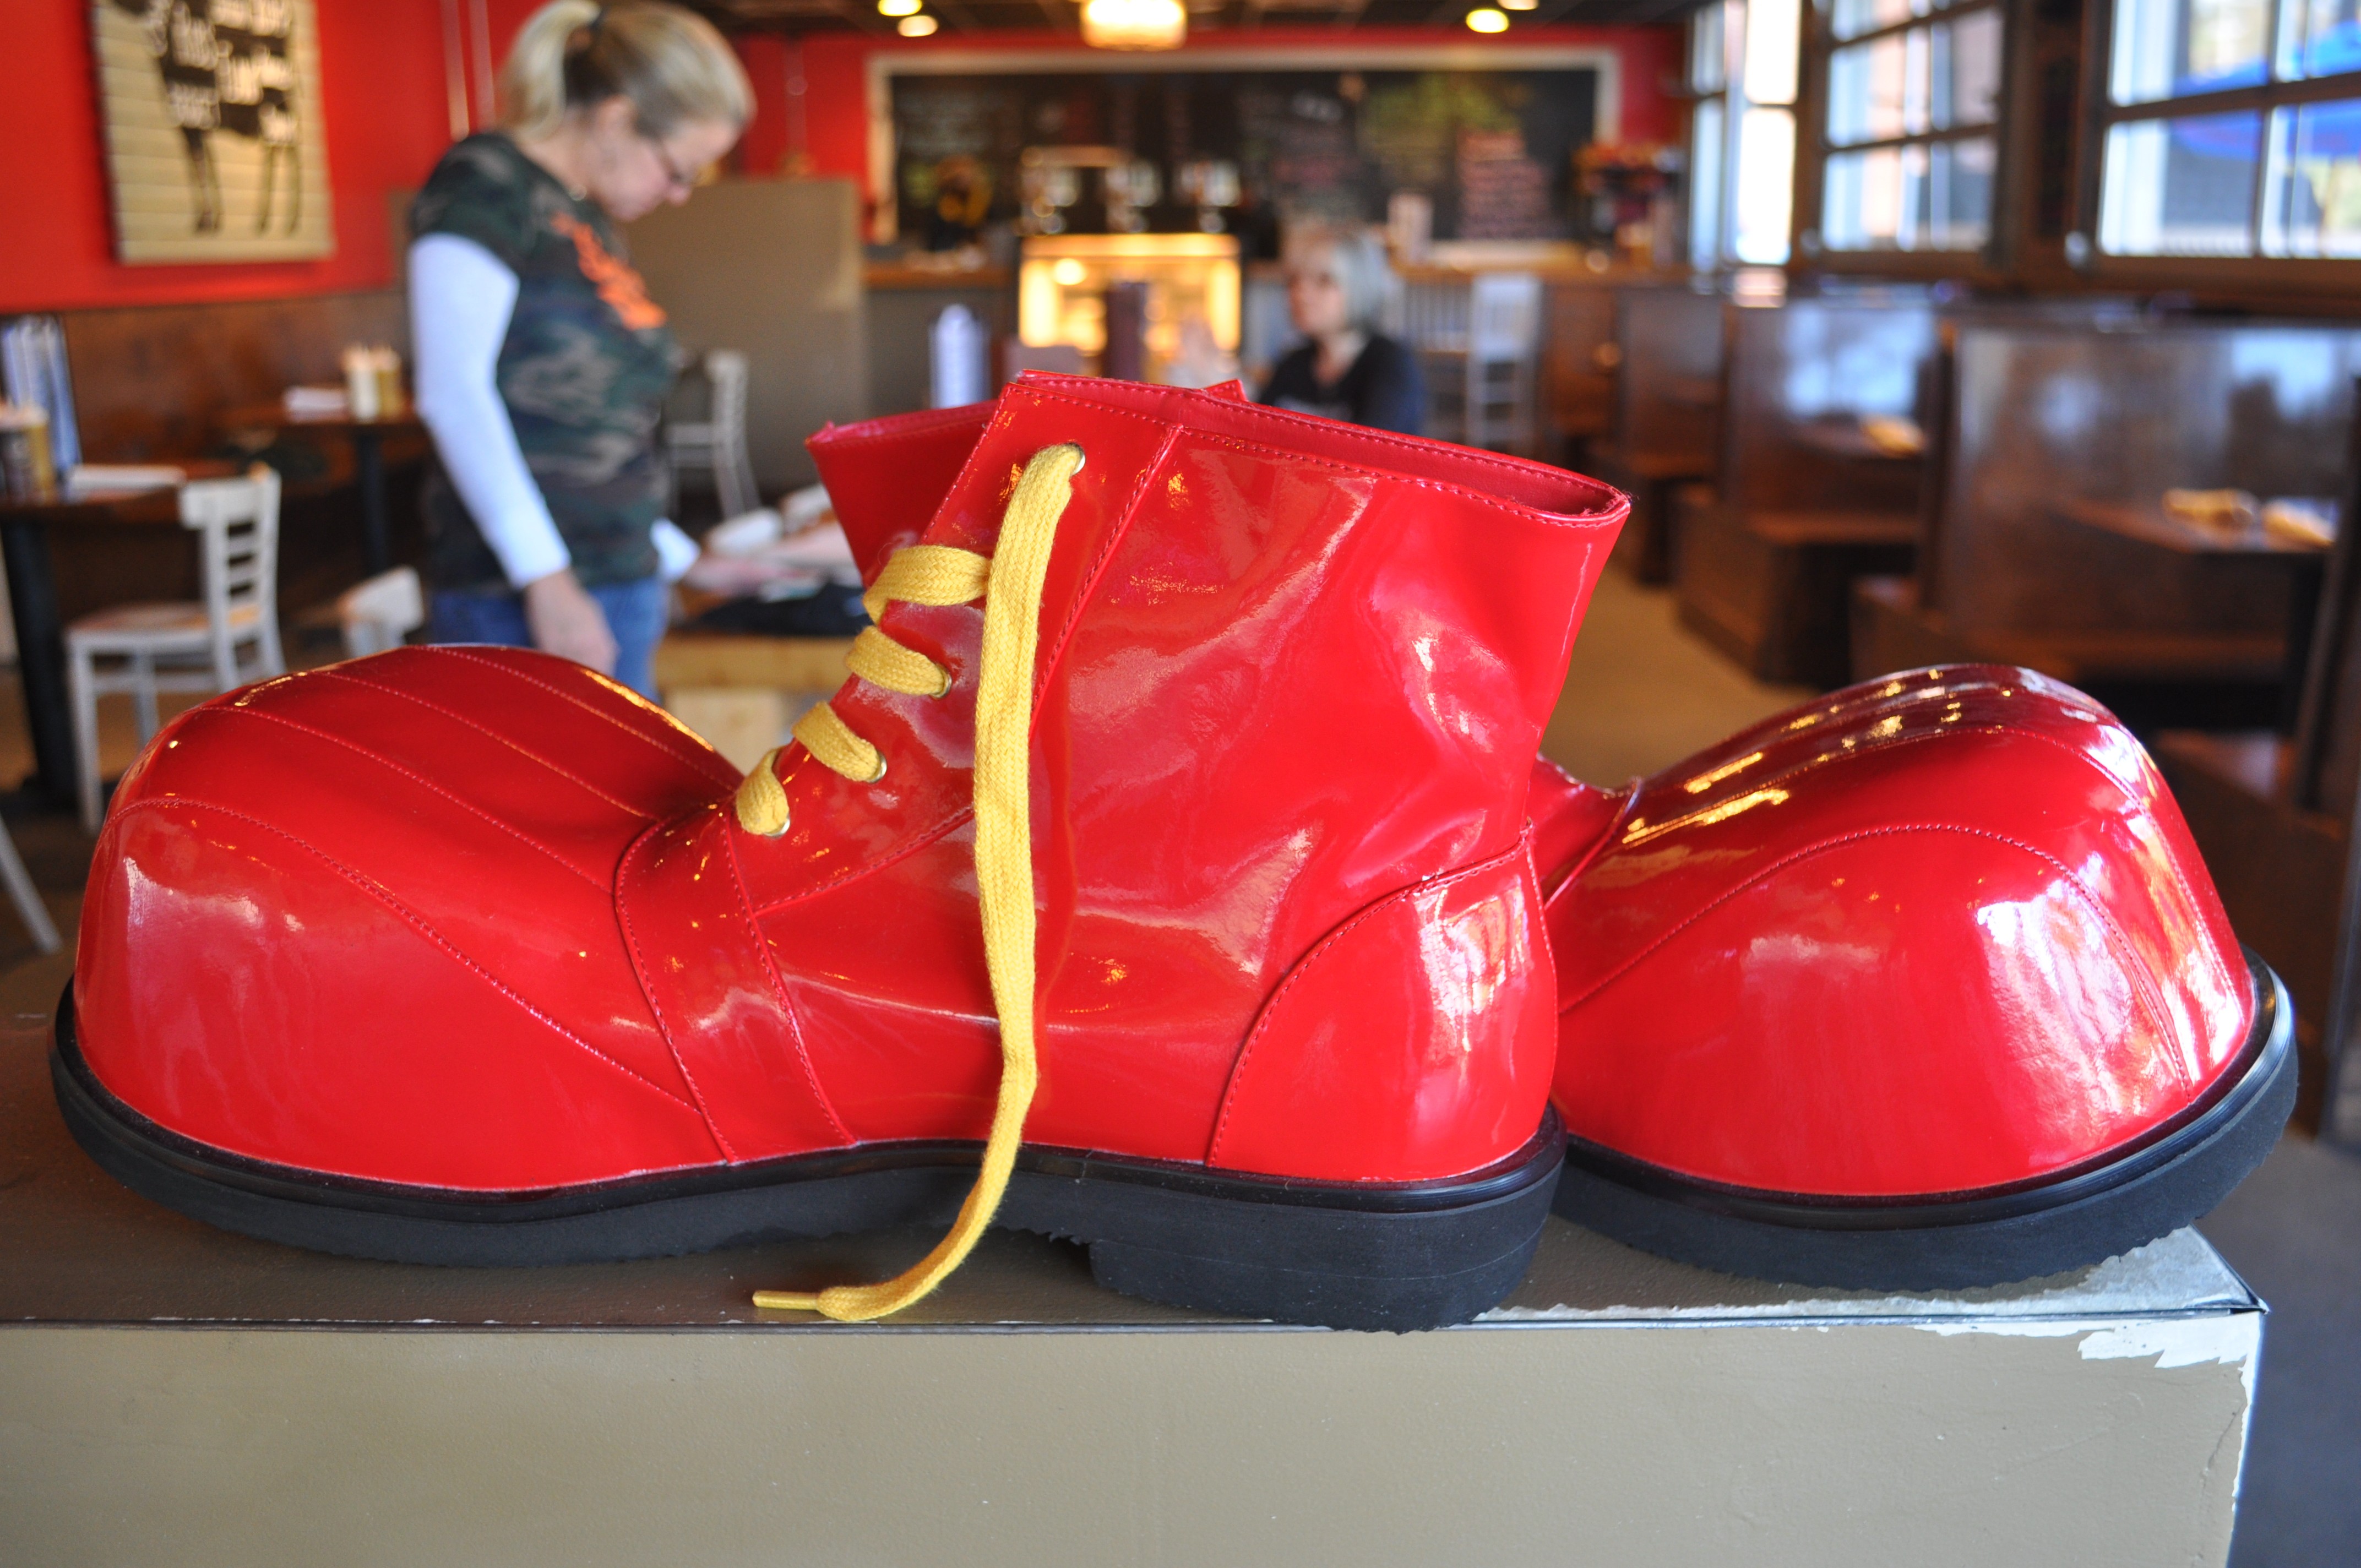
Anthony confessed to me that it is all about giving his heart, talent and compassion to those who sit at his tables. He would not have it any other way. He also gives back to the community in a multitude of ways. He cooks and donates food to a variety of causes, and at this moment is collecting money to support the Ronald McDonald House’s Red Shoes Campaign. Thanksgiving he is not taking the day off. He is generously serving up a huge Thanksgiving dinner for those who do not have family here in Charleston. We are two of the lucky people that will be a part of that dinner. I will report on that soon.

Red Shoes

Pomegranate and Blueberry Pancakes

Standard

Pomegranate pancakes 4

These are one of my favorite fall/winter breakfast dishes…. each bite bursts with flavor and they are full of antioxidants too. As soon as my pomegranates are ripe I start making things from them and this is just one of many things I like to do with them. I sometimes make them with sourdough starter, but you can also use buttermilk and flour as I give instructions for here. I use good Vermont Maple Syrup on the side. You can change out the fruit, but I really think this is an amazing combination. Bacon on the side is a perfect compliment. Bring on the Mimosas!

Ingredients:

  • 2 cups self rising flour (White Lily preferred)
  • 2/3 to 1 cup of buttermilk
  • pinch of salt
  • 2 eggs
  • 2 tablespoons of melted butter
  • 1 cup of blueberries
  • 1 cup of pomegranate

DSC_0004

Method:

  • Using a stand mixer blend together all but the fruit. You want a fairly thin consistency, but not as thin as crepe batter. Add more buttermilk or flour as needed. Make a plain test pancake first, it should be about 1/3 of an inch thick.
  • Preheat a griddle and wipe a used butter wrapper on the griddle
  • Test heat by dropping a drop of water on it, it should immediately bounce.
  • Pour two pancakes at a time unless you have a double size griddle.
  • As soon as you have poured them on to the griddle, generously drop berries and pomegranate all over the top of the pancakes.
  • When the pancakes start to have air bubbles, it is time to flip.
  • Continue cooking till the bottom of the pancake is golden. You can lift the edge to check. This should take 1-2 minutes.

Pomegranate pancakes


Banh Mi the Ultimate Sandwich

Standard
Banh Mi the Ultimate Sandwich

Banh Mi prep

There is nothing like a Banh Mi Sandwich! There are so many flavors and textures going on between the baguette. There are many ways to make this sandwich, in fact, my friend Andrea Nguyen has written an entire book on the subject! 

For each sandwich:

  • 1 petite baguette roll or part of a longer baguette
  • Mayonnaise (I use Duke’s)
  • Maggi Sauce (available at Hispanic and Asian groceries)
  • Char Su (this is Asian style pork belly) or BBQ chicken, pate’ or slices of rare steak
  • 3 or 4 thin seeded cucumber strips, pickling or English variety preferred
  • 2 or 3 cilantro sprigs, roughly chopped
  • 3 or 4 thin jalapeño pepper slices
  • Bean sprouts
  • Daikon and Carrot Pickle (Do Chua)

Banh Mi 1

  1. Slit the bread lengthwise, and then use a fork to pull out some of the bread, making a trough in both halves. Place the bread halves under the broiler on LOW, but watch carefully!
  2. Generously spread the inside with mayonnaise. Drizzle in some Maggi Seasoning sauce or soy sauce. layer the remaining ingredients. I like to start and end with some herbs.

DSC_0220Daikon and Carrot Pickle (Do Cha)

Makes about 3 cups

DSC_0185

Ingredients:

  • 1 large carrot, peeled
  • 1 pound daikons, peeled
  • teaspoon salt
  • 2 teaspoons and 1/2 cup sugar in the raw or grated jaggery
  • 1  1/4 cups distilled white vinegar
  • 1 cup lukewarm water

DSC_0193

Method:

Either cut the carrot and daikon into julienne or use a spiral cutter to cut them. Place the carrot and daikons in a bowl and sprinkle with the salt and 2 teaspoons of the sugar. Use your hands to knead the vegetables for about 3 minutes, expelling the water from them. They will soften and liquid will pool at the bottom of the bowl.

Drain in a colander and rinse under cold running water, then press gently. Return the carrot and daikon to the bowl.

To make the brine, in a bowl, combine the 1/2 cup sugar, the vinegar, and the water and stir to dissolve the sugar. Pour over the carrot and daikon. The brine should cover the vegetables. Let the vegetables marinate in the brine for at least 1 hour before eating. They will keep in the refrigerator for up to 4 weeks. It is not traditional, but I like to add some dried red chile flakes too.

DSC_0227