Category Archives: Breads

An Ode to The Northwoods Inn and their Fabulous Sides

Standard

Growing up in Southern California in the 1960’s and ‘70’s I  got to enjoy a lot of fun theme restaurants. They were somehow an extension of Hollywood and the era that ushered in Disneyland and many other area theme parks of that day. A few remain, but many have been shuttered over the years to make way for malls, freeways and most importantly housing developments as human encroachment took over the land of my birth. We had sunshine and great weather till the people came, then we had traffic, smog, inflated real estate prices and lots of other problems.

One of the few remaining theme restaurants is Clearman’s Northwood’s Inn in Covina. They also have sites in La Mirada and San Gabriel, but mine was in Covina. Opening in the height of LA fun and fancy in 1958 they still manage to draw crowds.

When you drive up on a hot southern California day, your eyes deceive you, it looks like a snow covered Alaskan log lodge. As you step into a North Woods Inn, you’ll slowly pull open a heavy wooden door and peer into a dimly lit and richly decorated room of rustic log walls, massive taxidermied bears, jewel-toned stained glass, sawdust-strewn floors and eccentric hunting-lodge kitsch. The signs tell you to “Please throw peanut shells on floor.” 

You must arrive hungry. Entrees include all you can eat of two salads, recipes below, their famous garlic cheese bread, rice pilaf, a one pound baked potato with cheese, butter, sour cream and mushroom gravy. And then there are the huge steaks!

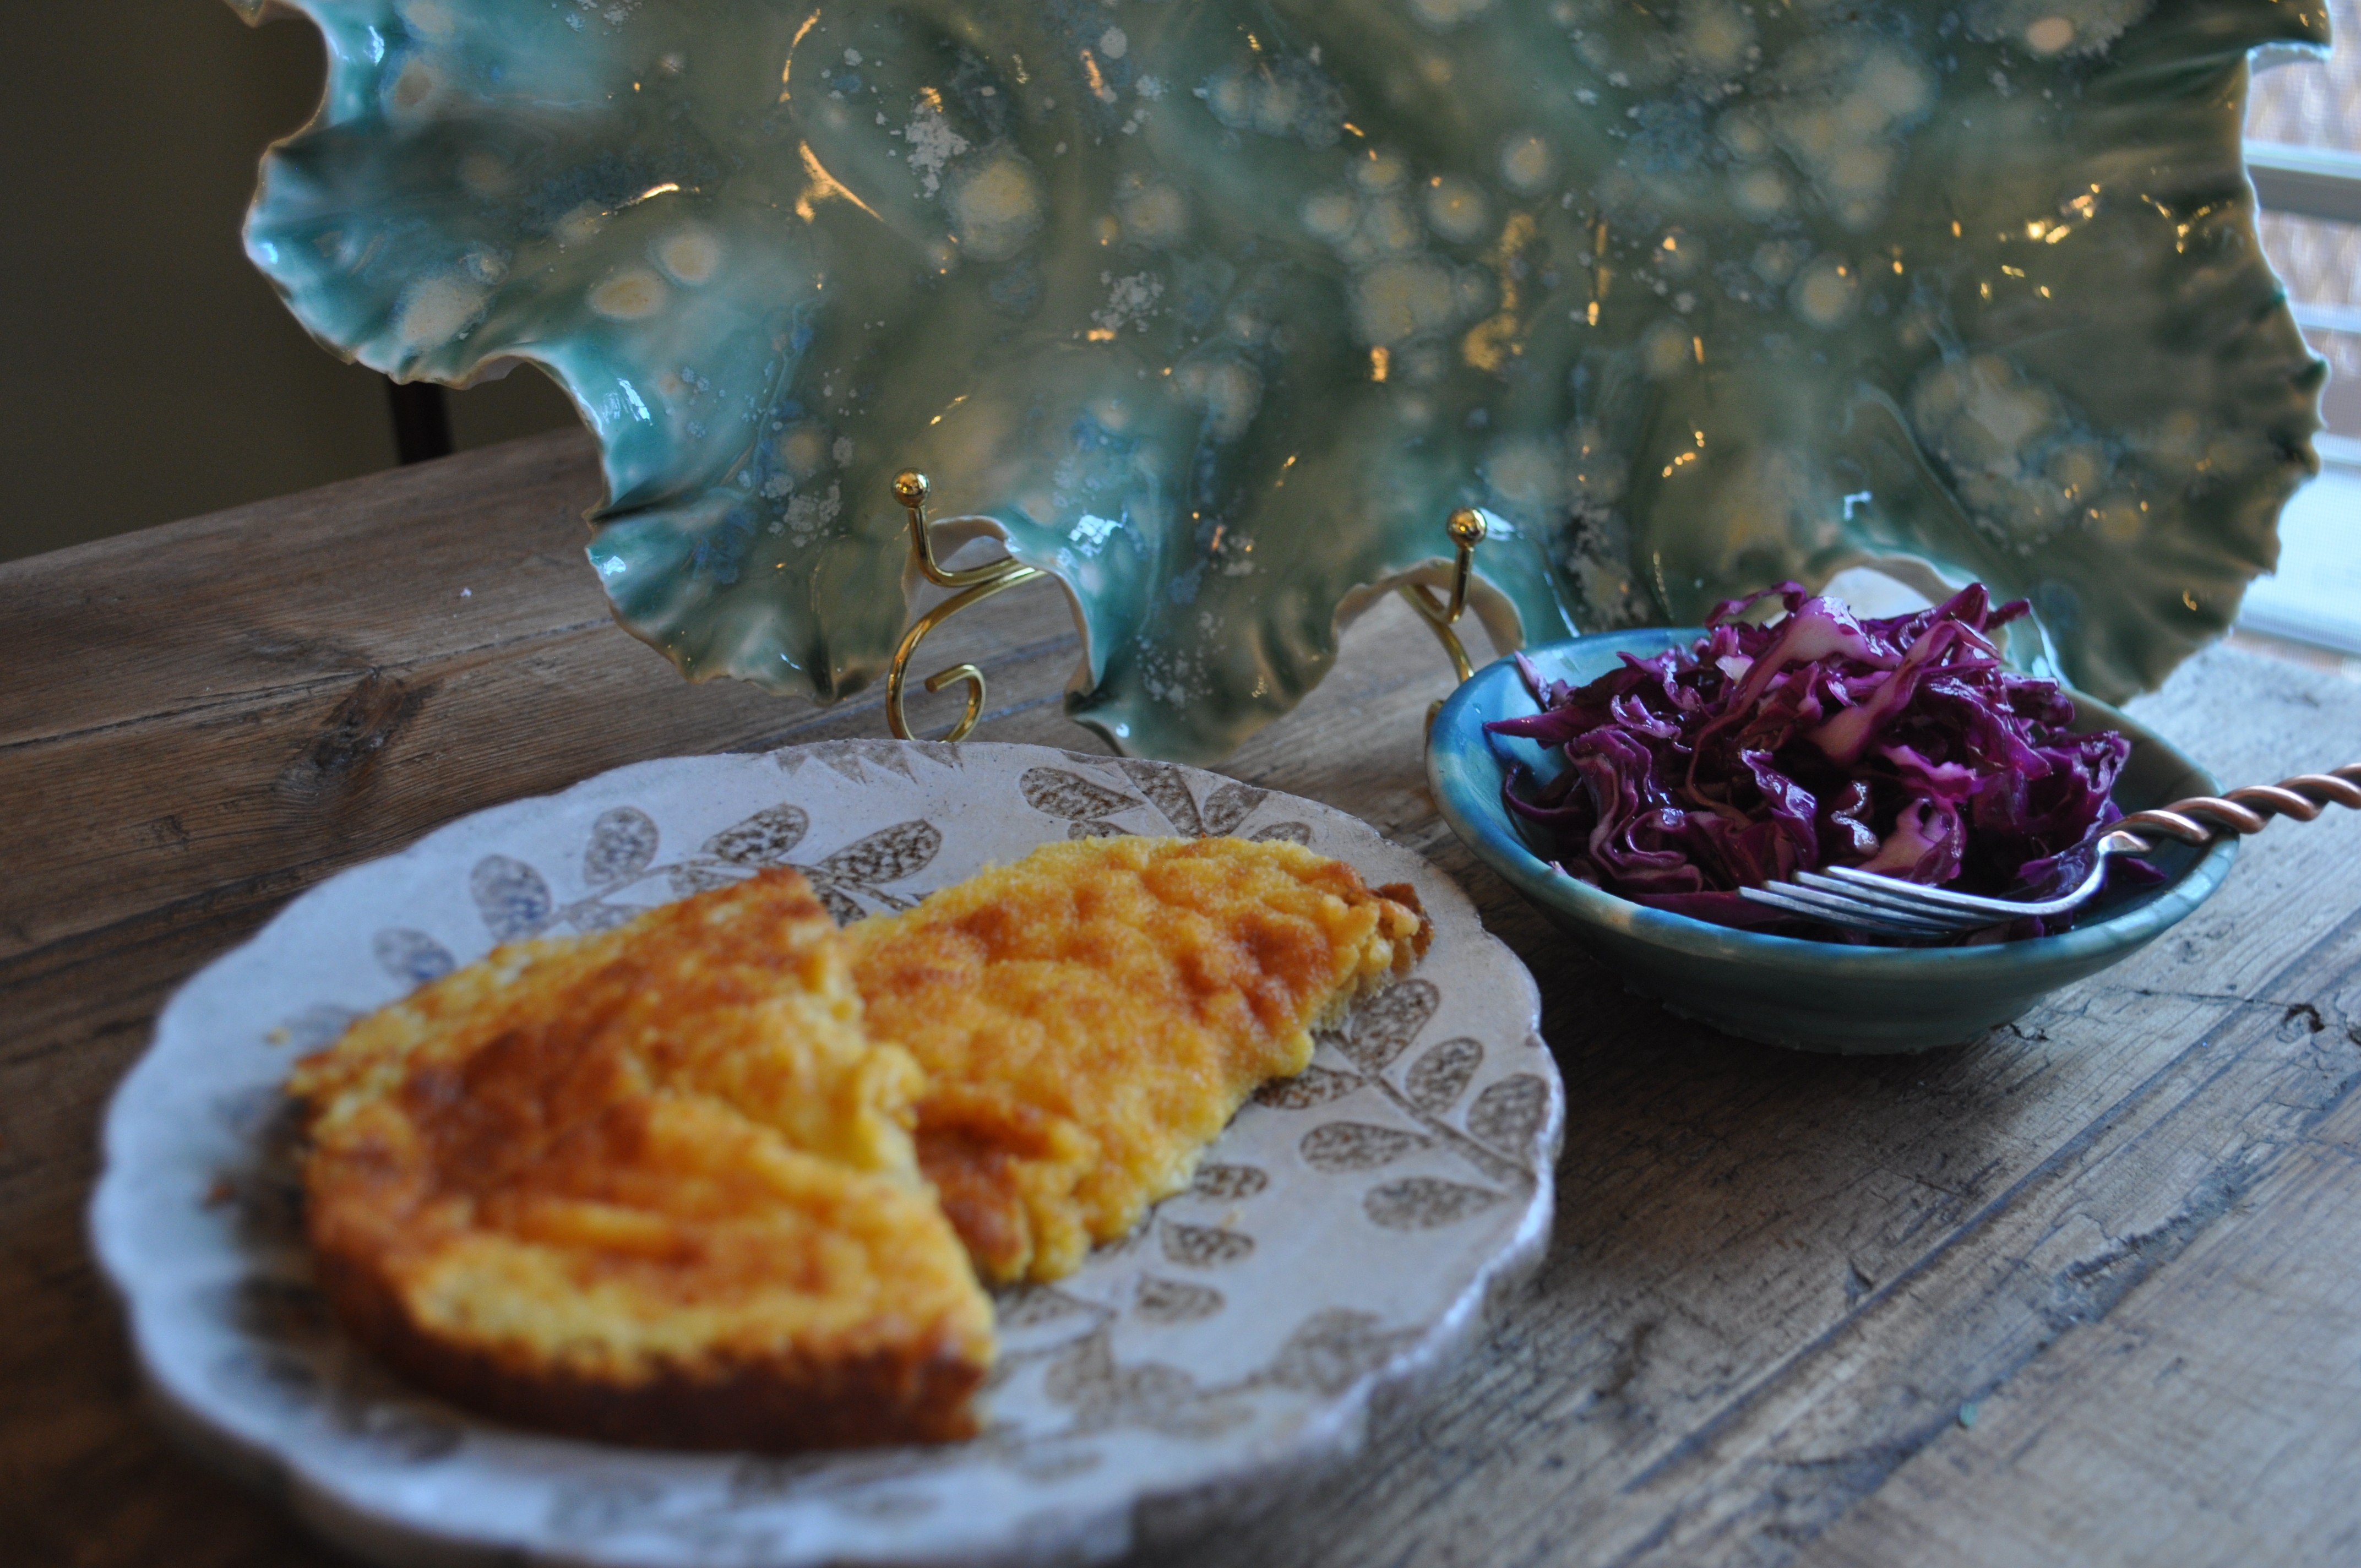
So over the years I had to recreate the recipes since I moved thousands of miles away from these favorite salads and cheeese bread! Here are my takes on them. Some people mix the buttermilk blue cheese on iceberg with the red cabbage salad, but I like to use the red cabbage as a palate cleanser. The cheese bread is my favorite and I think it is also like the bread at a long gone nearby establishment The Trails.

The Red Cabbage Salad

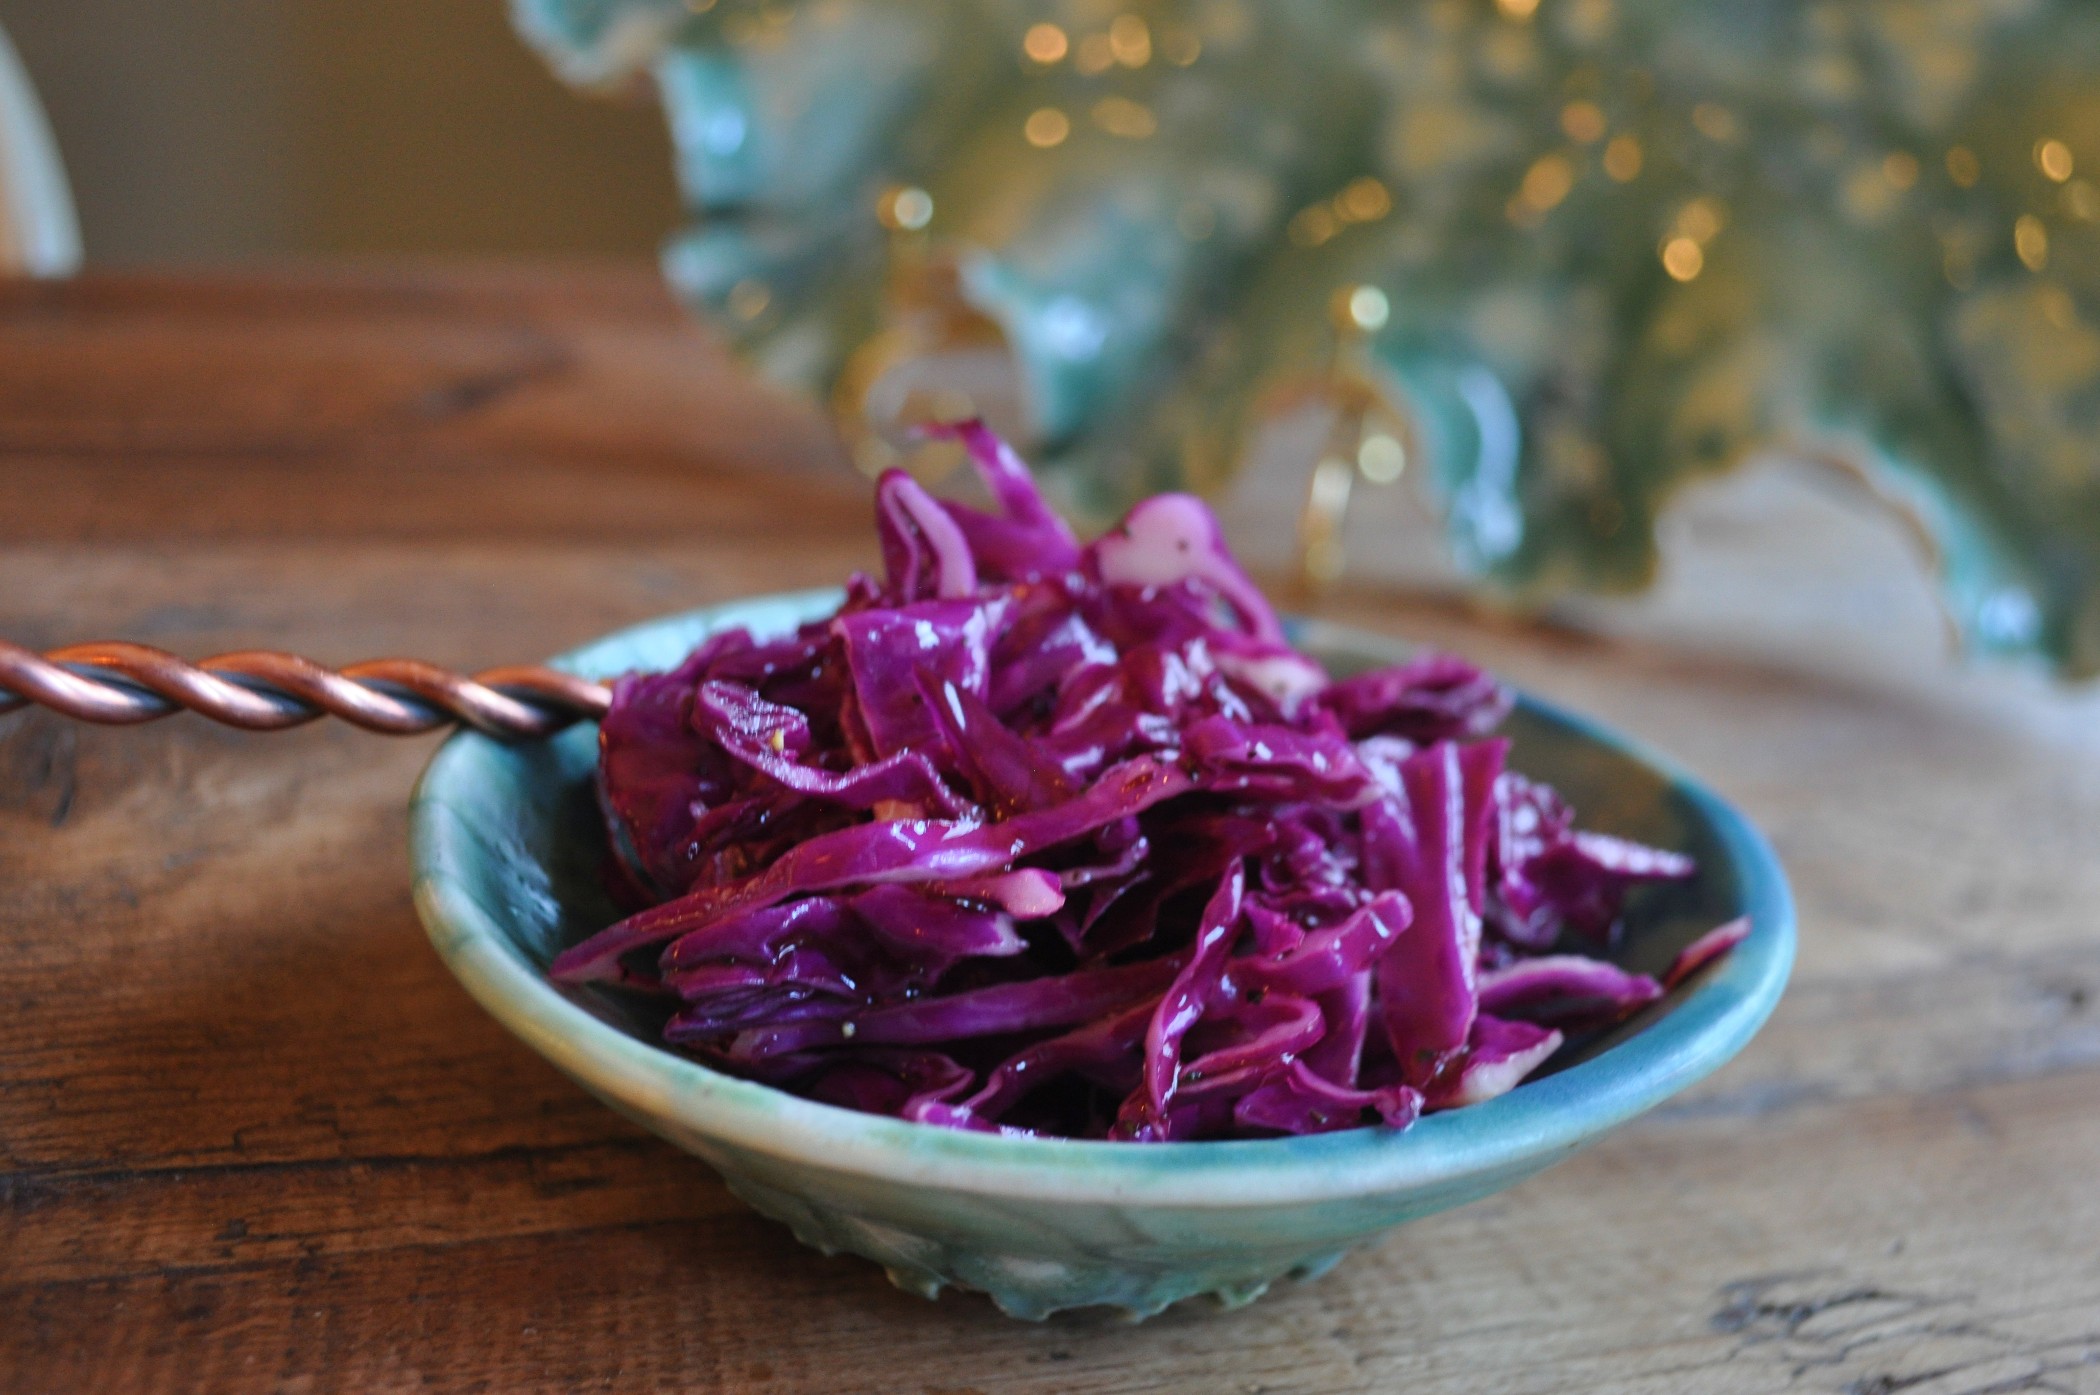
The Northwoods Inn Red Cabbage Salad 

1/2 cup . red wine vinegar 
4 T. sugar 
3 tsp. kosher salt 
2 tsp. seasoned salt 
1/4 tsp. pepper 
1/4 TBS. grated onion
1/2 cup olive oil 

1 head red cabbage, coarsely shredded 

Whisk together vinegar, sugar, salt, pepper, and onion until sugar and salt are completely dissolved. Whisk in oil. Dressing can be made ahead and stored in fridge. Bring to room temp before using. Pour over cabbage, toss well and let sit 10-15 minutes. Toss again and serve.

The Best Cheese Bread Ever

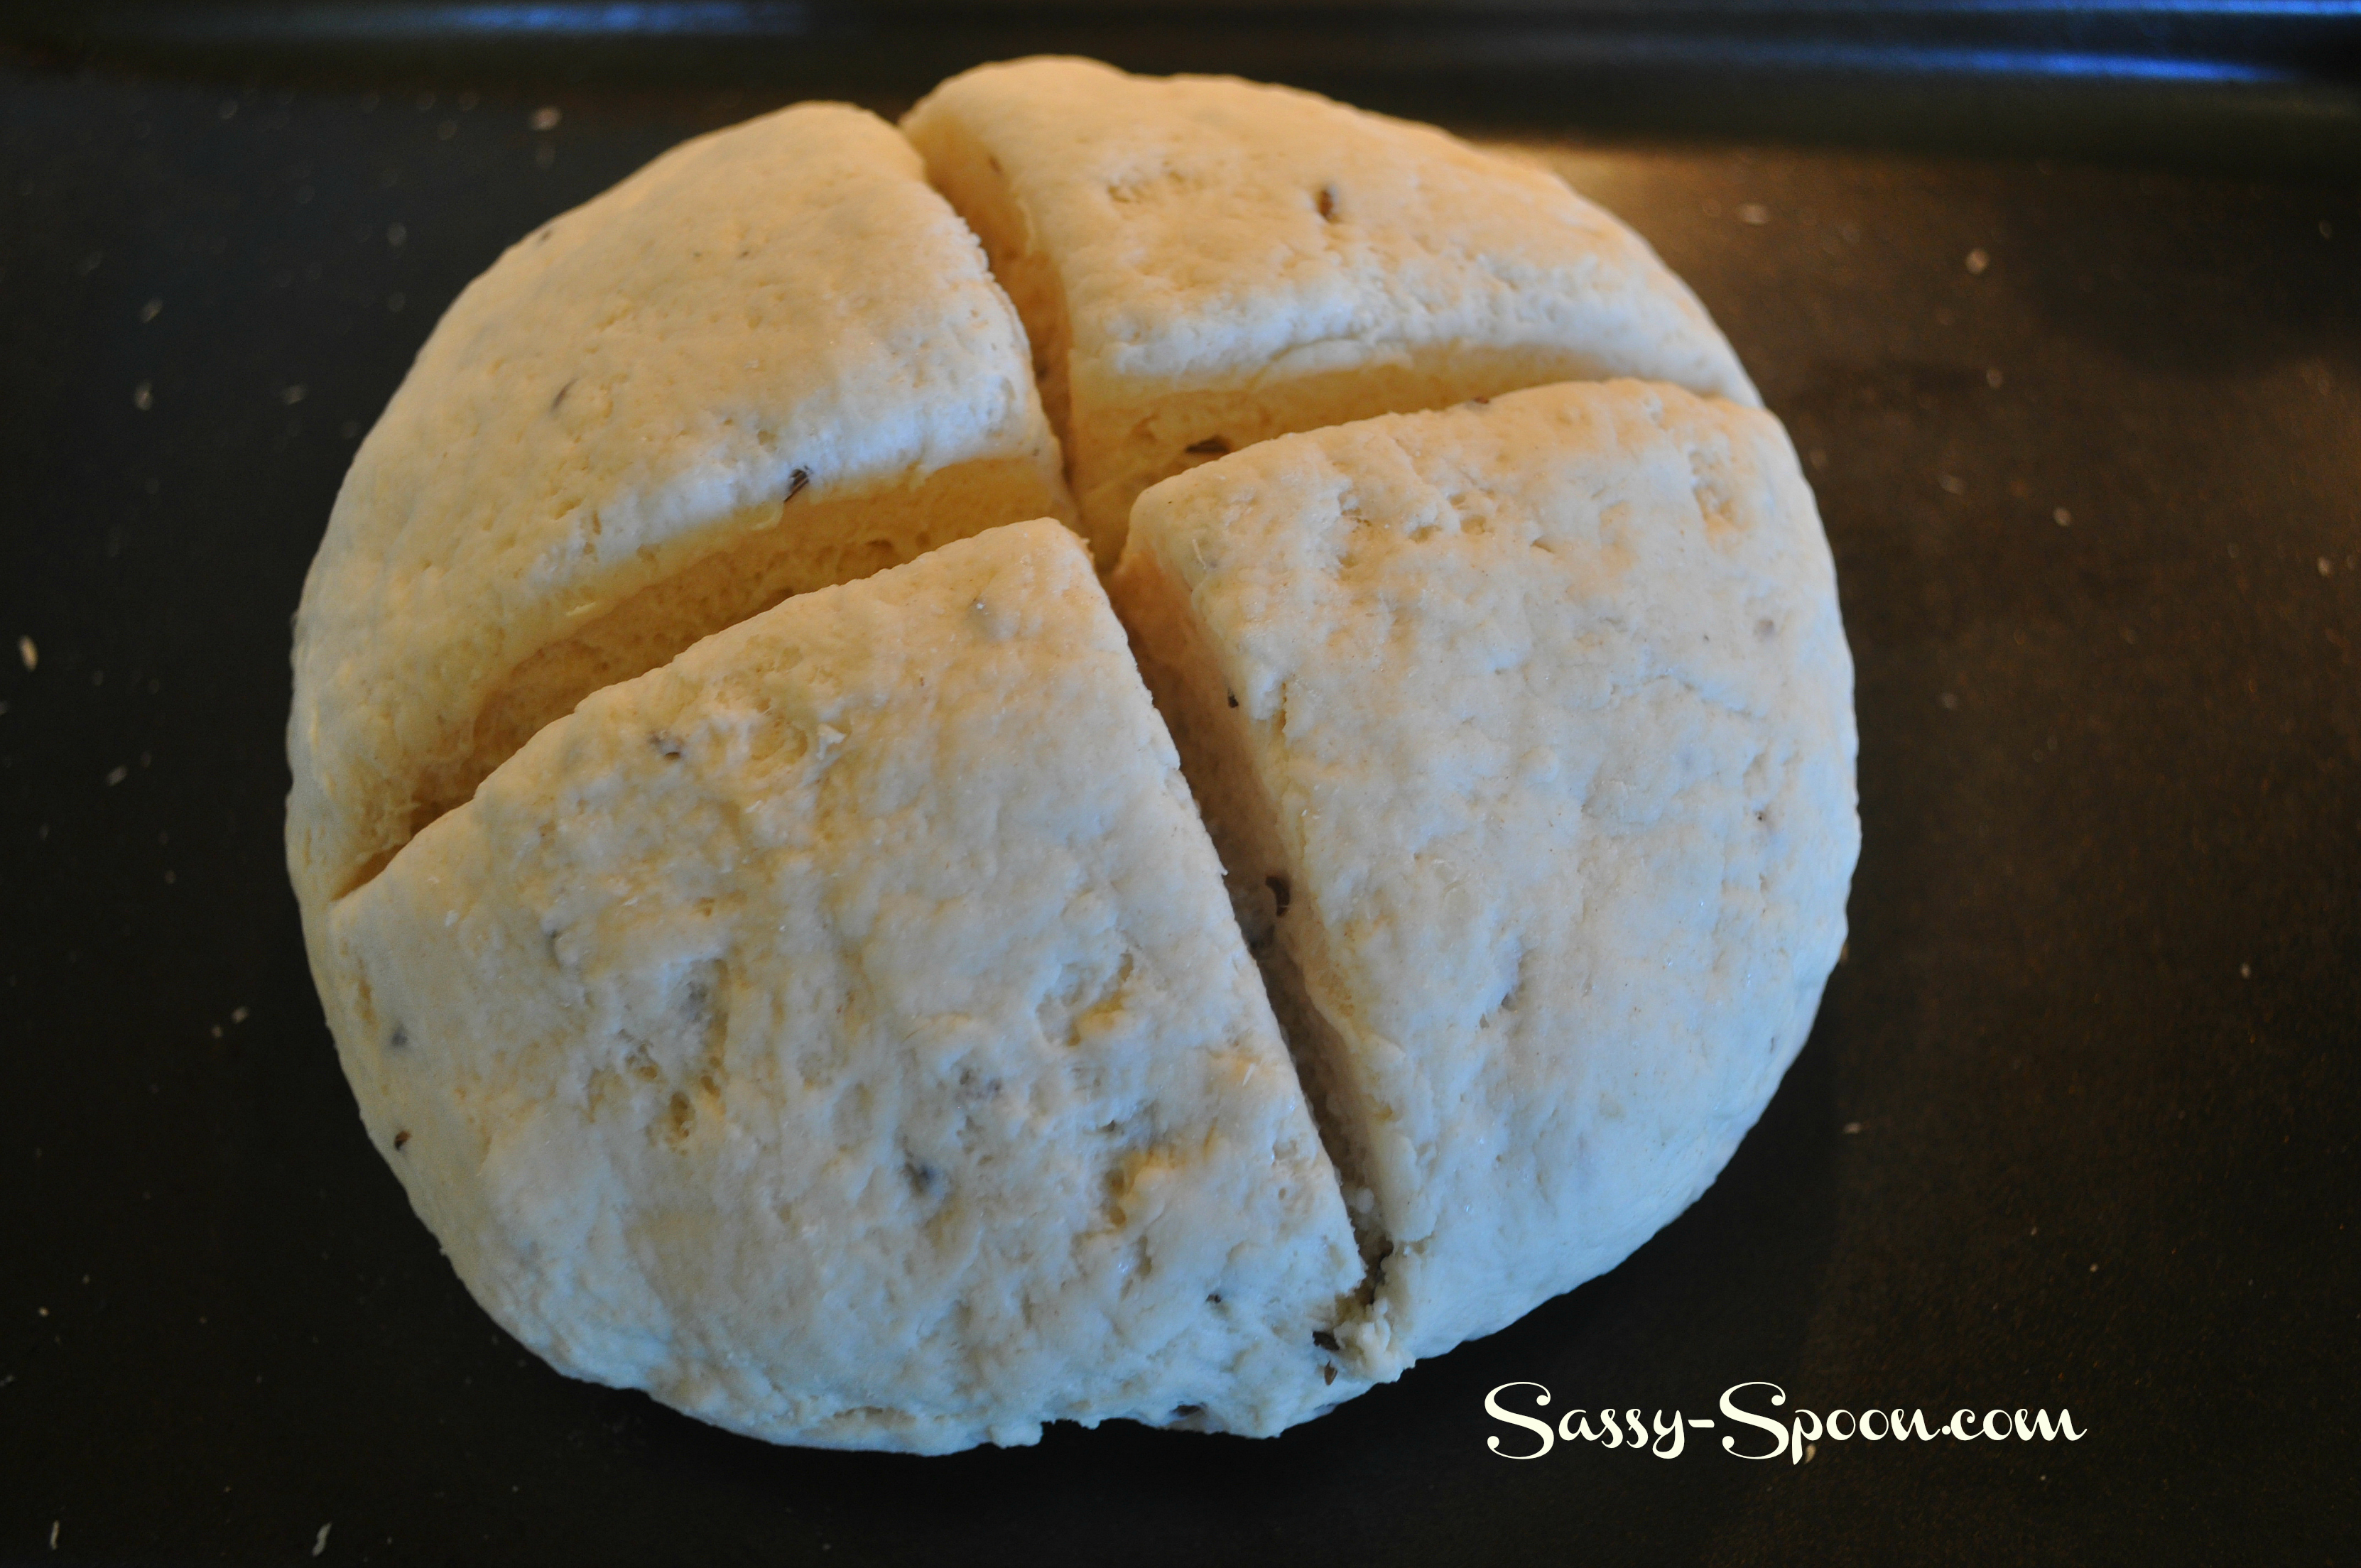
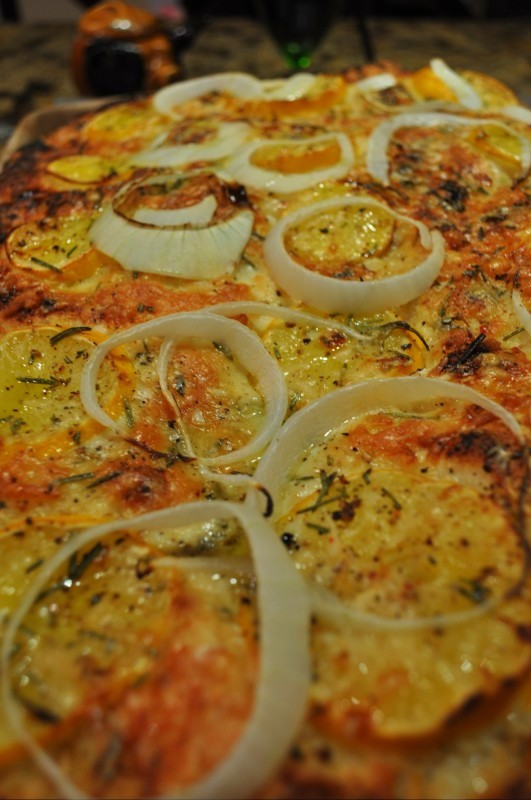
Clearman’S Northwoods Inn – Cheese Spread 

In a food proccessor add:

1/2 ts dry mustard 
1/2 ts celery salt 
2 ts garlic salt & 6 garlic cloves
3 tb plus 2 teaspoons fresh lemon juice 
2 ts tabasco 
1 ts paprika 
1 lb butter 
1 lb cheddar cheese – grated finely 
3 oz romano cheese, grated
Mix until well blended. Refrigerate

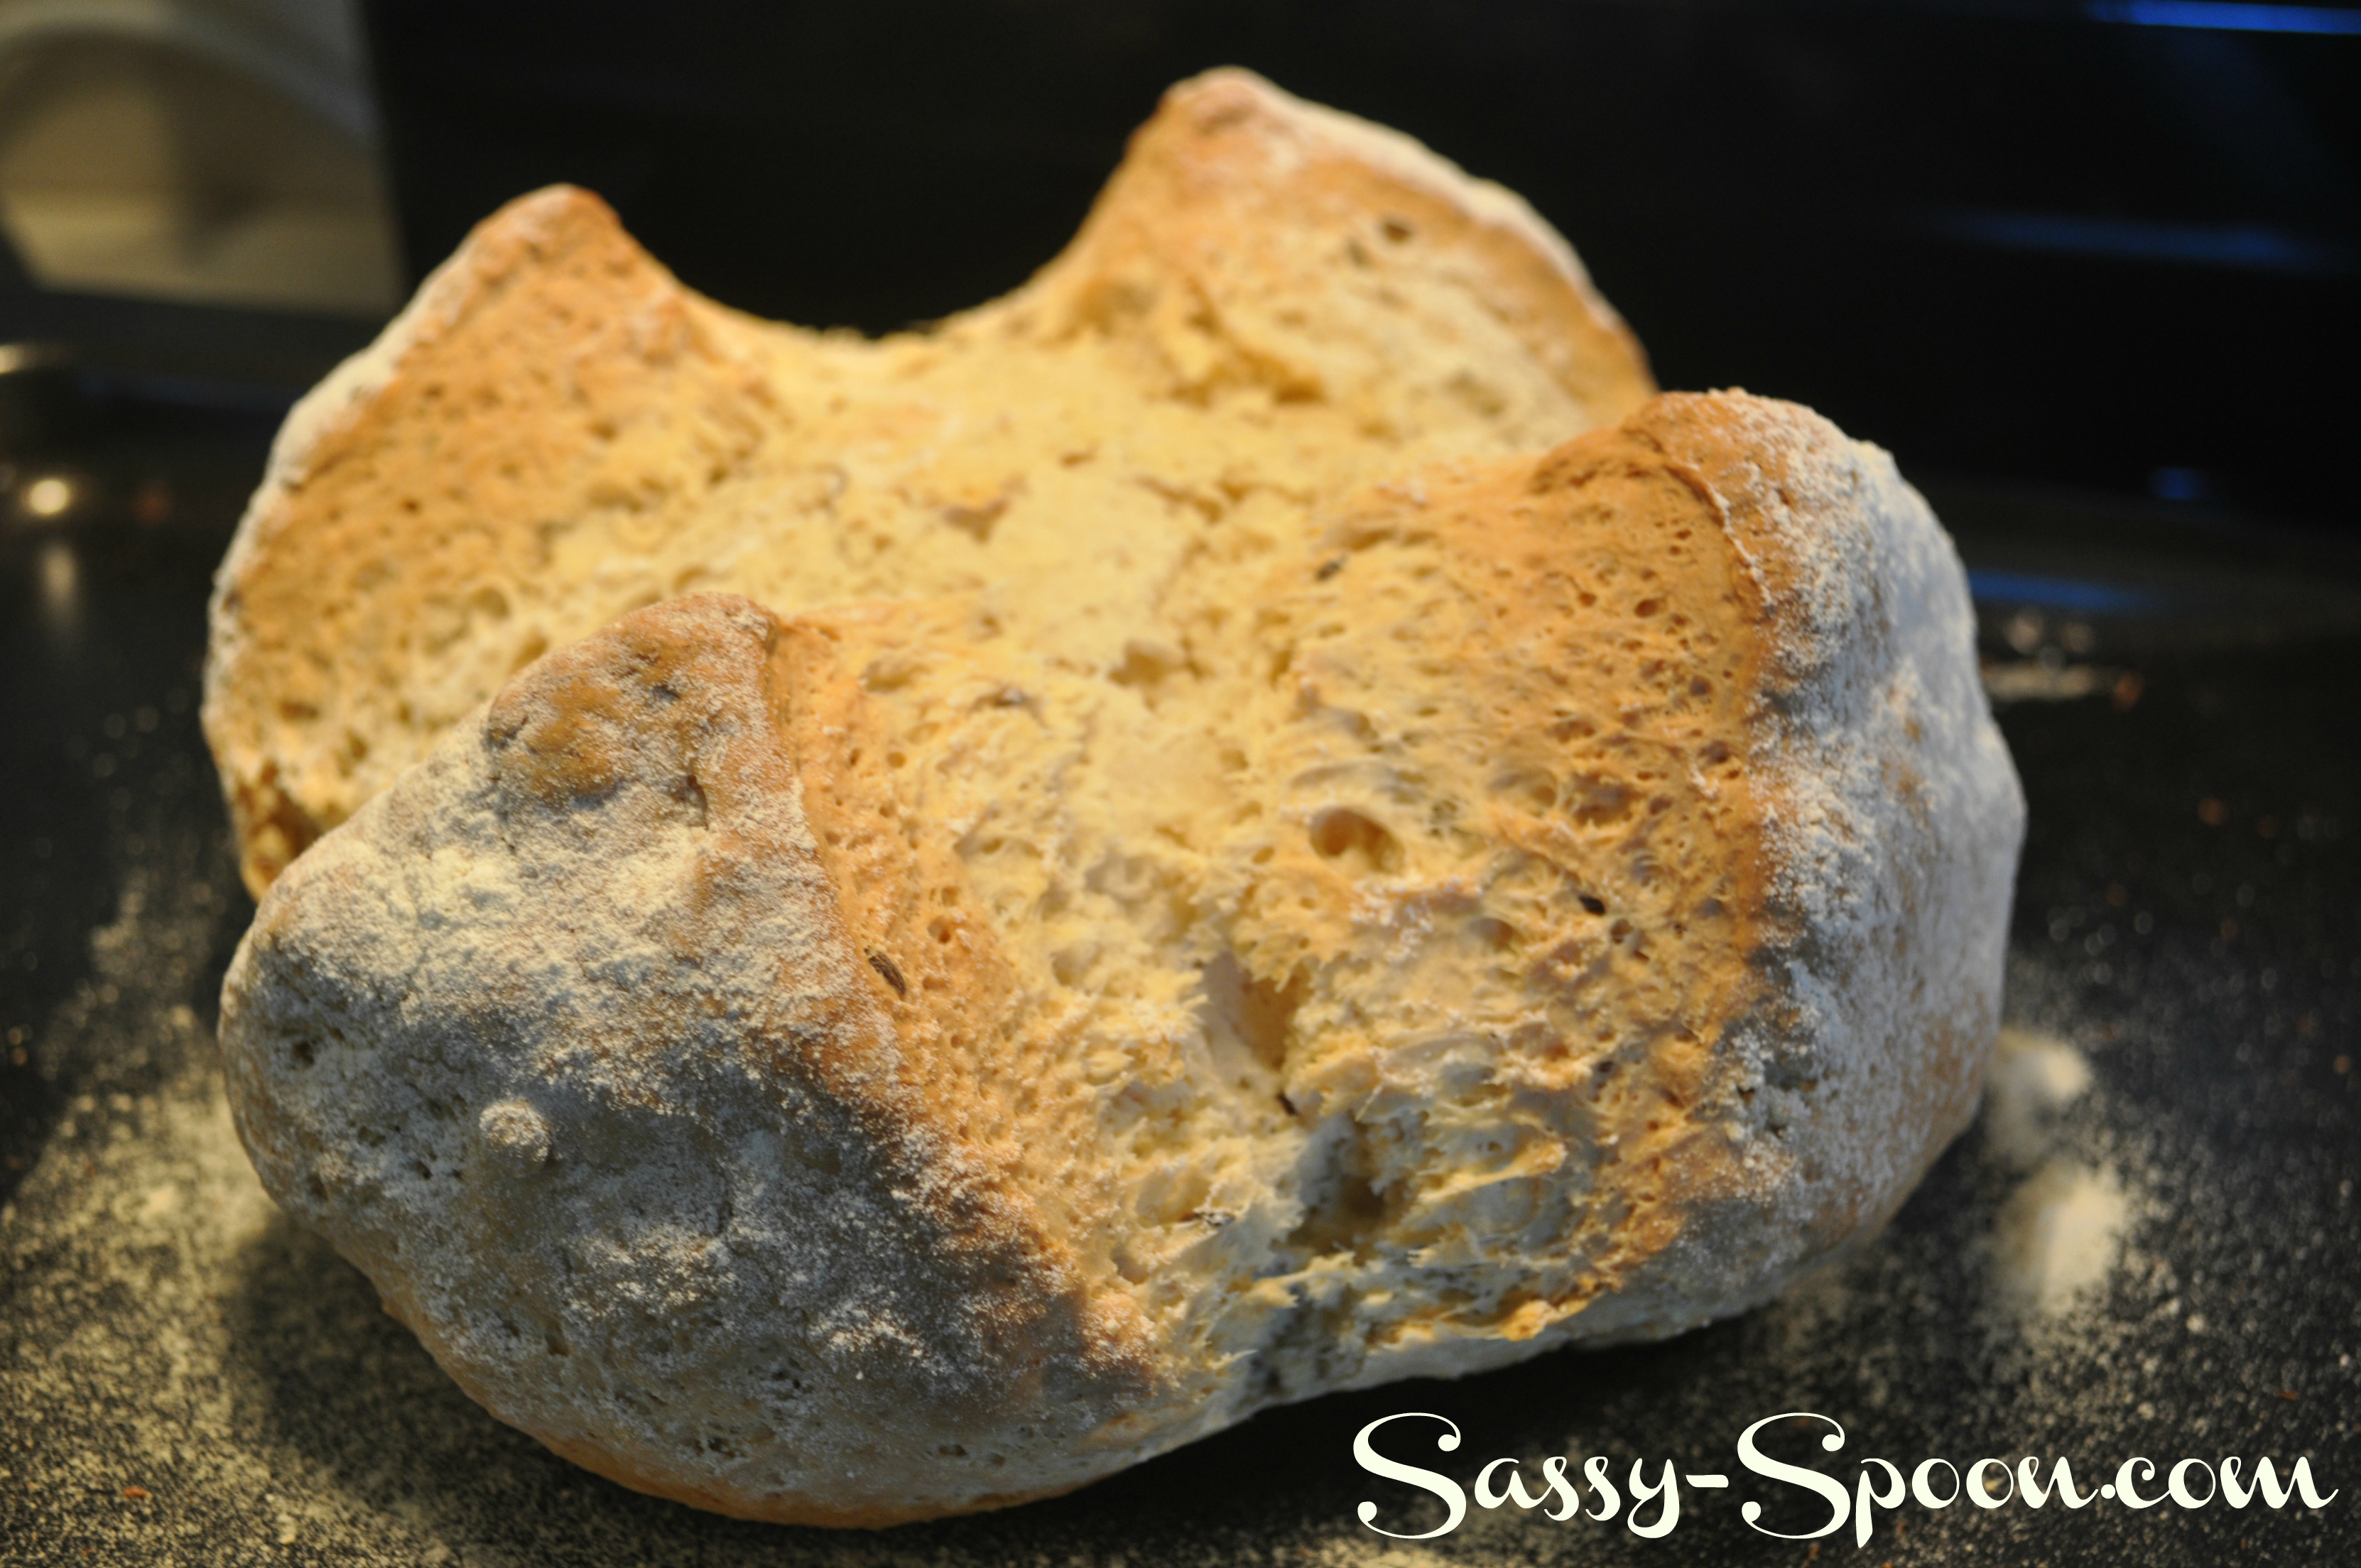
Put onto sourdough bread, place under broiler until lightly toasted.

Keeps 6 weeks in fridge, can be frozen

The Clearman’s Blue Cheese Dressing

They serve this on Iceberg, but I prefer it on butter lettuce

· 1 cup buttermilk 
· 1 cup sour cream
· 3 cloves garlic 
· 1/8 tsp sugar 
· 1 tablespoon Hungarian sweet paprika 
· 1 teaspoon salt 
· 6 tablespoons blue cheese
PREPARATION:
In a food processor combine buttermilk, sour cream, garlic, sugar, paprika, and salt. Blend until smooth. Add blue cheese, and pulse quickly once or twice. Do not blend. You want small chunks of blue cheese. 

Refrigerate 4 hours or more before serving to let flavors blend. 

Yield: About 1-1/3 cups 

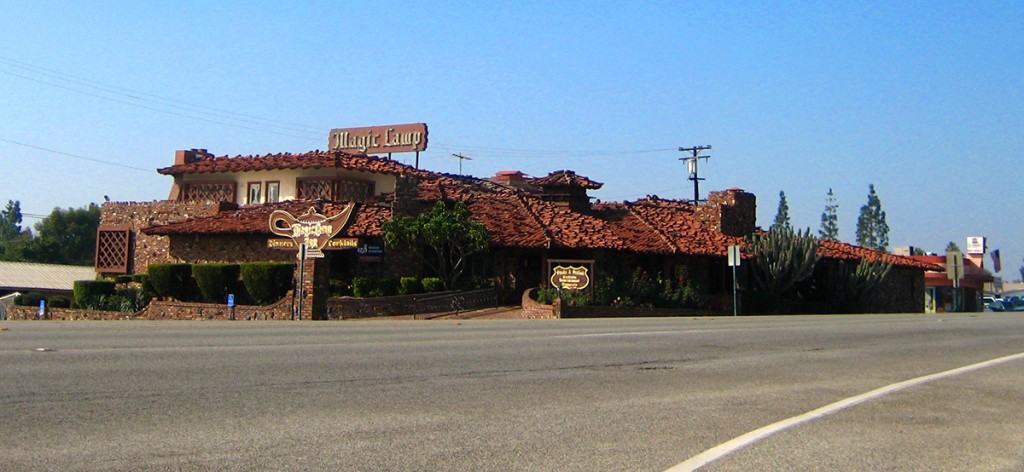
Another one of Mr Clearman’s fantastic establisments farther West in Cucamonga, now Rancho Cucamonga still stands, The Magic Lamp Inn.


Advertisement

Best Banana Bread!

Standard

FullSizeRender(6)

This banana bread is my great grandmother’s recipe except for a single addition, a little trick I learned in Hawaii. It has Cocoa Nibs added. They are pure chocolate which does not have any sugar or butterfat added. They do not melt, but remain crunchy and full of chocolate flavor.

Ingredients:

  • 1/2 cup (1 stick) unsalted butter, at room temperature, plus more for pan
  • 2 cups self rising flour, plus more for pan
  • 4-5 medium very ripe bananas peeled and mashed
  • 1/2 cup full fat yogurt or sour cream
  • 1 teaspoon vanilla extract
  • 1/4 teaspoon baking powder
  • a pinch of salt
  • 1 cup (packed) dark brown sugar
  • 3 large eggs, at room temperature
  • 1/2 cup chopped toasted walnuts
  • 1/2 cup cocoa nibs

Method:

FullSizeRender(4)

  • Heat oven to 350 degrees
  • Mash bananas and stir in the yogurt/sour cream and vanilla
  • Using a mixer beat the butter, add eggs one at a time, beating till fluffy.
  • Blend remaining ingredients in a bowl and using the mixer beat in a little at a time till fully blended.
  • Place in a buttered and floured bread pan.
  • Bake for 70 minutes, until a toothpick comes out clean.
  • Allow to cool slightly, then serve with sweet butter!

FullSizeRender(5)

Irish Soda Bread Pudding with Cheddar

Standard

Soda Bread and Irish Cheddar Bread Pudding w logo

This bread pudding recipe is a sort of a “two fer”, as it also includes a recipe for really great Irish Soda Bread. Soda Bread does not use yeast, it somewhat resembles a very large biscuit. It is easy to make and you will only use about half of the loaf for this recipe. Try toasting the leftovers with butter and jam.

Ingredients:

For the Soda Bread:

2 Cups all-purpose flour + 2 tablespoons for dusting

1 teaspoon baking soda (be sure it is fresh)

1 teaspoon non aluminum baking powder

½ teaspoon sea salt

½ teaspoon fresh cracked pepper

2 Tablespoons chopped dill

1 tablespoon caraway seeds

1 Cup of buttermilk (shake before pouring)

2 tablespoons unsalted butter, melted

For the Pudding:

4 large fresh eggs

2 cups whole milk

½ cup of heavy cream

½ teaspoon sea salt

½ teaspoon freshly ground pepper

2 cups grated Irish Cheddar Cheese

¼ cup grated Parmigiano-Reggiano

Paprika

6 6 ounce ramekins or a 2 quart baking dish

Method

Soda Bread before cooking

FOR THE SODA BREAD:

Preheat oven to 350°

In a food processor add the flour, baking soda, baking powder and salt. Pulse a few times. Add the caraway, pepper and dill, pulse a few more times. Add the buttermilk and butter. Pulse again till it just begins to form a ball.

Place on a lightly floured surface and gently knead into a smooth ball and flatten into a 6 inch flattened round. Allow to rest for 5 minutes. Place on an ungreased baking sheet.

With a very sharp knife, cut an X in the top of the dough about ½ inch deep. This assures even cooking.

Use a small sieve to dust the top with additional flour.

Bake on middle shelf (I also use a baking stone for even heat) for 35-40 minutes or until golden brown and a hollow sound is made when tapped.

Cool on a rack. This can be done one day ahead.

Soda Bread

FOR THE PUDDINGS:

Preheat oven to 350°

Spray the ramekins with olive oil

Cut ½ of the bread into cubes and place them in the ramekins about half way up. Reserve remaining cubes.

Make the custard by whisking the eggs, milk, cream, salt & pepper. Stir in the cheeses. Pour into a pitcher.

bread pudding in water bath

Place the ramekins in a hotel pan or 9 X 13 baking dish, cover the bread with custard, making sure some cheese goes in. Then add additional cubes to the top of the ramekin 3/4 of the way from the top. Pour all of the mixture into the ramekins, filling them to the top. Sprinkle with a little paprika. Add about 2 inches of water to the hotel pan and bake 35-40 minutes. They are finished when a knife is inserted and comes out clean.

Iriish Soda Bread Pudding

Remove from the water and place on a towel or rack and allow to rest for 15 minutes or more.

Share with your favorite leprechauns.

Rate this:

Easy Tabbouleh (Tabouli)

Standard

Tabouli

This is such a nutritious and delicious thing to have on hand. It can be served with grilled pita bread, rustic breads, slices of radishes, carrots or cucumbers or eaten as a salad on its own. There are a lot of recipes out there, this one is based on a Palestinian version, basically a parsley salad. Chop and stir! This keeps for about a week in the refrigerator. I used fresh and dried parsley to get different levels of flavor.

Ingredients:

  • 1/2 cup fine bulgur wheat, soaked for 2-4 hours in boiling water, then strained
  • 1 pound of grape tomatoes, finely chopped
  • 1 large shallot finely chopped
  • 4 Tbs fresh lemon juice
  • 2 large bunches fresh flat leaf parsley finely chopped
  • 1/2 cup dried parsley 
  • 2 large bunches mint (not peppermint) finely chopped
  • 2 Tbs Baharat seasoning (see below)
  • 1 Tbsp Sumac (more if you prefer)
  • 1/2 cup good olive oil
  • freshly ground black pepper (I use a four peppercorn blend)
  • Sea salt to taste

Baharat Spice Mix

To make spice mix: Toast all but the nutmeg in a dry pan, being careful not to burn. Use a spice grinder or mortar and pestle to grind to a fine powder).  Add the nutmeg and stir. Keeps for 8-10 weeks

To make Tabbouleh:

Add all ingredients in a large bowl and stir. Taste before adding salt and pepper. Serve with additional lemon quarters.

Quinoa and Corn Chowder from Ecuador

Standard

This fabulous recipe was inspired by the book The Latin Road Home by Jose Garces. The book explores the cuisines of Ecuador, Spain, Cuba and Mexico. This is one of the best cookbooks I have picked up in a while. In this recipe, I used fresh corn, but good frozen corn would work too. I also added some seasonings and chiles to the recipe. I make my own achiote paste, but you can buy it in Hispanic or Asian markets. Quinoa is an amazing chenopod, full of protein and fiber.

Quinoa and Corn Chowder

Crema de Quinoa de Zuleta; Quinoa Chowder with Sweet Corn

Ingredients:

2 cups Canola Oil for frying

2 small russet potatoes, peeled and cut into match sticks or cut on a spiral cutter 

Kosher Salt

2 Tbs unsalted butter

1 Tbs extra virgin olive oil.

½ Spanish onion, finely chopped or TSTE dehydrated shallots reconstituted

6 cloves minced garlic or 2 Tablespoons TSTE Vik’s Garlic Fix 

1 Tbs achiote paste (click here for my recipe)

1 ½ cups quinoa (any color)

Kernels cut from 3 ears of corn or 1 cup of thawed and drained frozen white sweet corn

5 cups chicken or vegetable stock

1 cup heavy cream

2 Tbs minced fresh parsley

1 Tbs Aji Amarillo Chile Powder 

4 roasted poblano chiles, seeds and membranes removed, then diced

2 Tbs minced fresh chives (or leave in 1 “ strips)

Sliced Avocado for serving (optional)

Method:

  • Fry the potato strips in 375 degree oil till crispy and drain, season with salt
  • Heat the butter and olive oil in a stockpot over medium heat, cook the onion and garlic till translucent, about 10 minutes.
  • Rinse and strain the quinoa
  • Stir in the achiote paste and cook for another 5 minutes
  • Stir in the quinoa and corn.  And cook, stirring often, till the quinoa is lightly toasted
  • Stir in the roasted poblano chiles

Add the cream and stock and bring to a light boil. Lower the heat to a light simmer,  uncovered till the quinoa is tender and the liquid has reduced by about one quarter, about 45 minutes.

Quinoa and Corn Chowder 2

To serve, fold in the parsley, and top with fried potatoes and chives. Garnish with avocado. This also goes perfectly with the Yuca Cheese Bread and Guava Chile Butter I posted last week.

yuca bread close up

Pan De Yuca con Mantequilla de Guayaba y Chile: Yuca Bread with Cheese and Guava Chile Butter

Standard

yuca bread close up

This gluten free recipe is an inspiration by Jose Garces from his fantastic book, The Latin Road Home. He is an Ecuadorian who was raised in Chicago. The book covers foods from Ecuador, Peru, Mexico, Spain & Cuba. This bread is made all over South America, but the recipe varies greatly from country to country.

The Yuca flour is easy to find in most Hispanic Markets, it is often called Casava Flour or Tapioca. The brand I got was Brazilian and reading the label was a challenge. I do read Spanish, but Portuguese, not so much. The ratio of flour to cheese sounds kind of crazy, but it works. Serve the bread hot from the oven for a spongy texture or warm (for a denser interior with the dough settling more and forming air pockets).

yuca bread dough balls

Ingredients:

  • 1 cup yucca flour
  • 1 pound queso fresco finely grated
  • 1 large egg, beaten
  • 1 tsp baking powder
  • 2 Tbs whole milk
  • 1 Tbs butter, melted
  • 1 tsp sea salt
  • 1 tsp granulated raw sugar
  • Guava Chile Butter (recipe follows: optional)

Method:

yuca bread baked

Preheat oven to 375

  • Line a baking sheet with parchment or a Silpat
  • In the bowl of a food processor, combine the flour, baking powder, salt and sugar. Pulse a few times to combine.
  • Put the cheese in the processor, then mix all of the wet ingredients together and pour into the processor bowl while the blade is going. It will form a ball in about a minute, Take it out of the processor and lay it on a yucca floured surface.  Allow to rest a few minutes
  • Form into a log and cut into 10 equally sized pieces. Roll into balls, These will be slightly larger than a golf ball.
  • Place the balls onto the baking sheet and bake for 20 minutes or till golden brown

Serve warm. To re-heat place in a 200 degree oven for 6-8 minutes, loosely covered with foil

Yuca bread guava chile butter

Guava Chile Butter

Ingredients:

  • 1 21 ounce package or can of guava paste (find at Latin Markets or online)
  • ¼ cup Chinese Black Vinegar
  • ¼ cup Sriracha Sauce
  • 2 Tbs room temperature butter

Method:

  • In the bowl of a food processor, place the guava paste.
  • Pulse a few times to loosen it up.
  • Add the remaining ingredients and pulse till incorporated. This can be stored in the refrigerator for up to two weeks.

I served this with green chile and chicken posole. It would go great with soup, stews, chili or as an appetizer course. I will be sharing the Posole recipe next.

posole

Heart Woodfire Kitchen

Standard

Tucked away off of Folly Road on James Island, Heart Woodfire Kitchen is a very special place. It is fun and hip and the first thing that hits you when you open the door is the sweet deep aroma of wood burning. This touches me tenderly, as I once owned a wood burning oven at my cooking school in Chicago and I miss it so much. The very core of this place is the Valoriani wood burning oven and a wood fired rotisserie grill. It does not stop there. Clever cocktails, local produce, pork and chicken raised in the Low Country, nice wine and beer selections and a creative upscale menu without being pretentious. This is not fast food, not BBQ and not white tablecloth dining, it is great flavorful dining at the mid price level, something we do not have a lot of in Charleston.

We went on a Tuesday night after going to see a film. It was balmy outside, so we opted for outside dining. The restaurant was unusually busy for a Tuesday and it was obvious that this was a bit unexpected for the staff. The assistant manager became our server because they were short staffed and we were very lucky because she was on top of her game and gave us second glasses of wine on the house because the kitchen was jammed. The food was excellent. Full of smoky flavor and interesting textures.

splendi heart woodfire

We started with a small order of one of their “Speidie,” little skewers. cooked close to the flame. We had the Fontina wrapped in prosciutto & balsamic with a wheat berry salad. 2 skewers for just $6, quite the perfect thing to nibble on while you are drinking one of their fabulous cocktails. They offer two other Speidie, one with Beef Short ribs, rosemary oil & almonds and another with Bacon wrapped Chicken Livers & chimichurri. The menu has several other small plates including some interesting soups& salads  that change with the seasons.

We shared  a spinach salad with roasted beets, wheat berries, romaine,onions and a green garlic vinaigrette.  It was crisp and yet warming with the roasted beets. The green garlic vinaigrette was perfect. I would have liked a little piece of their fabulous house made bread to go with it.
spinach salad
My husband ordered the blackened catfish sandwich which comes on one  of their sturdy house made rolls. It was round and he was expecting more of a poor boy style bread, but the flavors were fabulous and the fish was crusty with spices on the exterior and warm, tender and white on the interior, just as it should be. He ordered creamed mustard greens as his side and they were stellar. I had a few bites and we brought the rest home because after a bag of popcorn at the movies we were fuller than we thought we were.

flat bread

I had one of their signature flat breads, really a crispy little pizza. I opted for the vegetable flat bread with Acorn Squash & Goat Cheese, fennel, cauliflower & arugula pesto.I bought some home and will be having it for lunch today.

We are looking forward to going back and trying some of their local fish from the wood fired oven. We also saw dishes of their baked pasta with four cheeses walk past us and they looked delicious. Their rotisserie chicken looked fantastic and I can only imagine that their Grilled Butcher’s Steak with roasted mushrooms & onions, herb butter is fantastic. The Wood Fired Vegetable Stew, basmati rice, basil pesto, lemon yogurt, toasted almonds & apricots also sounds interesting to me.

Wood fire cooking

They have an extensive lunch menu and what looks like a fun brunch menu. They have happy hour from 4-6 and the offerings are a good way to taste several things at a reduced price.

My suggestion? Run don’t walk to this hidden gem of a restaurant. Heart Woodfire Kitchen at 1622 Highland Ave Charleston SC 29412  (843) 718-1539 Look for this sign off of Folly Road:
Heart woodfire

Meyer Lemon Focaccia

Standard

baked

It is Meyer Lemon season. I have been in love with Meyer Lemons since I was a little girl. My great grandmother had an ever bearing Meyer. Coming from a citrus family has advantages. I wonder how that 60+ year old tree in Glendora, California  is doing now. I do lots with the lemons on my tree and those I buy to supplement my habit. Here is what I did with some of them yesterday.

Meyer Lemon Focaccia

Ingredients:

Makes 1 focaccia.

  • 1 package (1/4 ounce) instant yeast or 2 1/2 teaspoons if you use bulk
  • 5 cups all-purpose flour, preferably organic
  • 2 1/2 teaspoons sea salt
  • Olive oil, for bowl and baking sheet
  • 1/2 cup mozzarella or pecorino toscano thinly shredded
  • 2 lemons, very thinly sliced crosswise
  • about a tablespoon of fresh rosemary
  • 1-2 meyer lemons sliced thinly and seeded
  • Parmigiano Reggiano cheese to grate over the top
  • 1/4 teaspoon crushed red pepper (more if you like a kick)
  • thinly sliced sweet onion

3-4 tablespoons extra-virgin olive oil (I use smoked)

*Note: It is best to use very fresh lemons for this, as older lemons rinds become difficult to chew.

232323232-fp54384-nu=5376-63;-252-WSNRCG=3489553;72343nu0mrj

Method:

  1. In a large bowl, or in a bowl of a stand mixer, combine yeast and 2 1/2 cups flour with 2 cups water; whisk to combine. Let stand 15 minutes.
  2. Add remaining 2 1/2 cups flour and salt; mix until well combined. Change to the dough hook if using a stand mixer. If using the mixer, knead with the mixer. If doing by hand, turn dough out onto a lightly floured work surface; knead until wet and tacky, but not sticky, 8 to 10 minutes. Transfer to a well-oiled bowl and cover with plastic wrap. Let stand until doubled in size, 3 1/2 to 4 hours.
    rusung
  3. Scatter semolina on a large rimmed baking sheet and press dough evenly into baking sheet. Let rise until puffy, about 1 hour.
  4. Preheat oven to 500 degrees.
  5. “Dimple the dough with your fingers  Drizzle some olive oil on the dough. Cover dough lightly with Pecorino or Mozzarella  and lemon slices, then sprinkle with rosemary and pepper; drizzle with more extra-virgin olive oil. Gate a little Parm over the top.
    dimplesoiled
  6. Transfer to oven and bake for 15 minutes. Rotate baking sheet, and continue baking until lemons and crust are golden brown, about 15 minutes more.
    ready to bake
  7. Remove bread from baking sheet and transfer to a wire rack to cool at least 10 minutes before serving.
    baked 2

Nathalie Dupree’s Food Processor Biscuits

Standard

I have loved and learned from Nathalie Dupree for over 30 years.  She is the Grande Dame of Southern Cooking and quite literally a Grand Dame in the organization Les Dames de Escoffier. . Fortunately she holds court in my new home town, Charleston, South Carolina and I am lucky to be in her presence more often now. I lived in Beaufort and Atlanta in the ’80’s and that is when she first came on my culinary radar. She continues to prolifically produce  work on truly great southern cooking, but it is not the southern cooking your mind conjures up when you hear the term. She is classically trained and most of her early work was more in the “gourmet” realm, though using mostly southern ingredients. She has inspired cooks young and old to do what they do better. She has given us a vast work, including her most recently released tome of great proportion, Mastering the Art of Southern Cookingcollaborating with Cynthia Graubart.  Their book Southern Biscuits is full of perfect recipes and techniques for making biscuits. Believe it or not, there are several different kinds of biscuits! When my step son was visiting last week he saw the book on my cookbook stand and asked, “There is a whole book just on making biscuits?” Yes, Kevin there is. One of my favorite recipes from the book is extremely simple and successful for almost any cook. The one thing you must remember when making biscuits is, “BE GENTLE.” Overworking this tender dough makes tough biscuits. Keeping that in mind, when you use a food processor, just just the minimum amount of maneuvering  the pulse button is your friend. You barely want to mix this recipe, using the buttermilk as the glue that holds the flour together. It is simply the easiest recipe for making biscuits as long as you are gentle, they will be light and fluffy and melt in your mouth.

The three simple ingredients are Buttermilk, Self Rising Southern Flour and Butter (or shortening/lard) It is that uncomplicated.

*Note: If you do not live in the South, or in Wegman’s territory up North, you may have a difficult time sourcing southern flour (made from Winter Wheat), though you can find White Lily on Amazon. Other brands of Southern Flour are :  Red Band, Martha White or Southern Biscuit Flour. Nathalie suggests using a mix of cake flour and all purpose flour to make a flour that is more like Southern Flour. Keep in mind it is the protein in the flour that makes a crispy chewy crust, not what you want with a biscuit. Start with 1/2 all purpose flour to 1/2 cake flour.

Ingredients: 

  • 2 1/2 cups self-rising flour (I keep mine in the freezer so it is nice and cold), divided
  • 1/4 cup (half a stick) of butter (or any combination of butter, shortening or lard) cut into 1/4″ dice
  • 1/4  cup (half a stick) of butter (or any combination of butter, shortening or lard) cut into 1/2″ dice
  • 1 cup of buttermilk divided

    Method:

Preheat the oven to 450 degrees. I bake in a convection oven on the convection bake selection.

Select your pan; for softer biscuits place in a greased 8-9″ cake pan or skillet. For crispy exterior, place on a greased baking sheet about 2″ apart.

  • In the bowl of a food processor, pulse 2 1/4 cups of flour with the knife blade 4-5 times. Set aside the remaining 1/4 cup of flour.
  • Scatter the chilled butter pieces around the bowl of the processor.

  • Pulse 2-3 times quickly, no piece should be larger than a pea
  • Add 3/4 cup of buttermilk, reserving the remaining 1/4 cup
  • Pulse briefly to incorporate the liquid, resulting in a shaggy dough, then remove the lid and feel the dough, it needs to be wet but not sticky. If needed add more flour or buttermilk to achieve this result, but do not over process.

  • Pour the dough out onto a chilled floured surface and allow to rest for a minute
  • Gently flour the dough and roll into a ball with floured hands, then, roll over again into a disc. GENTLY

  • Using a rolling pin flatten the disc to about 1/2 to 3/4 inches thick
  • Using a floured cutter or glass, cut into biscuits
  • You can roll out the scraps for a final biscuit, but I usually toss because this one will be tougher
  • Place in your baking pan
  • Bake for 6 minutes on the middle shelf, then turn the pan so that it is evenly browning. If the bottom looks like it is browning too fast, you can add a baking sheet under it
  • Bake for another 4-6 minutes, until the tops of the biscuits are a light golden color
  • Remove from the oven and brush a little softened butter on them.

 Enjoy with honey, butter, jam or gravy!

Orange/Mac Nut Cinnamon Rolls with Buttered Rum Icing

Standard

This is the recipe my Great Grandma Wolf made and served me when I would spend the night at her house in Glendora, California. I have taken liberties by adding the mac nuts and the rum. When I was a little girl my Great Grandma Wolf would give me buttered rum Lifesavers to keep me quiet in church, so the flavor is homage to her.  These freeze well and can be re-heated. You can also make and proof the dough the night before and then refrigerate the dough. If you do this, it will take about 2 hours for the rolls to rise in their second fermentation.


Cook Time: 20 minutesPrep Time: 2-3 hours (depending on rising time)

Ingredients:

·         1-1/2 packages (about 3-1/4 teaspoons) dry yeast

·         1/4 cup warm water

·         1/2 cup shortening, lard or butter (I usually use home rendered lard)

·         1/3 cup raw sugar

·         1-1/2 teaspoon salt

·         1 cup milk scalded

·         2 Tablespoons fresh lemon or orange zest

·         1 egg

·         4 to 5 cups sifted flour

·         1/3 cup chopped macadamia nuts

·         Softened butter (about 1/3 a cup, maybe a little more)

·         brown sugar (or I used a combination of male sugar and vanilla sugar)

·         1/4 cup Vietnamese Cinnamon

  Frosting

·         1 cups powdered sugar

·         ½ cup mascarpone cheese

·         1 teaspoon Tahitian Vanilla 

·         5 Tablespoons good quality rum

Method:

Add the warm water to the yeast and soak 10 minutes.

Scald milk; pour over the shortening. Add sugar, zest and salt and cool to tepid. Add the dissolved yeast and beaten egg. Add 4 cups flour adding one at a time beating after each addition.

Dough should be soft yet firm enough to handle. Knead on floured board until elastic and smooth. Avoid too much flour. Turn dough into well oiled bowl. Let rise for 1-1/2 hours.

Softly press dough down and shape into a rectangle. Roll dough out into a rectangle about 18 inches wide and 8 inches tall. Cover with the soft butter. Layer with a generous layer of sugar (brown or a combo of vanilla sugar and maple sugar.) Sprinkle on cinnamon and evenly distribute the nuts. Roll up jellyroll fashion.

Using a piece of thread or dental floss cut off slices about 1-1/2 inches thick. Place slices in a full side sheet pan lined with a silpat pad (or you can spray the pan with PAM.) Cover with plastic wrap and let rise until rolls fill the pan generously. This should take about an hour.

Bake in a 350 degree F oven about 20 – 30 minutes. Do not over bake rolls. Make sure the center rolls are cooked all the way through by testing with an instant read thermometer. It should read about 200 degrees. Allow to cool at least 15 minutes before frosting.

For the Frosting:
Using a mixer with whisk attachment whip the mascarpone, then add the powdered sugar and rum. Whip till fluffy. Spread over warm rolls as soon as they are placed on a plate to let the frosting melt and run into the rolls.