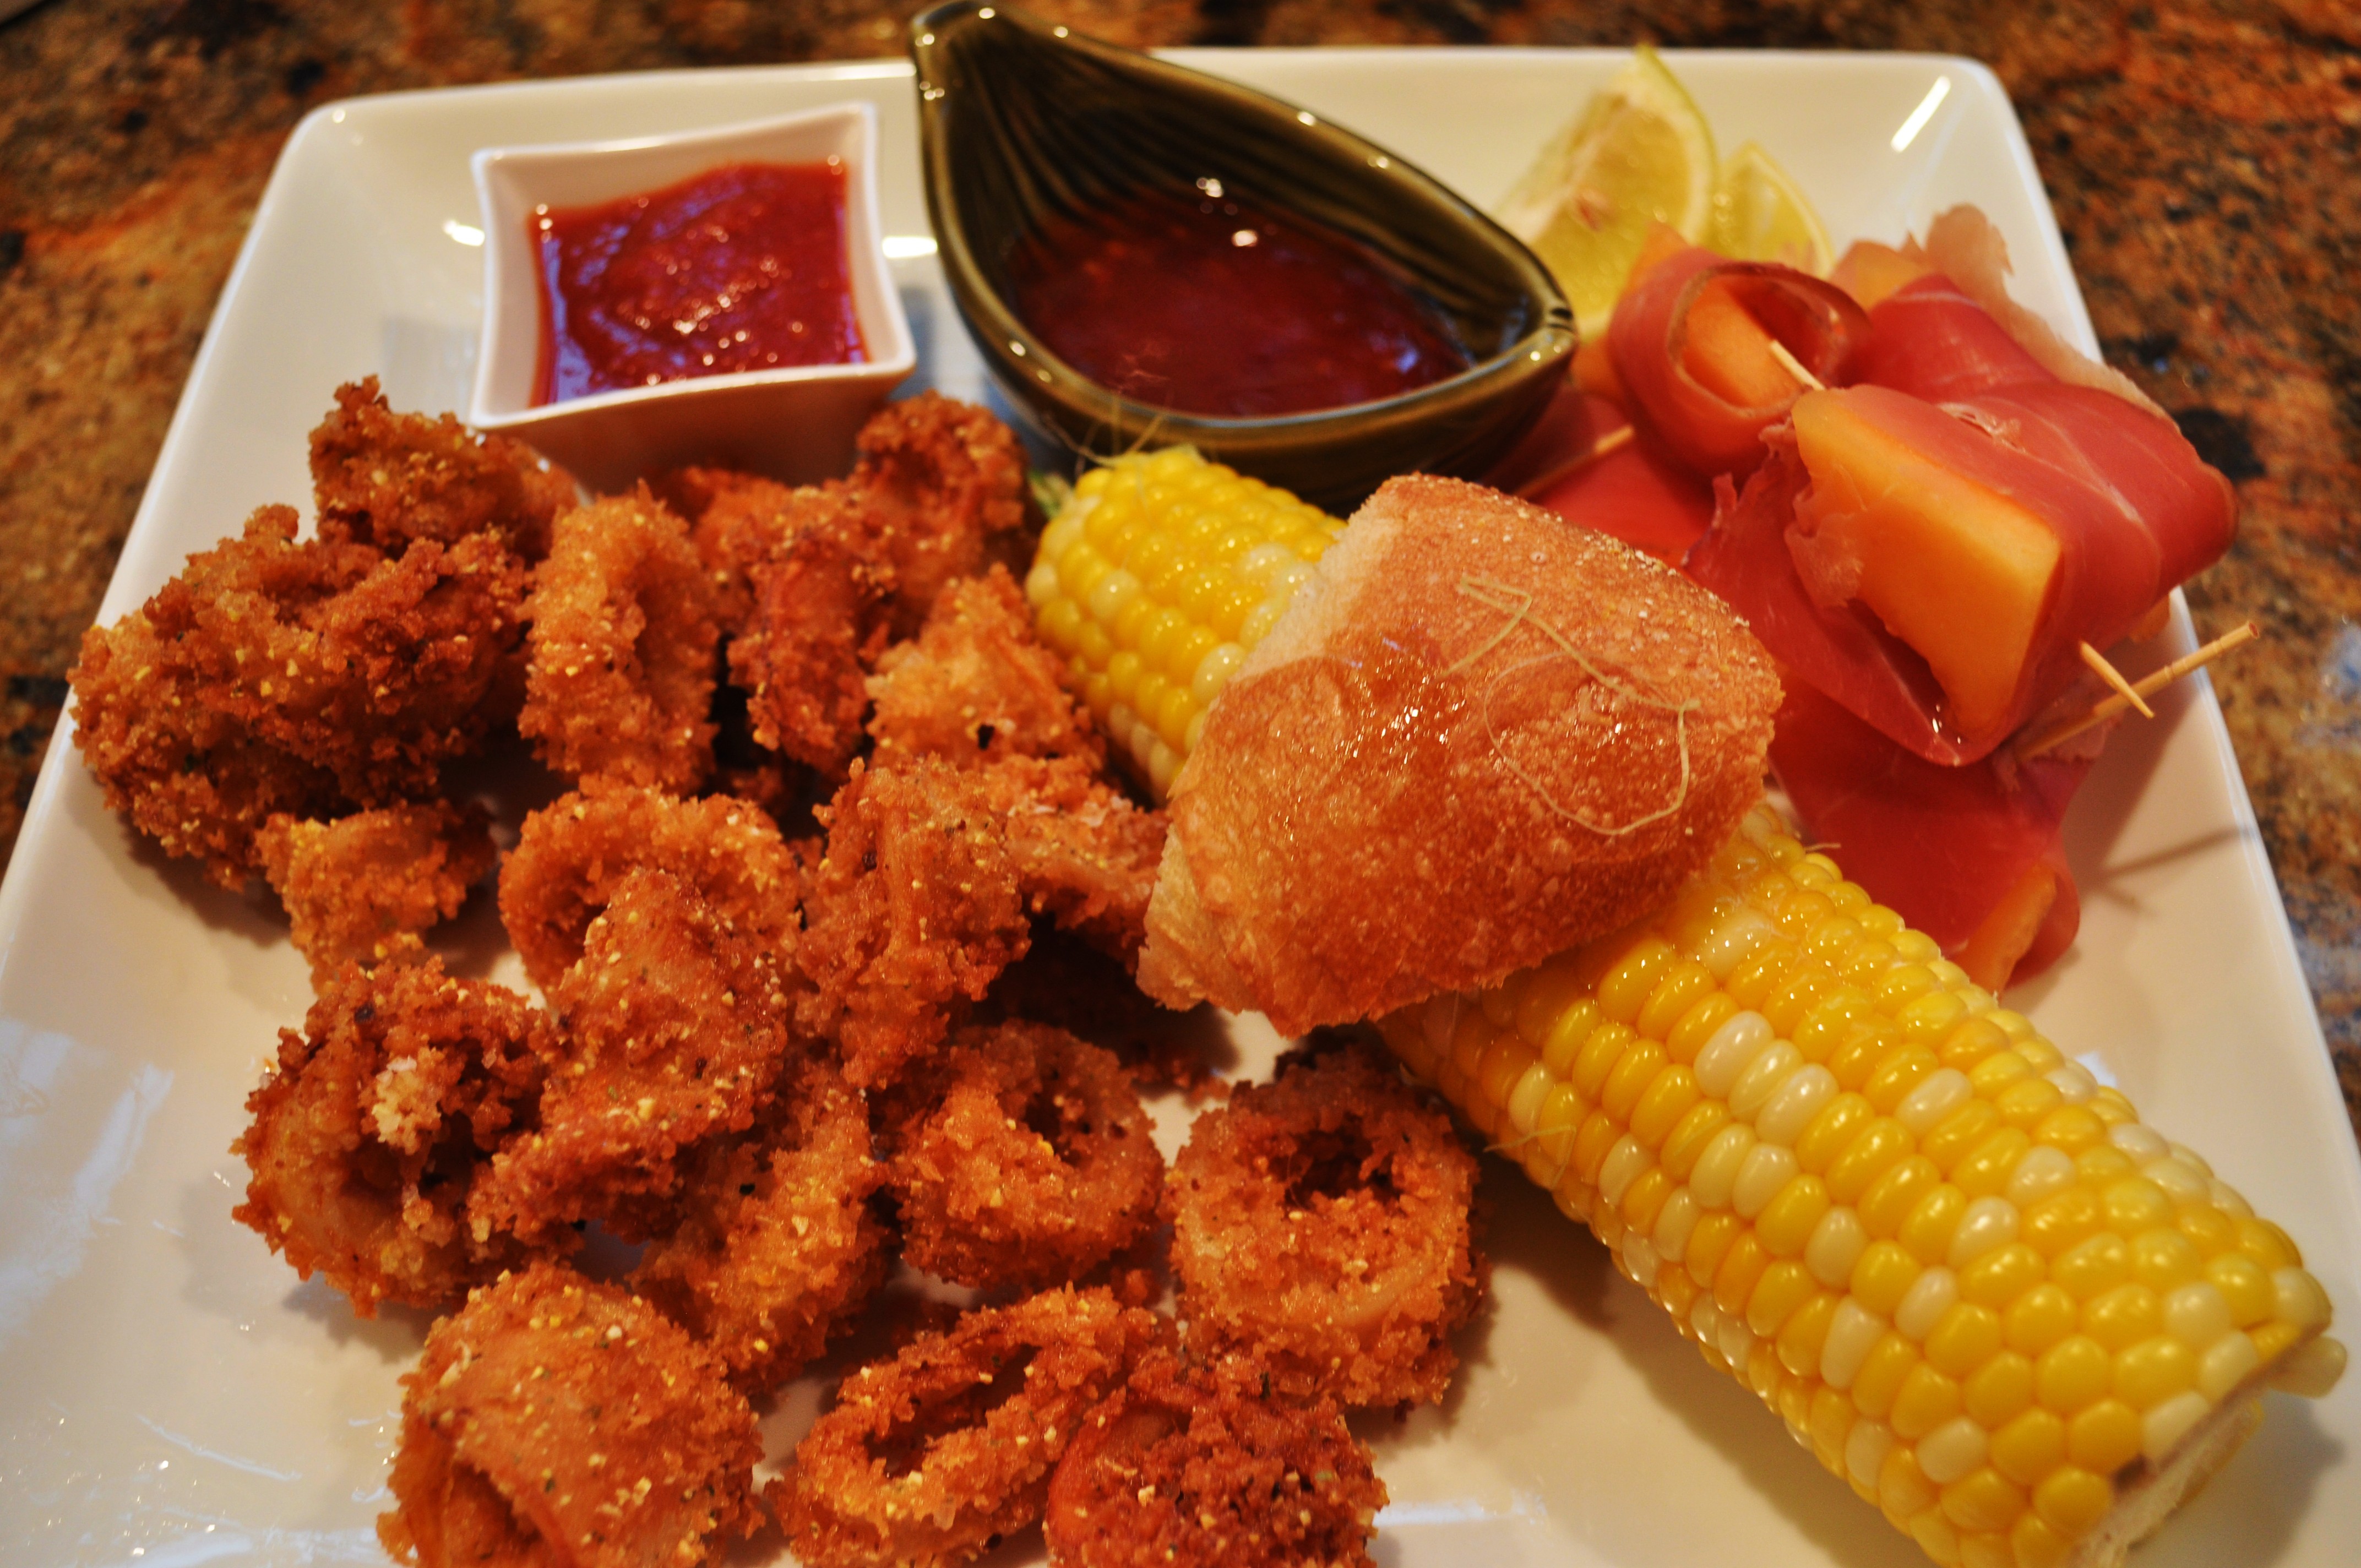
This is a super easy recipe, the key is finding good quality squid. I bought fresh tubes at the Whole Foods Seafood Counter, if you like tentacles you may have to buy them frozen. Always look for cleaned calamari/squid.This recipe is for a main dish for two or an appetizer for four. It is easily doubled for larger servings. The combination of flour, polenta and panko assure a crispy crust. Furikake adds some umami and the sesame in it adds another element of crunch.
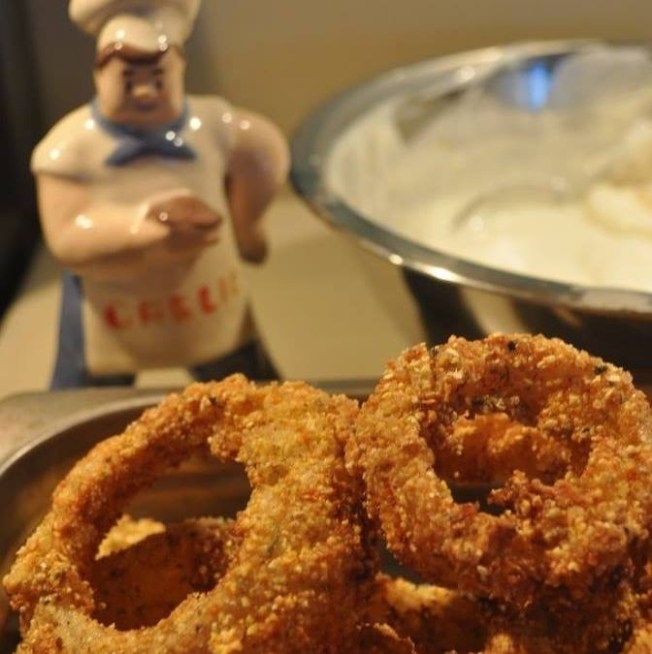
It is that magical time of year when Vidalia onions appear in the markets. Yes, even here in Hawaii, home of the Maui Onion (which is almost as sweet) we get Vidalias. I have been making cornmeal crusted onion rings for a long time, but I decided to change it up a little by using Greek yogurt instead of buttermilk to soak my onion rings in and to add Furikake to the Polenta. In this recipe I used a course ground Polenta which added a lot of texture. You could also use stone ground grits for this. Furikake is a Japanese seasoning used to spice up plain rice. I use it for lots of things and love adding it to the panko crumbs when making fish. My favorite Furikake is wasabi, sesame and nori. It ads little pops of flavor in the crust.
Ingredients:
2 cups of Greek Yogurt, thinned with 1/2 cup of milk
4 large Vidalia onions
2 cups coarse polenta
1/2 cup all purpose flour (or rice flour if you are gluten free)
1/4 cup Firikake
plenty of fresh cracked pepper
1 teaspoon of salt
Peanut oil for frying
Method:
Slice onions into thick slices, place the slices in the bowl of yogurt and milk and allow to rest for 30 minutes
Mix all other ingredients except oil in a shallow container
Heat oil to 350
Pull out slices of onion and shake off excess yogurt but allow a bit to remain
Dredge the onion slices in the breading, making sure it adheres to the onion slices
Fry the onions, 6 or so slices at a time for about 3 minutes, draining on a grid.
Serve immediately
I like to make a chipotle mayo for dipping. In a small blender mix 1 cup of mayonnaise with half a can of chipotles. (freeze remaining peppers for another use) Blend till they are combined.
Based on a Thai Pumpkin Curry that I make, this silken & spicy dish definitely qualifies as SASSY in my book. It is easy to make, healthy and makes great leftovers. I steamed some Jasmine Rice with a few Kaffir Lime leaves and made my own sassy version of cucumber salad (recipe to follow on the next blog post.) I used the Japanese Kabocha pumpkin that is abundant year round in Hawaii, but you could use any tender squash or pumpkin. Kabocha is sweeter and more tender than most and you can even eat the skin. It cooks rather quickly as do the shrimp, which makes this a prime recipe to whip up on a week night. The splash of cognac adds another dimension of flavor.
Garlic Man is the mascot for The Sassy Spoon! He will be featured somewhere in every post!
Ingedients:
1 Kabocha Pumpkin cut in to 1″ squares
2 tablespoons curry paste (You can choose any style of curry paste, I have used yellow, green and red with this before. This time I used red).
2 cans of coconut milk
6-8 fresh kaffir lime leaves (there is no real substitute for this, but you can use lime zest).
1/2 pound of large raw shrimp (I used 18-21 per #)
2 tablespoons palm sugar (or dark brown sugar)
2 Tablespoons coconut oil
8 cloves fresh garlic finely minced
4-6 Shitake mushrooms, sliced thickly
splash of cognac (My “splash” is generous, about a jigger full)
Chopped cilantro for finishing
Method:
In a large hot wok put a large spoon full of the cream from the coconut milk and stir in the curry paste, allow the paste to warm up completely, then pour in one can of the coconut milk & the kaffir leaves, stirring constantly as it thickens.
Add pumpkin and cook for 10 minutes, add the second can of coconut milk and the sugar. Check pumpkin to see if it is cooked thoroughly, be careful not to over cook it or the pumpkin will be mushy. Turn off the heat.
In another pan add the coconut oil, shrimp and mushroom slices. Saute till the shrimp turns pink, about 2-3 minutes. Add the garlic and slightly brown it.
Add a splash of cognac and cook for 30 seconds more. Add all of this into the wok, turn the heat back up and simmer for a minute, then sprinkle with cilantro and serve over rice.
On Saturday I got to experience something really special. The Puna Hongwanji hosted a professional soba maker from Japan to teach a workshop on making soba. Mr. Yamaguchi came from Fukui Japan to teach us his craft. And I use the term teach loosely, as it takes an entire year of making soba three times a day before you can actually be considered a professional. In Japan, soba and other noodles are made both by hand and also by manufacturing equipment. The handmade noodles are revered and sought out. Mr. Yamaguchi’s shop is one where the noodles are made daily, every day of the week, every week of the year by his wife, himself and a worker. He and his wife take separate vacations so that the shop never closes. In the shop, the soba master works behind a glass cage so that the customers are assured they are getting the freshest handmade product. Often there will be a slightly misshapen piece of noodle added to each bowl so that the customers are once again assured of a completely handmade product.
Before you read further, here is the video:
The heart of soba making is in the region of Japan called Fukui where a long tradition of growing and harvesting buckwheat is centered. Buckwheat is not a grain, but the seed of a flower.
The 54 year old soba maestro has traveling equipment set up that he stores in Hawaii because he comes here so frequently to do demonstrations. His equipment involves a large wooden shallow bowl for mixing the buckwheat flour and water that comprise the noodle dough, a 3’ X 3’ rolling surface which comes apart in three pieces, a 3’ X 1’ cutting board with 2 little folding legs to hold it onto the rolling surface, preventing slipping, an interesting device that has a hand guard for cutting the noodles and a very large long steel cleaver that is used to precisely cut the noodles. His final 2 pieces of equipment are the rolling pins, two long dowels about 1 ½ inches in diameter and 3’ long. Each piece of his equipment has a handmade quilted bag to protect it when not in use.
Soba (そば or 蕎麦?) is the Japanese name for buckwheat. It is synonymous with a type of thin noodle made from buckwheat flour, and in Japan can refer to any thin noodle (in contrast to thick wheat noodles, known as udon). Soba noodles are served either chilled with a dipping sauce, or in hot broth as a noodle soup. It takes three months for buckwheat to be ready for harvest, so it can be harvested four times a year, mainly in spring, summer, and autumn. In Japan, buckwheat is produced mainly in Hokkaido. Soba that is made with newly-harvested buckwheat is called “shin-soba”. It is sweeter and more flavorful than regular soba.
Since soba also means “next to,” there is a unique Japanese custom called “hikkoshi-soba (moving-in noodles).” People who have just moved into a new neighborhood, give their new neighbors soba while introducing themselves.
On New Year’s Eve there is a custom to eat “toshikoshi-soba (year-crossing noodles).” Because soba is fine and long, people eat them to wish for a long life. This became widespread in the Edo period.
The style of Mr. Yamaguchi’s noodles is is Echizen oroshi soba, or Summer Noodles. They are served cold with bonito flakes, spring onions and a sauce made of freshly grated daikon that was mixed with seasoning. The cooking liquid is also served alongside as a tea. The seasoning for Echizen oroshi soba is usually made with soy sauce, mirin, water and sugar, but in this case because Mr. Yamaguchi believes that the daikon in Hawaii is sweeter than in Japan, he brought a bittering agent to counteract that sweetness.
Mr. Yamaguchi does not speak English, so an interpreter from the Puna Hongwanji was available to translate his meticulous instructions. First the dough is made. This process takes about 30 minutes. Special flour made from the heart of the buckwheat is ground into flour. Mr. Yamaguchi brought his custom made flour in pre-measured bags. Each bag made one batch of soba. He had to make 3 batches to feed the 40 people attending the class. He starts by emptying the bag of soba flour into the bowl and adding a precise amount of water a tiny bit at a time. He works the dough by hand assuring that the hydration occurs evenly. As he incorporates more and more water, the dough begins to form and he kneads it over and over into a smooth and elastic dough. Finally after working the dough into complete submission, he flattens it into a disk and then starts the rolling process. The disc eventually is flattened and thinned into a square shape. This process takes another 20-30 minutes. The entire time my head was spinning as I was thinking how much easier it would be with a pasta machine to roll it out. Then when the dough is as thin as it needs to be, the square is folded over three times with extra flour to keep it from sticking and the cutting begins. The noodles are quite thin, thinner than the commercially made soba that I have experienced. Each bunch of noodles consists of 28 cuts. The noodles are then shaken to rid the excess flour and laid out on a sheet to rest. At this point you could cover the noodles and refrigerate for up to three days, but it is best to use them fresh.
A large wok-pot on a commercial wok burner was filled with water and set to boil. Once boiling the noodles are added and cooked using a long set of chopsticks to occasionally stir. In about 5 minutes a noodle is removed and tasted and when the noodles are at the ready they are placed into a colander and immediately dunked into ice water and “washed”. Then they go through the process a second time in fresh ice water. They are then immediately drained and served in bowls. The daikon in sauce goes on top, then some green onion slices and finally a generous hand full of bonito flakes.
A cup of soba noodles has 113 calories. That compares with about 200 calories for a cup of white-flour pasta. The calories in soba noodles still are made up mostly of carbohydrates, at 24.44 g. That compares to about 40g carbs in a cup of regular pasta. There are 5.77g protein in soba noodles and 0.11g fats. About 92 percent of the calories in the noodles come from carbs, 20 percent from protein and 1 percent from fat.
If your are interested in learning more about the Puna Honwanji, you can go to their website or facebook page.


 It is that magical time of year when Vidalia onions appear in the markets. Yes, even here in Hawaii, home of the Maui Onion (which is almost as sweet) we get Vidalias. I have been making cornmeal crusted onion rings for a long time, but I decided to change it up a little by using Greek yogurt instead of buttermilk to soak my onion rings in and to add


