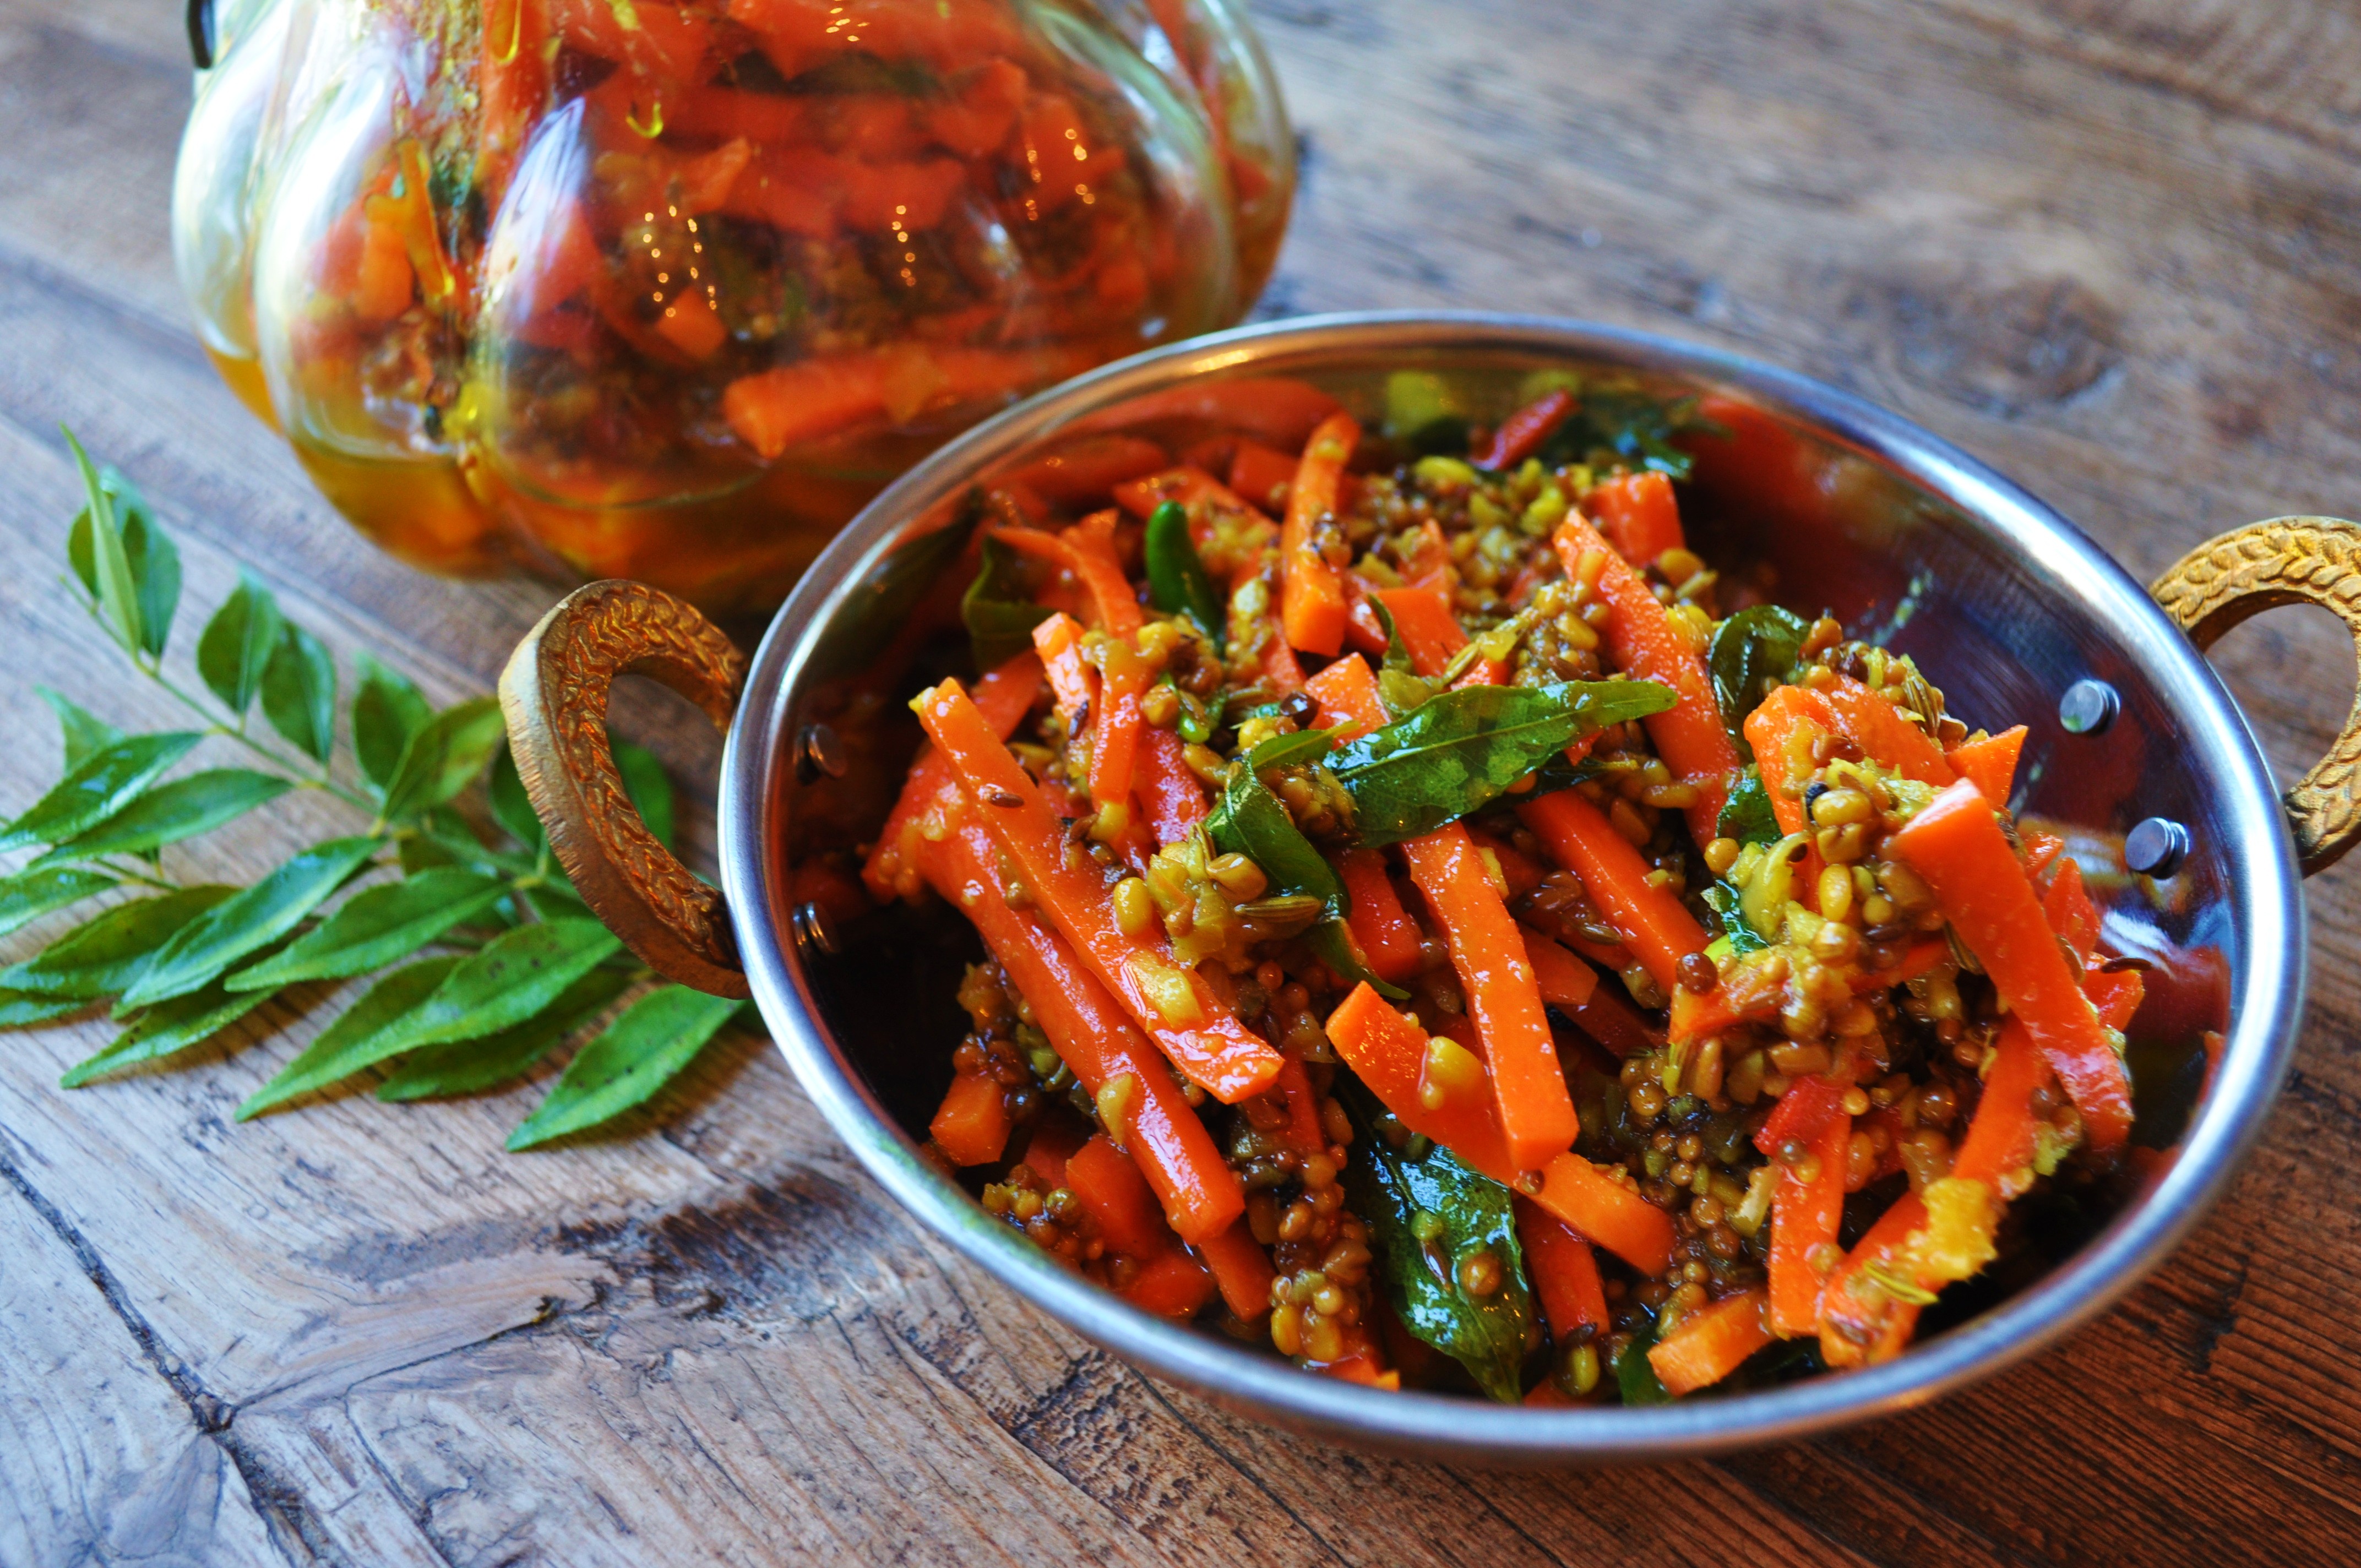
Carrot Pickle

Standard

carrot pickle

I adore Indian food. The spices, bright colors and flavors could sustain me and bring joy to my palate for eternity. I never tire of the  deep rich combining of so many ingredients to make one dish. Carrot pickles are one of those complexly layered side dishes that not only delight visually, but also in flavor. There are lots of ingredients, but once you have them all measured out, it only takes a few minutes to make these and they keep for at least two months in the fridge if you don’t share them. The problem I have is when people tastes them, they just want more and more and soon they are gone.

My friend and writing mentor Monica Bhide shared my recipe for Carrot Pickle in the Washington Post a few years ago. Not much has changed in my recipe. It is a classic that everybody raves about.

Carrot pickle mise en place

Carrot Pickle  

Ingredients:

8 carrots, peeled and cut into julienne

¾ cup canola oil

1 small onion, roughly chopped

1 2 inch piece of ginger, peeled and rough chopped

4-6 small red chiles (depending on how hot you like it)

6-8 cloves of garlic

3 tablespoons mustard seeds (I use brown, but black is fine too)

1 tablespoon methi (fenugreek) seeds

1 tablespoon of cumin seeds

1 tablespoon coriander seeds

1 tablespoon of fennel seeds

A hand full of curry leaves

2 tablespoons urad dal

1 teaspoon chili powder (hot)

1 tablespoon turmeric

A pinch of hing

4 tablespoons grated jaggery (or Thai palm sugar)

1 teaspoon sea salt

3 tablespoons vinegar (apple cider or white vinegar)

Method:

Lay carrots on a thick towel and roll and squeeze to remove all the water.

Puree the onion, ginger, chiles and garlic together in a food processor or mortar and reserve.

In a wok, heat the oil.. Add mustard seeds, methi seeds, urad dal, cumin and fennel seeds.

When they sputter, add 1 large onion, a chunk of ginger, and 4-5 garlic cloves that have been pureed together.

Throw in the curry leaves and fry the mixture until light golden brown. Lower the heat and add chilli powder, turmeric, cumin powder and a pinch of hing.

Add jaggery and salt.

Turn off the heat and add vinegar. Taste and adjust the spices – you want it to be hot chilli wise, but slightly sweet and sour from the sugar and vinegar. Mix in the carrots, place into a clean glass jar and store in the fridge. This will keep for several weeks. The recipe can be doubled so you can share some!

Pepita Granola

Standard

Granola 3

I have been making granola forever, it was probably one of the first foods I made in my adult life as a cook. When I was in cooking school in Cuernavaca, Mexico we had some with pepitas (pumpkin seeds) and since then this has been my favorite recipe. My favorite way to eat granola is on top of fresh Greek style yogurt with some fresh berries or fruit. This is very easy to make and far better than most store bought versions. I do not add dried fruit to the granola until serving as it tends to soften the granola, but this goes nicely with dried fruits as well as fresh. You can also store granola in the freezer to prevent softening.

granola 1
This recipe was adapted from Calle Ocho in New York City.

Pre-heat oven to 375 degrees.

6 Cups old fashioned rolled oats
1 1/2 cups hemp seeds (available at health food stores)
2 Cups unsweetened flaked coconut
1/2 cup vegetable oil (you can use pumpkin seed oil if you have it)
1/2 cup sliced almonds
2 cups green hulled pepitas (pumpkin seeds)
3/4 cup local honey
1/4 cup molasses
1/2 cup maple sugar
sprinkle of nutmeg and cinnamon
pinch of salt

granola 2

Mix all in a very large bowl. Bake on baking sheets lined with parchment or silpat for 15minutes, remove from oven and stir well, then bake for another 10 minutes. If the granola is browned, remove from the oven. If it is not browned, stir and put in for another 5 minutes. When golden brown cool, then place in airtight containers.


Guinness Braised Short Ribs

Standard

short ribs 1
Ecstatic Meaty Velvet…. that is how I describe the end result of this dish. Short ribs are covered with spices and then seared, then the vegetables are caressed by the fire and finally the braising liquid of tomatoes, porcini mushroom broth and Guinness are married to the pot. In go the short ribs and they braise for 2.5 hours while the sauce concentrates as the veggies become succulent. I served them this time over Yukon Gold mashed potatoes with creme fraiche instead of milk. Sometimes I do them over grits. This is the kind of meal that ends with pristinely clean plates, except for those bones which gave up their marrow in the dish.  A sacrifice well appreciated.

short ribs raw

Here is how you do it, feel free to exchange out the spices to your personal palate, this is just what works for me. You will need 6-8 meaty English Cut short ribs to feed two. This recipe can be doubled, but when you brown the ribs, do it in batches.

spice blend

Spice Blend: 

1/4 cup of brown sugar or 1/4 cup of Sweet Onion Sugar (or you can do 50/50)

1 Tablespoon Sweet Smoked Paprika (or Hungarian Sweet Paprika)

2 Tablespoons Vik’s Garlic Fix

2 Tablespoons Bloody Mary Seasoning (or good black pepper if you don’t have it, the full bodied flavor is worth seeking out)

1 Tablespoon dry mustard


Alternately, you can use some much more conventional spices if you don’t have access to the above blends:

The smoked paprika is essential,  find it.

  • 3 tablespoons of salt
  • 1/4  cup of brown sugar
  • 3 tablespoons of fresh ground pepper
  • 2 tablespoons of garlic salt
  • 1 tablespoon of dry mustard


short ribs veggies en place

Sofrito: 

1 cup of re-hydrated dried shallots, drained or 4 medium leeks chopped (pale white part only)

4 tablespoons of home rendered lard or olive oil

4 carrots chopped into medium sized pieces

3 celery ribs chopped into medium sized pieces

2 bay leaves (4 if using fresh)

10 cloves garlic, chopped

1 cup of dried porcini mushrooms re-hydrated and then strained, reserving liquid

For even more mushroom flavor, add 1/4 cup of kibbled mushrooms

1 440 mil can of guiness

1 28 ounce can of chopped tomatoes with the liquid

Method:

Preheat oven to 375 (I use convection roast setting). Be sure that you will have room for the lidded pot or dutch oven to fit on the rack on the lower third of the oven.

Pat ribs dry and and arrange in a sheet pan.

short ribs seasoned

Blend the spice mix and generously coat the ribs with it on all sides. There will be some leftover, reserve it.

Heat the lard or oil in a large deep pan or dutch oven. Brown the ribs taking care not to crowd them, do them in batches if your pan is not large enough. This should take about 1 minute per side.

short ribs browning

Transfer meat back to the sheet pan and ad the shallots, carrots, celery and bay leaves to the pot and cook over moderate low heat, stirring occasionally until vegetables begin to soften (about 3 minutes), clear a hot spot and add garlic. Cook for 1 more minute. Stir in mushrooms.

Add broth, beer and tomatoes with their juice, then add the ribs and any remaining spices and spoon the sauce over the ribs. Bring to a boil uncovered

short ribs ready for oven

Cover and place in the oven and braise for 2.5 hours, checking after about 1.5 hours to see if more liquid is needed, if so add beer, stock or water.

short ribs in oven

Remove from oven and allow to rest for about 10 minutes. Serve over mashed potatoes, grits or polenta. Click here for the perfect grits/polenta recipe.

short ribs close up

I doubt that there will be any meat left, but if there is it makes amazing tacos. Any veggies/sauce left are great for a soup, just add more liquid and puree.

If you liked this, you might also enjoy Smoked and Braised Pork Shoulder Latin Style.

Tomato Pie from the Stono Farm Market Tomato Shed Cafe

Standard

Tomato Pie
This really should be a mid summer recipe, but there are times when nothing tastes as good as this tomato pie and if you can find the tomatoes, it brings summer right to your plate. It is quite different from any tomato pie I have ever tasted. It is less of a pie and more of a juicy tomato casserole really. The key, and I really mean the KEY is beautiful  juicy ripe red tomatoes. They can be any kind of tomato, but they have to be deeply red and ripe. Fortunately the folks at the Stono Farm Market Tomato Shed Cafe  have access to the Ambrose Farm hoop house tomatoes, including some incredible heirloom tomatoes and some juicy red orbs of cherry tomatoes, even in February, which in the Low Country is not really all that cold.  I agree, that tomatoes are best in July and August, no matter where you live, sun ripened tomatoes grown in soil are the best.  South Carolina grows some delicious ones in her sandy loam. I have had this dish at the Tomato Shed Cafe many times, and have made it a few times for company with rave reviews. The best thing is that it is EASY!

Tomatoes

Here is the Ambrose family’s recipe:

Tomato Pie

Makes 8 servings

6 large ripe tomatoes or 2 # of good ripe cherry tomatoes

1 yellow onion thinly sliced

dried basil

fresh chives, chopped

Salt and Pepper

1 cup of Duke’s Mayonnaise

1 cup of shredded cheddar cheese

Biscuit dough, rolled thin and baked till golden (you can do this ahead in batches and freeze)

Method:

Place pieces of baked thin pieces of biscuit dough around the bottom of a pan, it can be a square 9 X 9 pan, a pie pan or a cake pan.

Slice the tomatoes in to 1/2 inch thick slices and salt, let sit for a few minutes, then fill the pan with several layers of tomatoes, salting and peppering and adding basil and chives on each layer. Add a layer of thinly sliced onions (you could insert garlic here too). I added some sweet onion sugar at this point, but if you do not have it, you can skip that. You can “fancify” it too by using smoked salt. I did.

Mix the mayo and cheese and top the pie.

Bake at 350 for 30-35 minutes.

Allow to rest for 10 minutes before cutting and serving.  I promise you, this is delicious! I have never had a tomato pie this good, or so easy to make.

Perfect French Fries

Standard

Perfectly cooked fries

I love French fries. I am constantly seeking a way to make the best ones.  Sometimes I like them thin and crispy, sometimes thick and pillowy light inside (best done by roasting at a high temp.). Most often like Goldilocks, I like them “just right.” That means that they are medium cut fries, a little crispy on the outside and soft on the outside, full of potato flavor, not the grease they were cooked in. I like fries cooked in duck fat, but that is not always something I have an abundance of. Here is the method, it is simple and only requires a large pot (best for keeping splatters contained) a deep thermometer used for frying  or cheese making, a spider (or other mesh spoon to retrieve your fries and some good quality canola oil.  The thermometer is the only thing you may need to go out and buy. Here is an example. You need this because you will need to control the temperature of the oil.

Ingredients:

Russet Potatoes, well washed

Canola Oil at least 3 ” deep

Smoked or Kosher Salt

Method:

  1. Cut the ends off of the potatoes and then the rounded edges. lay flat and cut into 1/2 ” strips. Place in salted water till finished cutting.
  2. Preheat the oil to 250 degrees.
  3. Use either a salad spinner or a dish cloth to completely dry the fries. Once the oil is ready place fries into the oil. You should not be crowding them, you may need to do this in batches.
  4. Cook until they start to look slightly golden, about 4 minutes, making sure that the oil temperature stays at 250.
  5. Carefully remove to a straining tray (cookie sheet or steam pan) with a rack.  I say carefully because the potatoes are very tender at this point and can easily tear.
  6. Bring the heat of the oil to 365 degrees.
  7. Add the potatoes in batches and allow to cook till they are perfectly golden with a subtle  bit of brown on the edges. Remove to the draining tray again and salt IMMEDIATELY. Serve right away with home made mayonnaise, BBQ sauce or ketchup.

Burger and fries

Meyer Lemon Focaccia

Standard

baked

It is Meyer Lemon season. I have been in love with Meyer Lemons since I was a little girl. My great grandmother had an ever bearing Meyer. Coming from a citrus family has advantages. I wonder how that 60+ year old tree in Glendora, California  is doing now. I do lots with the lemons on my tree and those I buy to supplement my habit. Here is what I did with some of them yesterday.

Meyer Lemon Focaccia

Ingredients:

Makes 1 focaccia.

  • 1 package (1/4 ounce) instant yeast or 2 1/2 teaspoons if you use bulk
  • 5 cups all-purpose flour, preferably organic
  • 2 1/2 teaspoons sea salt
  • Olive oil, for bowl and baking sheet
  • 1/2 cup mozzarella or pecorino toscano thinly shredded
  • 2 lemons, very thinly sliced crosswise
  • about a tablespoon of fresh rosemary
  • 1-2 meyer lemons sliced thinly and seeded
  • Parmigiano Reggiano cheese to grate over the top
  • 1/4 teaspoon crushed red pepper (more if you like a kick)
  • thinly sliced sweet onion

3-4 tablespoons extra-virgin olive oil (I use smoked)

*Note: It is best to use very fresh lemons for this, as older lemons rinds become difficult to chew.

232323232-fp54384-nu=5376-63;-252-WSNRCG=3489553;72343nu0mrj

Method:

  1. In a large bowl, or in a bowl of a stand mixer, combine yeast and 2 1/2 cups flour with 2 cups water; whisk to combine. Let stand 15 minutes.
  2. Add remaining 2 1/2 cups flour and salt; mix until well combined. Change to the dough hook if using a stand mixer. If using the mixer, knead with the mixer. If doing by hand, turn dough out onto a lightly floured work surface; knead until wet and tacky, but not sticky, 8 to 10 minutes. Transfer to a well-oiled bowl and cover with plastic wrap. Let stand until doubled in size, 3 1/2 to 4 hours.
    rusung
  3. Scatter semolina on a large rimmed baking sheet and press dough evenly into baking sheet. Let rise until puffy, about 1 hour.
  4. Preheat oven to 500 degrees.
  5. “Dimple the dough with your fingers  Drizzle some olive oil on the dough. Cover dough lightly with Pecorino or Mozzarella  and lemon slices, then sprinkle with rosemary and pepper; drizzle with more extra-virgin olive oil. Gate a little Parm over the top.
    dimplesoiled
  6. Transfer to oven and bake for 15 minutes. Rotate baking sheet, and continue baking until lemons and crust are golden brown, about 15 minutes more.
    ready to bake
  7. Remove bread from baking sheet and transfer to a wire rack to cool at least 10 minutes before serving.
    baked 2

Tamale Time

Standard

tamales to steam

I make a big batch of tamales several times a year. Yesterday I made a batch of pork and green chile tamales. They are not at all difficult to make and they freeze really well. They are also easy to re-steam. Here is the recipe, but keep in mind the filling can be any number of things, from chiles and cheese to chicken, pork, crab, beef etc. Once you get the rolling technique down you will be able to make them with anything. I often triple this recipe. This recipe makes about 20 good sized tamales. You can make them smaller if you are using them as an appetizer.

filling and husks
You will need: 

Cornhusks or banana leaves for wrappers

String

4 cups of Masa para tamales (this can be found in the Hispanic aisle of most large grocery stores.

1 1/2 cups of home rendered lard (see here how to do it and why) or butter

4 cups of good stock (I used duck stock, but turkey chicken or veal stock works great)

2 tablespoons of baking powder

1 teaspoon of salt

A large pot fitted for steaming. You need a lot of water for this, so raise your steaming basket to allow for a lot of water. This has to boil for 40-60 minutes.

filling

Filling: 

2 tablespoons lard or olive oil
2 cups of well seasoned shredded pork shoulder (see my recipe here for making smoked braised pork shoulder Latin style).

1 onion finely chopped

6-8 roasted poblano chiles seeded, skinned and chopped into 1/2 inch pieces (or in a pinch you can use canned green chiles)

8 cloves of garlic finely minced

1 tablespoon Vik’s Garlic Fix

1 tablespoon Sweet Onion Sugar

1 teaspoon of smoked salt (I make my own, but you can buy it here)

2 tablespoons of Ancho Chile powder

1/2 cup of stock

queso

2 cups of Queso para Quesedillas, para papusas or Jack cheese grated. Any good melting cheese is fine for this.

sauce

Sauce:

4 tablespoons of masa para tamales

4 tablespoons of house rendered lard or butter

1 cup of New Mexico Red or Green Chile powder

3 cups of good stock

Method

Cut lengths of string long enough to wrap the tamales. There are different ways of folding and wrapping the tamales, but this is my favorite way to do it. You can also tie just the ends or you can fold it so there is one side open and don’t even use strings. If you do this, you must place them upright in your steamer. Some people use parchment paper instead of corn husks or banana leaves.

Soak the corn husks in hot water, weight them down so they are immersed. Just before making the tamales, pour out the water. If you are using banana leaves they need to be heated to soften. I blanch them and place them on a wet towel.

In a stand mixer (or bowl with a beater) whip the cold lard for about 3 minutes on high speed till it is fluffy

In a bowl, combine dry ingredients and stir. Fold that and the stock into the lard. Mix until a very moist (but not sticky) dough forms. Chill for about 20 minutes while you prepare the filling.

masa

In a large skillet melt the lard and add onions. Stir and cook till the onions are translucent, add garlic in a hot spot and stir, then add the chiles and spices and finally deglaze the pan with the stock and allow to simmer till the stock is absorbed, then cool.

Set up a station on a table or counter top. You will need the masa, the cheese, the filling, the string and a platter to stack the finished tamales on.

tamale ready to fold

Start with about 1/2 cup of masa on a corn husk. Fold the sides of the husk where you will want the ends of the tamales to be and spread the masa with the folded husk. Do the same thing with the top and bottom of the husk so that the dough is spread out and you end up with a square of dough about 4″ X 4″. You will need to select the husks that are large enough to accommodate this size of tamale. You should have at least an inch of exposed husk on all sides. Place the filling in the center of the masa and lightly push down on it. Then take the bottom end of the husk and roll it forward to meet the end of the dough. Pull the dough forward making the two ends of dough meet. Then fold in the sides and roll the tamale. Place the string under the tamale and tie like a package. Repeat till you have used all of the dough or filling.

tamale folded

In a steam pot, place the tamales on a rack, cover and boil vigorously for 40-50 minutes. While you are steaming make the sauce.

Chile Sauce:

You can use New Mexico Red or Green Chile powder for this. I used red this time, but my next batch of corn, cheese and chile tamales I am making green sauce.

Make a roux of the masa and lard, stir till slightly brown. Add the chile powder and stir, then whisk in the stock. Allow to simmer and thicken slightly. Keep warm till ready to serve.

To serve, open the husks and remove the tamales to a plate. The masa should be soft and supple, yet firm enough to hold together. Spoon the sauce over and add additional cheese, crema and chopped cilantro. Enjoy!

tamales steamed

tamales plated 2


Smoked and Braised Pork Shoulder Latin Style

Standard

plate 2 This recipe has been one I have used for years. I used to make it at my cooking school for Cuban Night. I change out a few things here and there to go more Italian or more Cuban. Even if you do not have a smoker this is delicious braised or done in a slow cooker or dutch oven. You simply make a paste in the food processor and then make slits in the pork shoulder (bone in or out, your choice). Marinate it over night, smoke the next morning and then finish it off in a crock pot or in a dutch oven in the oven.  Note: I do not add salt before cooking, but I offer it at the table. 

DSC_0001

Ingredients:

1 cup each of packed cilantro and flat leaf parsley

1/3 cup each of coriander, cumin and fennel seeds toasted

30 cloves of garlic

1/4 cup crushed red pepper (the kind you put on pizza)

1/4 cup pink pepper berries (optional)

1 tablespoon hickory powder if you are not smoking the meat

1/4 cup olive oil (I use smoked oil that I make)

1 5-7 pound pork shoulder (get them on sale and freeze)

2# Yukon Gold Potatoes

3 large onions, quartered

2 cans of beer

1/4 cup Spice and Tea Exchange Sweet Onion Sugar (optional)

Method:

Put the cilantro, parsley seeds, garlic, pepper berries, crushed red pepper, hickory powder if you are not smoking and the olive oil in a food processor. Pulse till you have a thick paste.

DSC_0002

Put on latex gloves if you have them, this gets messy. Cut 1 1/2 inch slits into the meat on all sides. Stuff the slits with the paste. If you have any paste left over, smear it on the meat. Wrap tightly in plastic wrap and refrigerate 12-24 hours.
porchetta
Remove the meat from the refrigerator and allow to come to room temperature. Meanwhile set up your smoker and turn your grill on high.

Sear the meat on all sides on the grill. Then place in the smoker at about 200 degrees over a drip pan and smoke for 6 hours. If you do not have a smoker, go directly to the slow cooker or roaster but cook for 8-10 hours on low.

Porchetta out of the smoker

Prepare the roaster or slow cooker by placing a bed of Yukon Gold potatoes (small ones or cut larger ones in half) and the onions. Sometimes I add other root vegetables too. Place the meat directly on the bed of veggies. pour two cans or bottles of beer over the meat. Sprinkle the sweet onion sugar all over.

Roast at 350 degrees covered with foil or in a dutch oven. Or you can use a slow cooker on high for 4 hours (either method).  It is just that easy. The leftovers are sometimes my favorite part… tamales, tacos pulled pork sandwiches. 🙂

plate