Tag Archives: photos

New Years Fun Food: Collard Green Empanadas

Standard

empanadas with sauce

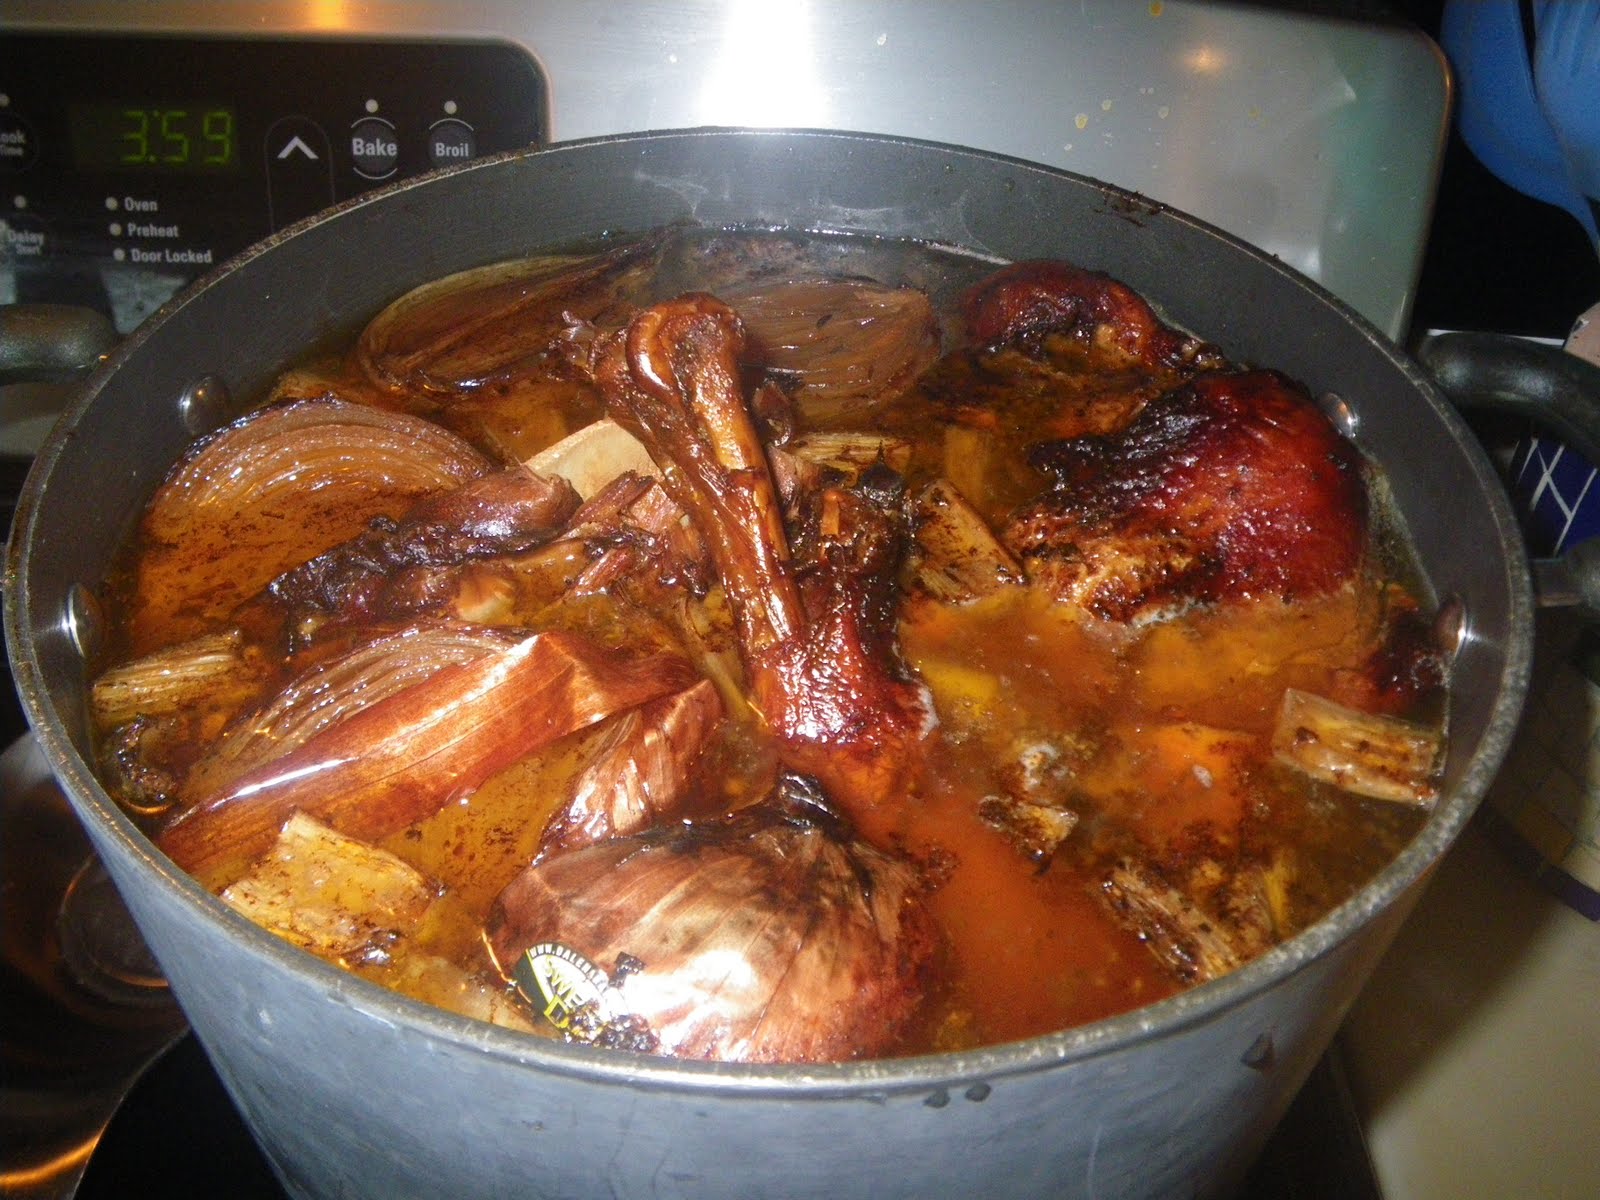
I had a New Years Day dinner party and decided to have a Hispanic theme. I usually make my Chiles en Nogada for Christmas, but I was busy working on Christmas Eve and decided to postpone that tradition till New Years. I have done a lot of regional Mexican and South American cooking, spent a great deal of time in Latin America from a young age and went to cooking school in Mexico.  Since moving to the Low Country, I have been interested in the spin that my friend Sandra A. Gutierrez has put on some of the traditional Latino recipes and ingredients in her book The New Southern-Latino Table. I decided to incorporate a few of her recipes into my menu for New Years and the first one  was Collard Green Empanadas. In the south it is a tradition to eat two things on New Years, greens  which represent folded money and black eyed peas which represent good luck. Sandra had recipes using both ingredients, so I made them her way with a few twists of my own.

New Southern2

Here is the recipe for the empanadas. She suggested frying  store bought empanada dough or baking pastry dough. and I wanted to bake, so I used store bought pie pastry & baked them because of the time and mess crunch with all of the other parts of the meal I was doing. But you can make them with your favorite pastry dough too. I have filling leftover and plan on doing that next weekend.

Heat oven to 375

Ingredients: 

  • 2 Tablespoons Bacon Drippings (or vegetable oil)
  • 1/2 cup finely chopped red onion or shallots
  • 4 garlic cloves finely chopped in a a teaspoon of salt
  • 1 bag of chopped frozen collard greens
  • 1/2 cup cooked and chopped bacon (I bake my bacon with Sweet Onion Sugar on it)
  • 1 8 ounce package of cream cheese
  • 1/2 cup cojita or fresco cheese (optional) these cheeses can be found at Hispanic markets or most grocery stores now days.
  • 1/4 teaspoon cayenne
  • 1/4 teaspoon chipotle powder
  • 1 egg whisked
  • Raw sugar for topping
  • 16 empanada disks or 1 package of Pillsbury pie dough.

Method:

Empanadas

  • In a large skillet heat the oil/drippings and cook the onions till translucent. Add the garlic and saute for about 20 seconds, then add the drained collard greens. Saute for a few minutes and remove from the heat, cool for 20 minutes. Add cheeses and spices.
  • On a floured surface roll out the pie dough to an increase of about 25%. Cut circles with a biscuit cutter or glass. *you can make them bigger if you have a larger cutter, using more filling.
  • Put a teaspoon of filling on each disk and brush the egg wash around the edges. Close and seal, using a fork to crimp the edges. Use the remaining egg was on top of the empanadas. Sprinkle with the flavored sugar. Top with Habenero Sugar. Bake for 20 minutes. Serve warm or at room temperature with salsa.

DSC_0012

Sriracha Buffalo Chicken Wings

Standard

Wings plated with Beer

I love sassy stuff. Sriracha is a staple in my house. So is Frank’s Hot Sauce. This recipe is easy and delicious too. If you want to make it healthy, you can use the sauce as a marinade and grill the wings. I opted for the fry method here, but I do grill them too.

Sauce:

1 stick of unsalted butter

1 bottle of Frank’s Hot Sauce

2/3 cup Sriracha Sauce (Rooster on the bottle)

3 tablespoons Vik’s Garlic Fix 

1 tablespoon Sweet Onion Sugar 

Place all in a pan and simmer while frying the wings.

sauce

I used Drummets, they have more meat on them and they are readily available here. When we lived in Hawaii they were impossible to find. I wonder what they do with all of the other wing parts…. cat food?

In a large deep pan, heat oil to 400 and then adjust the heat to maintain 350-400 degrees while frying.

Fry in small batches so the wings do not stick together.

This should take about 6-8 minutes, remove when golden brown.

wings fried

Drain.

Place in a pan once all are fried and pour the sauce over and stir to make sure the wings are completely covered with sauce.

Bake at 350 for 20 minutes. Serve with celery, carrots and blue cheese dressing. FINGER LICKING good.

wings plated

Want another great wing recipe: Here I recreated Husk’s Sweet Tea Brined Smoked Kentuckyaki Chicken Wings. 

And here is a post from my friend Scotty Harris, who lives near Buffalo about wings… he insists there is no such thing as Buffalo Wings, they are just wings to him.

Bloody Mary Chicken

Standard

This recipe could not be easier. BUT it requires a secret ingredient that you can only buy at the Spice and Tea Exchange. It is a Bloody Mary Spice Blend. One of the many blends I make at work. It contains just about every thing you need to make a good Bloody Mary except the tomato juice and vodka. Here is a list of the ingredients (all of which you can also buy separately at our store): black pepper, sea salt, celery seed, garlic, horseradish powder, Worcestershire powder & tomato powder. By utilizing this unique blend of spices, herbs and concentrated powders you can make a fast and easy dinner, in fact I gave my husband the directions and he did the marinade while I was at work. When I got home, I just tossed a salad, grilled the chicken, mashed some sweet potatoes, drizzled them with maple syrup and added some of my Cognac Cranberry Compote.

Ingredients: 

2 Tablespoons STE Bloody Mary Blend

Juice and Zest of one lemon (I used Meyers from my tree)

1/4 cup Olive Oil (I used smoked olive oil that I make myself)

2 boneless skinless chicken breast halves

Method: 

Mix together the first three ingredients, put the chicken in a zip lock plastic bag, pour the marinade in. Allow to marinate for 6-8 hours in the refrigerator. Preheat your grill and then grill the chicken till the interior reaches 165 degrees. Remove, cover with foil and allow to rest for 5 minutes. Serve and smile!

Individual Cheese Soufflés

Standard

I like to serve soufflés  in individual dishes. This recipe makes two generous soufflés. I used ramekins that are 5″ across. For dinner parties I like to double this recipe and use smaller ramekins. I served the soufflés with a sauteed chicken breast and brandied cranberry sauce. They would be equally good with a large herb salad. Fresh eggs are important in this recipe. Contrary to rumors, soufflés are actually very easy to make as long as you follow the instructions and do not open the oven while cooking. I also use a ceramic oven liner that retains heat and makes for even baking. Have fun with this!

 Individual Cheese Soufflés

  • 1 teaspoon of Piment d’Espelette (optional; you may find this favorite seasoning of mine difficult to find)
  • 3/4 cup finely grated aged Parmigiano-Reggiano cheese, plus 1/4 cup for topping (used the food processor with blade for grating the cheese)
  • 1 tablespoon unsalted butter, at room temperature and more for coating the ramekins
  •  2 tablespoons all-purpose/plain flour
  •  1/2 of a nutmeg, freshly grated
  •  3/4 teaspoons sea salt
  • 3/4 cup whole milk
  • 1 garlic clove, minced
  •  1 cup finely grated semi-hard cheese such as Comté Manchego, Gruyère. I used Comté and did the food processor method for both the Comté and the Parm (but do make sure that there are no large lumps)
  •  3 large very fresh eggs, separated + one extra white.
  • 1 tsp freshly squeezed lemon juice (I used Meyer lemons, they are my favorite and my tree is loaded)


Preheat the oven to 375˚F with a rack in the middle of the oven. Butter ramekins sprinkle with Parmigiano-Reggiano to coat completely all the way to the top. Shake any excess cheese out into a bowl. Place the molds in the freezer to chill.

Melt the 1 tablespoon butter in a medium saucepan over low heat. Whisk in the Piment d’Espelette , flour, nutmeg, and salt; whisking constantly, cook the flour without browning, about 5 minutes. Whisk in the milk and garlic and continue to cook, whisking, at a low simmer until the mixture is smooth and thick like pudding, about 5 minutes.

Stir in the Comté and any Parmigiano-Reggiano left over from coating the molds and cook, stirring, until the cheese melts. Remove from the heat and stir in the egg yolks, one at a time. Continue stirring vigorously with a rubber spatula to cool.

Whisk the egg whites and lemon juice in a clean bowl. I use my Kitchen Aid Stand Mixer with the  beater on medium-high until they just hold a soft peak. * DO NOT not over-whip the whites, which would give your soufflé a cloudy instead of creamy consistency.

Fold one-fourth of the egg whites into the cheese mixture with a rubber spatula, carefully turning the bowl and mixing gently until the whites are streaked throughout. Add the remaining whites and fold in but don’t overmix, which can deflate the whites.

Transfer the batter to the chilled mold and scatter the remaining  Parmigiano-Reggiano over the top. Place the dish on a baking sheet/tray and set in the oven, decrease the oven temperature to 325˚F/ 165°C/, and bake until the soufflé is golden, puffed, and set but just a touch wobbly inside, 30 to 40 minutes. Serve immediately. After a few minutes a slight deflation is normal, this is why they must be served immediately for the most impact. Enjoy!

Williamsburg Turkey Soup Redux

Standard

As a young mother, thirty years or so ago I first made a recipe of Williamsburg Turkey Soup, most probably after Thanksgiving. Back then I always did my turkeys on a Weber Grill with soaked pecan shells poured over the coals, essentially creating a lightly smoked turkey. It was a delicious soup then, but when I pulled up the recipe the other day, I was surprised at how pedestrian the recipe looks to me now. Obviously, it was time for me to kick it up a notch. The original recipe is supposed to have come from the colonies and would probably have been done with a wild turkey. And seeing that they probably did hot have half and half back then, was likely made with cream. The rice probably was not white long grain, but an earthier wild or brown rice. Regardless, I made a big pot of wonderful soup and was able to render some extra turkey stock too.

Here is my Redux Version

Part one: Make turkey stock. I roasted a turkey last week and used only the white meat. I then placed the carcass with the dark meat in the smoker and smoked over maple wood for 12 hours. You do not have to smoke your turkey, but it sure makes for great soup and stock. You could also use a store bought smoked turkey for this. After the turkey was sufficiently smoked for flavor, I made the stock.

In a very large pot place chunks of carrot, celery & onions (about 2 cups each) into a pot. You do not need to peel them as they are only adding goodness to the stock. Add 20 (yes 20!) garlic cloves. Toss in a few stalks of  rosemary and thyme and one bay leaf. Place the carcass into the pot. If your pot is not large enough, you can break it apart a bit to fit. Cover with water and place on a LOW simmer for 12 hours. The stock should never be allowed to boil, just simmer.

Remove pot from the heat and allow to cool so that you can handle the turkey to remove meat. You may want to place it on a platter to cool. Remove and reserve the meat. Then filter everything over a large pot using a fine sieve. Pour the stock into containers to cool completely so that the fat will rise to the top. Your leftover veggies can be placed in compost or fed to the dogs in chunks. Discard all of the bones. I ended up with 8 cups of rich dark stock. Some of which was used in the soup. I grabbed all of the garlic cloves and saved them for the soup.

Part Two: The Soup

1 Cup of Butter (yes, you can use olive oil if you want to)
1 Cup of all purpose flour
4 small red onions or 8 shallots finely chopped
4 large carrots, peeled and finely chopped
3 ribs of cellery finely chopped
(note all of this chopping can be done in a food processor)
Reserved garlic from the stock, which can now be smashed and added to the soup
2 cups of fresh corn kernels (if not in season, use frozen)
1 small jar of pimentos (or roast a red pepper and chop)
1 1/2 cups of wild rice/brown rice blend (I use Lindeman’s Brand)
2 teaspoons of salt (I used smoked salt that I smoke while doing the turkey.)
1 tablespoon of fresh cracked pepper
3 quarts of turkey stock
3 sprigs of thyme (leaves pulled from stem)
2 cups of reserved turkey chopped
4 cups of cream or half and half if you are giving your arteries a break


  • Melt butter in the bottom of a large sop pot or dutch oven
  • Add flour and stir gently for about 5 minutes to form a light golden roux
  • Add onion, carrot, celery and garlic to roux and sir. Cooking over medium flame for 10-15 minutes, stirring often. The onions should be just starting to brown.
  • Add rice, corn, stock, salt, pepper, thyme, pimentos along with reserved turkey and stir all together. Simmer for about 30 minutes. Taste the rice and be sure that it is cooked through. Add the cream and stir. Cook on low flame till completely heated.  Taste and add more seasoning if you think it needs it.
This makes a huge pot of soup, but it freezes well if you are not feeding a crowd. I like to serve it with a few slices of Hawaiian Chiles on it along with fresh chopped parsley or thyme leaves. However, many people cannot take the heat of the chiles, so you might just want to serve chiles or siracha sauce on the side. It is delicious just as it is. It also might be good with some browned crispy thin slices of jamon or prosciutto on top.

Tacos al Pastor

Standard

One of my all time favorite Mexican foods is a street food, Tacos al Pastor or literally “tacos de trompo” . It started in Puebla Mexico, where many middle eastern immigrants came and sold their own rotisserie meat, the doner kabob.  Now, all over Mexico they have stands where the pork and pineapple that have been marinating are stacked on a huge skewer and cooked in a vertical rotisserie and then the meat and pineapple is shaved off and served on a tortilla with onions, cojita and cilantro.

When I lived in Chicago I could just go to the Carceneria and buy however much I wanted of the velvety red marinated pork and pineapple and take it home and make the tacos straight away. Here in South Carolina it takes a little more work to produce the meal… but the results are outstanding. If you too like this dish, or want to try it, you can, no matter where you live. The first thing you will need is annatto, or if you live in a place with Hispanic groceries, you can buy the achiote paste commercially made. I have always been able to buy the paste, but here in Charleston…. no soap, so I learned to make my own.

It is easy and I actually like it better than the commercial paste. I froze the extra paste in a ZipLock bag. Annatto is the seed of the achiote tree and is used in Hispanic & Caribbean cooking for color and flavor. I work at the Spice and Tea Exchange of Charleston and we sell annotto, so that was easy for me. If you cannot find it near you,  we also sell it on our website. Once you have the paste made, then you make the marinade. Because of  the pineapple juice in the marinade, you do not want the meat to marinate more than 4-6 hours. Then you cook the slices of meat and pineapple and serve them the same way I described above. I usually serve them with lime slices and sometimes crema (Mexican table cream).

Tacos Al Pastor

Ingredients:

  • 1 cup pineapple juice
  • 1/4 cup vegetable oil, plus more for cooking, or home rendered pork lard
  • One 1-ounce package achiote paste (or make your own, see recipe below)
  • 1 tablespoon adobo sauce
  • 4 chipotles in adobo sauce (you can also freeze what is left in the can for another time)
  • 6 cloves garlic
  • Pinch sea salt
  • 2 pounds boneless pork butt, sliced into 1/2-inch-thick slices, then into 1/2-inch-wide strips and then in 1/2 inch chunks
  • 12 fresh 6-inch white corn tortillas
  • 1 red onion, 1/4-inch dice
  • 1/2 a fresh pineapple, peeled, cored, 1/2-inch dice (0r you can use chunky canned pineapple)
  • 1/2 cup fresh cilantro leaves coarsely chopped
  • Cotija cheese, crumbled, for serving
  • Hot sauce, creama and lime quarters


Method:

Puree 3/4 cup of the pineapple juice, the vegetable oil or lard, achiote paste, adobo sauce, chipotles, garlic and salt in a food processor. Mix the pineapple juice mixture with the pork in a freezer bag and move around to coat. Marinate the pork in the fridge, 1 to 3 hours.

Preheat a cast-iron skillet or grill to medium-high heat. *Note: if you are doing this on a grill, leave the meat in strips and then chop after cooking. Lightly oil the skillet and add the tortillas, toasting, about 30 seconds per side. Remove the tortillas and store in a towel to keep warm.

Raise the heat under the skillet to high and add 1 tablespoon vegetable oil or lard. Remove the pork from the bag and wipe off any excess pineapple juice mixture. Cook the pork in batches, until charred and cooked through.

Remove the pork from the skillet. Add half of the onions and the fresh pineapple and quickly cook until lightly browned, about 2 minutes. Add the remaining 1/4 cup pineapple juice and the chopped pork back to the skillet with the juices.

Place the pork, pineapple and onion mixture in the tortillas. Top with the remaining onions, cilantro, cotija and hot sauce.

Home made Achiote Paste

Ingredients

    • 6 tablespoons annatto seeds
    • 1 tablespoon toasted cumin seeds
    • 1 tablespoon toasted coriander seeds
    • 1 tablespoon toasted black pepper corns
    • 5 allspice berries (these can also be toasted)
    • 1 teaspoon sea salt (I use smoked salt)
    • A pinch of nutmeg
    • 6  whole cloves
    • 6 garlic cloves
    • Juice & zest of 3 limes or lemons
    • Enough olive oil to make the paste (about 1/4 cup)

Directions

  1. Put all spices and dry ingredients into a spice grinder, and grind until you have a fine powder.
  2. Take the powder and put it into the  bowl of a food processor and add the garlic, lemon juice, zest and the olive oil 1 tablespoon at a time until you get a thick paste which binds together, in a putty like consistency.
  3. Separate into Tablespoon size portions and freeze individually.
  4. When you want to use it, you can mix the TB size portion with 10 cloves of garlic crushed, and 1/2 cup of 50/50 orange juice & lemon juice and marinate pork or chicken overnight.
  5. Some recipes say to add tequila, but that is an Americanization of this Yucatecan specialty. However, I have done it and it is good.

*NOTE* Annato seeds are very, very hard, and are difficult to grind with a mortar and pestle, use the grinder or it won’t make a paste. They DO, and WILL stain your grinder, and anything you happen to spill it on, be careful. You can double, or multiply this recipe as you wish, and I usually make enough for a year’s worth at a time. It freezes well.

Pesto: Summer’s Gift

Standard

There are few things that can compare to home made pesto. It evokes the essence of the garden, all of that basil and garlic… but it also has a richness and depth because of very good olive oil, lots of Parmigiano Reggiano and most importantly pine nuts and pistachios! As my basil plants dictate (it takes ARMFULLS of basil), I make a big batch and freeze it. It does keep well in the refrigerator too, at least 6 weeks.  I never use a recipe, but I paid attention this time to the amounts so you too could make some of the best “green sauce” in the world. If you have a smaller amount of basil, you can divide this recipe. Just remember to taste the pesto for balance and seasonings. It should have a little tang to it and also be rich and slightly crunchy. Some people use other nuts, such as walnuts, but I promise nothing can compare with the combination of pine nuts and pistachios. The are expensive, but really worth it in this instance. And a little pesto can go a long way too! 

Ingredients:  

1 1/2 cups pine nuts

1 1/2 cups pistachios

16 cups of basil leaves and flowers if you have them. I sometimes add parsley and arugula to the mix, but the predominate flavor needs to be basil. 

Zest and juice of three large lemons

3 heads (not teeth, full heads) of garlic, skinned and cut into chunks

1 1/2 -2 cups of good olive oil you judge when the consistency is ideal

2 tablespoons smoked sea salt (non smoked is fine too)

3 tablespoons fresh cracked pepper

1 tablespoon raw sugar

1-2 tablespoons crushed red pepper

3 cups freshly grated Parmigiano Reggiano (you can do this in the food processor ahead)


You will need a food processor for this. If you do not have one, a blender works, but you will have to do it in smaller batches. I have a very large Cusinart, so I do a big batch at one time. 

Method: 

Get all ingredients in place. Toast the nuts in a dry skillet. Do not crowd them too much. I did two batches for this recipe. 

While the nuts are cooling, fill the processor bowl with basil, slightly packed, but not too tight. You should have some basil left over, this will go in after the first part is ground. 

Add the salt, pepper, red pepper, 1 cup of olive oil, garlic, all of the lemon zest and juice. Pulse till the basil is reduced in volume, add the rest of the basil and more oil. The oil and the lemon juice allow the basil to be ground down into a paste. The lemon juice is used for flavor, but also to keep the pesto bright green. Add all of the nuts and process again, adding olive oil as needed to make the paste. Add the cheese and more olive oil as needed. It should be a thick paste, but one that easily drops from a spoon. Once you have it all ground up, taste, add more seasoning if you need it. 

Freeze in containers the size that you are likely to be using it. I find that about 1 cup servings are good for two people. This is great on pasta, pizza, fresh mozzarella, ricotta, crostini, chicken, steak and even on scrambled eggs.  I also like to dip bread sticks in it. However, my favorite way to eat it is over pasta. 

Refrigerator Pickles: Easy Bread and Butter Cucumbers and Okra

Standard


Easy, delicious and a perfect way to preserve some of the last of this summer’s produce, in this case some cucumbers and okra. Refrigerator pickles are great, crispier and fresher tasting than their canned cousins.  This is a recipe that is both sweet and tart, much like Bread and Butter Pickles. Put them on your burgers, alongside sandwiches and use the okra in Bloody Marys. Add them to a cheese plate or charcuterie platter. It is SO easy and you do not need a whole bushel of produce and lots of equipment to make these, just some clean jars, a knife (or food processor) and the ingredients. Here is the recipe to make 3 quart jars. It only takes about 30 minutes working time to do these. Well worth the effort.

Ingredients:

2 onions, thinly sliced

8 medium cucumbers thinly sliced (I used the food processor to make fast work of slicing)

4 cups okra ( I did the okra in one jar and the cukes in two others, but you could do more cukes if you are okra adverse).

3 cups of water

3 cups of cider vinegar

6 cups sugar

1 tablespoon kosher salt

2 tablespoons mustard seeds

2 1/2 teaspoons turmeric

2 teaspoons celery seeds

2 tablespoons pickling spice

2 teaspoons grains of paradise

2 teaspoons juniper berries

crushed red pepper to taste

6 cloves of garlic (2 per jar)

6 sticks of cinnamon (2 per jar)

Method: 

Slice cucumbers and okra.

The food processor makes slicing a breeze and maintains consistent size

Place in a jar with 2 sticks of cinnamon and 2 cloves of garlic slightly bruised

Pack the jars tightly

Pack the jars tightly. This can also be done in a plastic container.

Cook all remaining ingredients to a boil and then simmer for four minutes. Allow to cool for 5 minutes. Pour the pickling liquid over the vegetables and close jars. Allow to cool completely, then place in refrigerator. The pickles will be ready to eat in 24 hours. You can use a variety of vegetables to make pickles, peppers, carrots, jicama, sugar snap peas, asparagus, okra, even peaches.

Trip to Indonesia with Shrimp Sate and Peanut Sauce

Standard


Several years ago we were aboard a boat off the shore of Bonaire, a Dutch Territory off of the coast of Venezuela. The island has a huge Indonesian influence because the Dutch once held Indonesia as a colony. We were served this tasty sate and the owner of the boat gave me her simple recipe. It is very easy to make. We had some interesting meals in Bonaire, including Iguana Stew, but I did not ask for that recipe. Sate can be made with pork, chicken, beef or seafood. It is basically slices or in this case, whole shrimp that is marinated in a lemon  & sweet soy marinade, then grilled and served with a peanut sauce. The peanut sauce is delicious on rice or other dishes too. I served  the Shrimp Sate with a cucumber salad and fried rice.

Sate with Peanut Sauce

Yield: 6 appetizer Servings or two entree servings

MEAT
1 1/2 lb Pork, chicken tenders or steak cut into ½ inch strips, 1 pound of fresh shrimp  or for vegetarians use extra firm tofu

MARINADE
2 ea Lemons
2 ea Garlic cloves, diced
4 tb Indonesian soy sauce (this is sweet soy sauce, slightly heavier than regular soy sauce).

PEANUT  SAUCE
4 tb Peanut butter
1 tb Lemon juice
1/2 c Honey
1/2 ts Hot red sauce  (Sambal Orelek or “Rooster Sauce”)
1/4 c Half and half or Coconut Milk (unsweetened)

6 leaves of Kafir Lime slivered and chopped.


Cut chicken meat into strips or peel shrimp. Make marinade by combining juice from lemons with garlic, soy sauce and salt. Pierce meats and marinate 2 to 4 hours. Save the marinade to use in the peanut sauce. Weave meats onto skewers and broil or barbecue until meat is done. Do not overcook.

To prepare the peanut sauce, combine peanut butter, lemon juice, honey and hot sauce with reserved marinade, and heat at low temperature until well blended, stirring constantly. Remove from heat and add half and half. Return sauce to heat and warm through, stirring constantly.

Serve the skewers on platter and pour sauce into bowl. Meat is dipped in the sauce as you eat.

Most WONDERFUL Crispy Okra and Curry Leaf Raita

Standard

My friend Ruta Says: “Odly enough, children in India love okra. But it’s hardly surprising; whether sautéed, fried or stuffed, the vegetable is prepared in a way that makes it’s texture pleasing rather than gooey. In this recipe, for instance, the okra becomes crunchy and addictive on it’s own; stirred into spiced yogurt, it is even better. This can be eaten on it’s own, or served with thalipeeth.”
Ruta wrote the book  5 Spices 50 Recipes, a wonderful play on Indian cooking that makes delicious Indian food accessable for every home cook. Several years ago I was invited to a press dinner at her home in Berkeley, California where we cooked and ate a most amazing meal. I have only changed the recipe slightly, adding a bit more mustard seed and added flavor and crunch of curry leaves. They may be hard for you to come by, but they are available at most Indo/Paki grocery stores. I grow my own. If you cannot find them, the dish is still quite good without them, but even better with them. The flavors and textures in this Raita make my mouth sing. You will want to double the ingredients after you have made this once, it is highly addictive.

Ruta has a new book out now, Quick Fix Indian. There are also rumors that she is planning on a restaurant in Goa where she spends some of her time.

 Ingredients: 

8 ounces fresh or frozen, cut okra

3-4 stems of curry leaf, leaves pulled off of the stems.

6 tablespoons canola oil, divided

1 cup plain whole or low fat yogurt

¾ to 1 teaspoon salt (I used my smoked salt for this)

½ teaspoon sugar or jaggery grated

1/8 teaspoon cayenne (or more if you like a real kick)

1/4 teaspoon ground turmeric (so good for you)

2 teaspoons mustard seeds (I use half golden and half black)

Method:

Wash the okra and towel dry each one thoroughly. Slice into ¼ inch-thick rounds. If using frozen okra, do not thaw.

Heat 5 tablespoons of the oil in a large skillet over medium heat. When the oil is very hot, add the okra, toss and let sizzle. Toss occasionally. The okra will slowly crisp and turn brown. Note: frozen okra may not crisp as well, this is OK, just be sure to brown it well. Once all of the okra is well browned, remove to a paper towel lined platter and set aside till ready to serve. Repeat with the curry leaves. They crisp up really quickly, so keep your eye on them.

Make the tadka: Whisk the yogurt with the salt (to taste) and sugar place the cayenne and tumeric in a small pile on the raita, but do not stir in yet. Heat the remaining tablespoon of oil in a butter warmer or small skillet over high heat. When the oil begins to smoke, add the mustard seeds, covering th pan with a lid or spatter screen. After the mustard seeds stop sputtering, pour the hot oil directly on top of the cayenne and turmeric powder. This cooks the powdered spices without burning them. Do not stir the dressing in yet.

For presentation prior to serving, place the crisp okra & curry leaves on top of the dressing. Stir the okra and dressing into the yogurt while serving. I promise you will be licking the bowl in before the night is over.

Serves 2-4